CodeSign Secure Documentation
  • Overview
    • About CodeSign Secure
    • Getting Started
    • Documentation Guide
    • Portal Overview
    • Troubleshooting
      • FAQ
    • Glossary
  • Reference Guide
    • Header Bar
      • CodeSign Secure Documentation
      • Swagger API
      • Profile Section
    • Dashboard
      • Key Performance Indicators
      • Issued Certificates
      • Signatures Generated
      • HSM Health Check
    • Keys and Certificates
      • Key and Certificate Lifecycle
    • App Management
    • Signing Requests
      • Approval Workflows
    • Signing Tools
    • Reports
      • Signing Request Report
      • Audit Trail
      • Certificate Report
      • Client Report
    • Logs
    • System Setup
      • Identity Store
      • Backup
      • User
      • Roles and Permissions
      • Email
      • Signing Projects
      • SSL/TLS Management
      • Environment
      • Plugins
  • Setup & Architecture
    • Identity and Access Control
    • Architecture and Concepts
    • Installation
      • Windows
        • Installing the Server
        • Ports and Protocols
        • High Availability and Backup
        • Upgrades and Compatibility
    • Security
      • Security Hardening Checklist
      • Client Authentication
      • Designing Signing Policies
  • Release Notes
    • Releases for 2026
      • v3.2.1
    • Releases for 2025
      • v3.2.0
    • Releases for 2024
      • v3.1.0
  • API Reference
    • Getting Started
    • Authorizing Requests
    • Securing API Access
    • Request and Response Conventions
    • Endpoint Reference
      • Signing
      • Signing Requests
      • Certificates
      • Applications and Environments
      • User Management
      • Permissions
      • Email
      • System Setup
      • Reports
      • Dashboard
      • License
  • Integration Guides
    • Signing Capabilities
      • Supported Formats and Platforms
      • Timestamping
      • Windows Signing - SignTool
        • Signing
        • Macro Signing
      • Apple Signing
      • AppX & MSIX Signing
      • Visual Studio ClickOnce
      • Jar Signing
      • Sign HLK/HCK using CodeSign Secure
      • NuGet Signing
      • Mage Signing
      • Sign OVA/OVF using Encryption Consulting’s Utility Tool
      • Utility Tool for code signing
      • Container Signing
      • PKCS11 Wrapper
        • APK Signing
        • OpenSSL Signing
        • XML Signing
        • JSign Tool Signing
        • Jarsigner Signing
        • GPG2, Debian & RPM Signing
      • Reproducible Build
        • Automated Hash Validation
        • Reproducible Build Process Flow
        • Pipeline Script Components
        • Hash Validation
    • CI/CD Integration
      • GitHub Actions
      • Jenkins
      • GitLab
      • Azure DevOps
      • TeamCity
      • Bamboo
      • Securing CI/CD Credentials

Signing

There are multiple ways to sign a file with signtool using a certificate.

Signing a file with a certificate

You will need a copy of the public certificate. You can obtain the certificate from the CodeSign Secure portal.

Open an administrator command prompt.
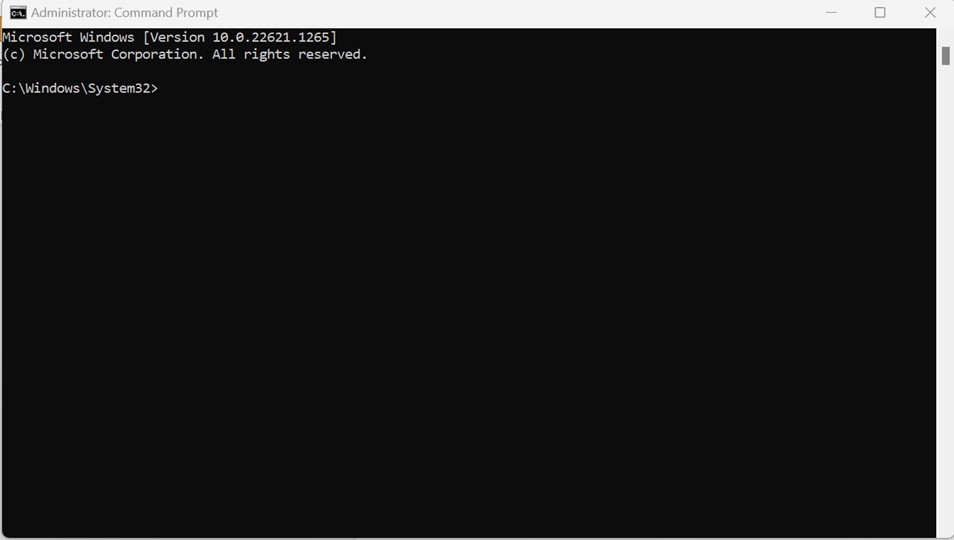
windows command prompt

The remainder of this guide assumes you are running all Windows commands from an elevated (Administrator) prompt.

Run the command cd <Path to your directory with the file to be signed> into the command line. The line after cd should be the path to the directory the file you want to sign is in. This would be necessary if you haven't setup the env variable.
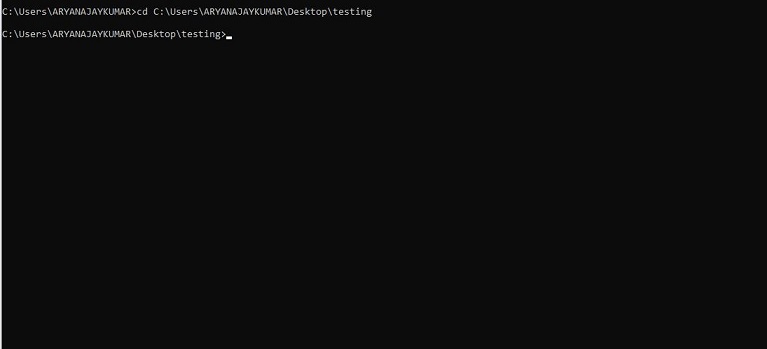
command line

Run the following command to sign your Windows file:

signtool sign /csp "Encryption Consulting Key Storage Provider" /kc <key name of private key associated with the certificate> /fd <the desired signing algorithm to be used when signing> /f <The location of the certificate to be used for signing>.pem /tr <The URL of the time stamping server to be used> /td <The signing algorithm to be used with the time stamping server> <The path to the file to be signed>

signtool sign /csp "Encryption Consulting Key Storage Provider" /kc evcodesigning /fd SHA256 /f evcodesigning.pem /tr http://timestamp.digicert.com /td SHA256 setup.exe

The following are the flags and their meaning in the command:

  • - /csp

    This specifies the Key Service Provider to be used. This should always be "Encryption Consulting Key Storage Provider"

  • - /kc

    This should be the name of the private key associated with your certificate. This will likely be the same name as the certificate name.

  • - /fd

    This is the signing algorithm to be used with the signing function. This can be SHA256, SHA384, or SHA512.

  • -/f

    The name of the certificate to be used for signing. This should be the same name as the /kc flag, with a .pem appended to the end. This certificate must be in the same directory this command is run from.

  • -/tr (optional)

    This is the URL of the timestamping authority to be used. If /tr is not in use, and timestamping is not required, then /td should also be left out of this command.

  • -/td (optional)

    This is the signing algorithm to be used with the timestamping server. This can be SHA256, SHA384, or SHA512. This algorithm should be the same as the /fd field. If /tr is not in use, and timestamping is not required, then /td should also be left out of this command.

  • - <file path >

    This is the name of the file to be signed. This file must be in the directory this command is being run in.

Below is an example of a successful output of the command
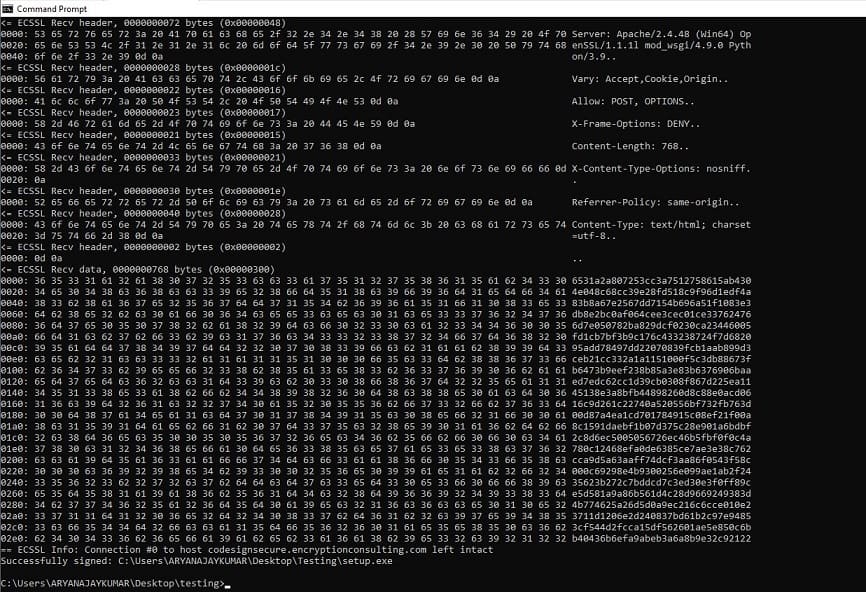
Key Service Provider

To check the signature on the file, right click the file and select properties.
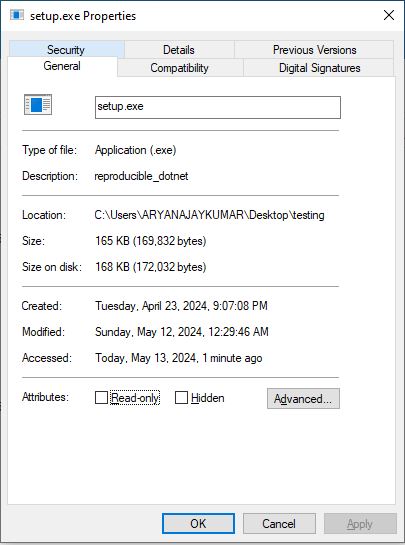
signature on the file

Select Digital Signatures at the top tab.
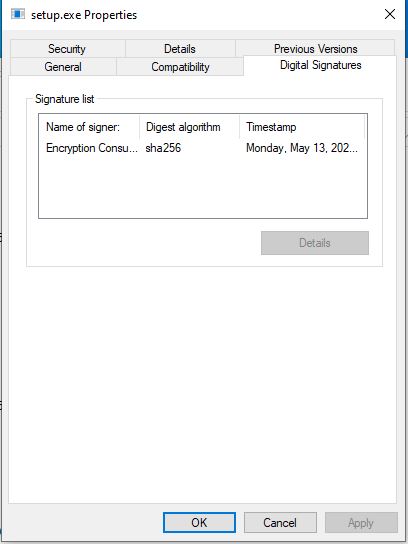
Digital Signatures

You can see here that the file has been successfully signed by selecting the name of the signer (in this example ec.com) and clicking details.
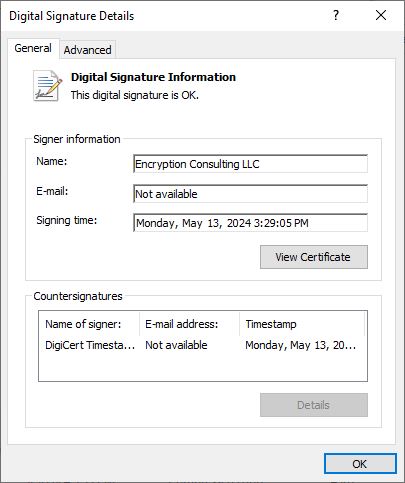
signer
On this Page:
Support Privacy Policy Terms of Service

Copyright Encryption Consulting LLC. All rights reserved.
