TeamCity is a powerful CI/CD tool that automates the software
development process, helping teams deliver high-quality
applications faster. It provides a comprehensive platform for
managing build configurations, running tests, and deploying
applications to various environments.
To perform codesigning using TeamCity, go through the steps below.
-
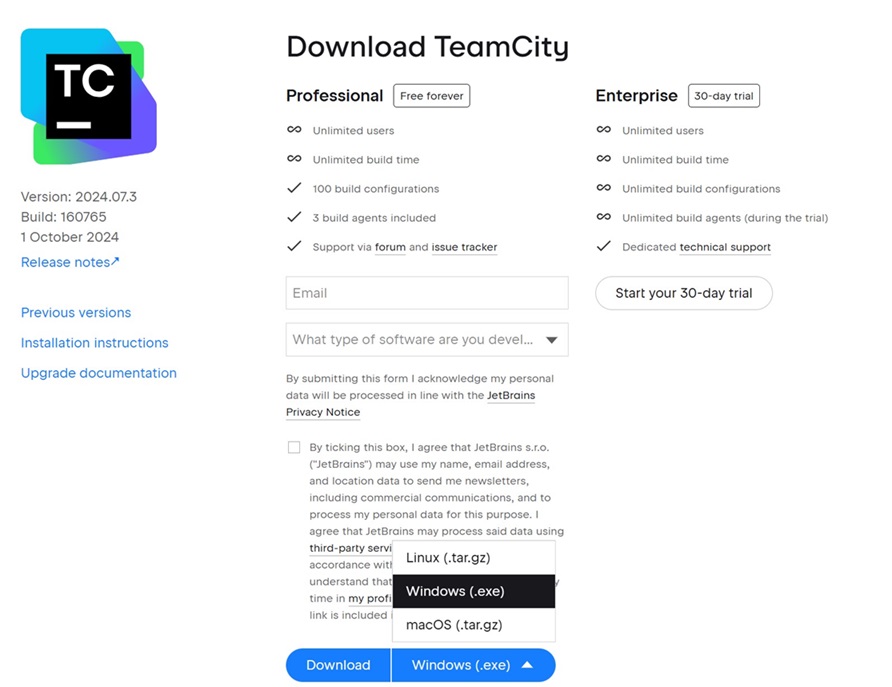
You can either download the free TeamCity application or a
paid Enterprise version using the
link. There are three OS choices for the application - Linux,
Windows, and MacOS. We'll be working on the Windows executable
file.
-
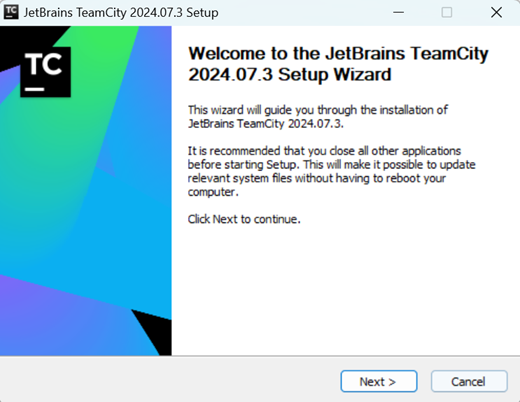
Run the application to install the TeamCity server in your
environment.
-
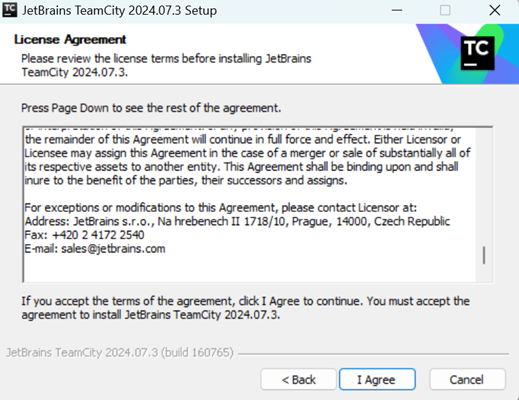
Accept the terms and conditions and click "I Agree".
-
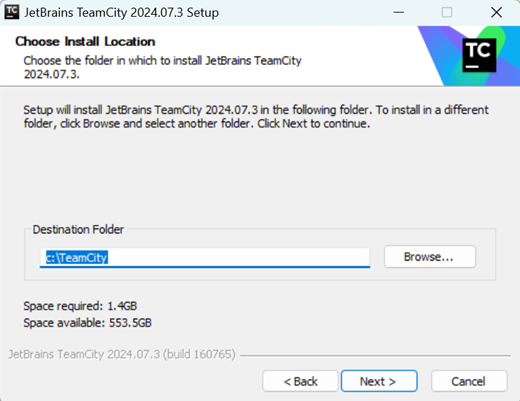
Keep the default settings for easier integration and
management of the server.
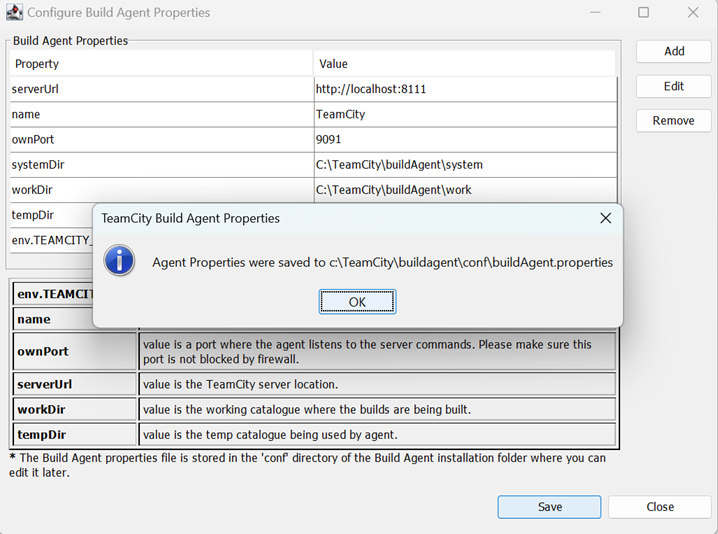
Click Save and then OK to proceed to the next step of account
creation.
-
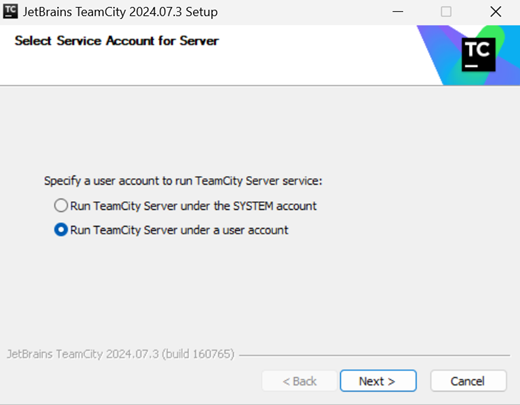
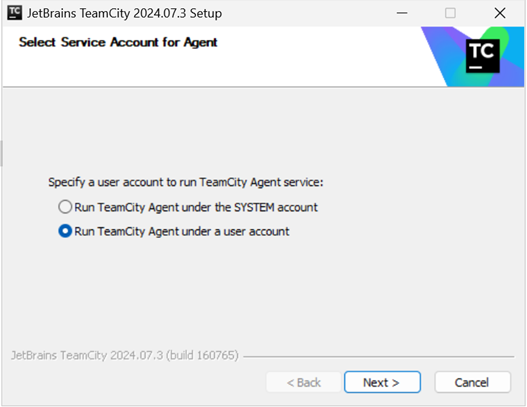
Select the option to run the TeamCity Server and TeamCity
Agent under the user account and click Next. It will ask you
to login as the current user of your system.
-
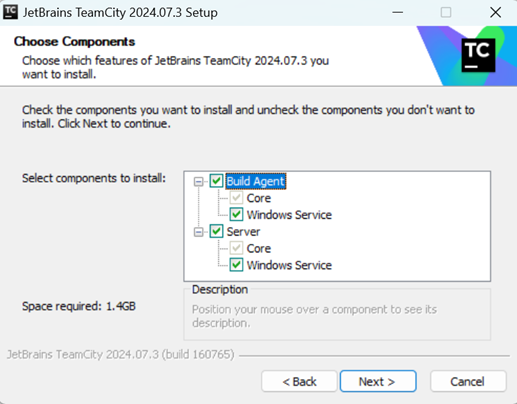
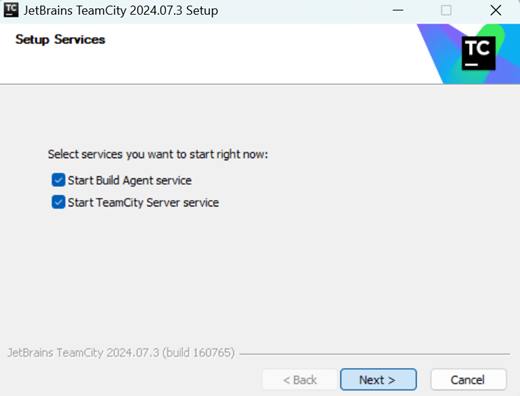
Select both the options to start the build agent service and
the TeamCity server service. Click Next.
-
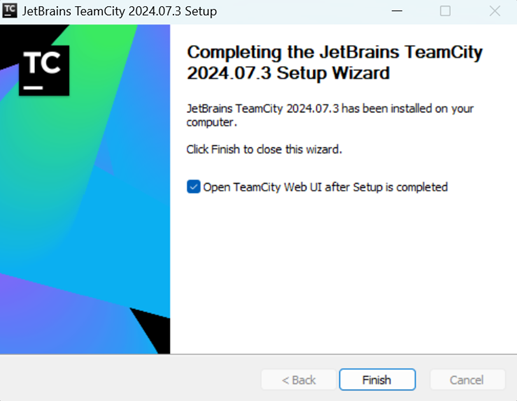
Click Finish. This will take you the Web UI of the TeamCity
where you can create your projects and set the configurations
policies.
-
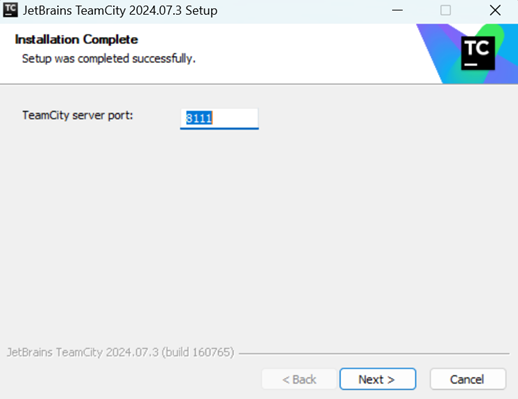
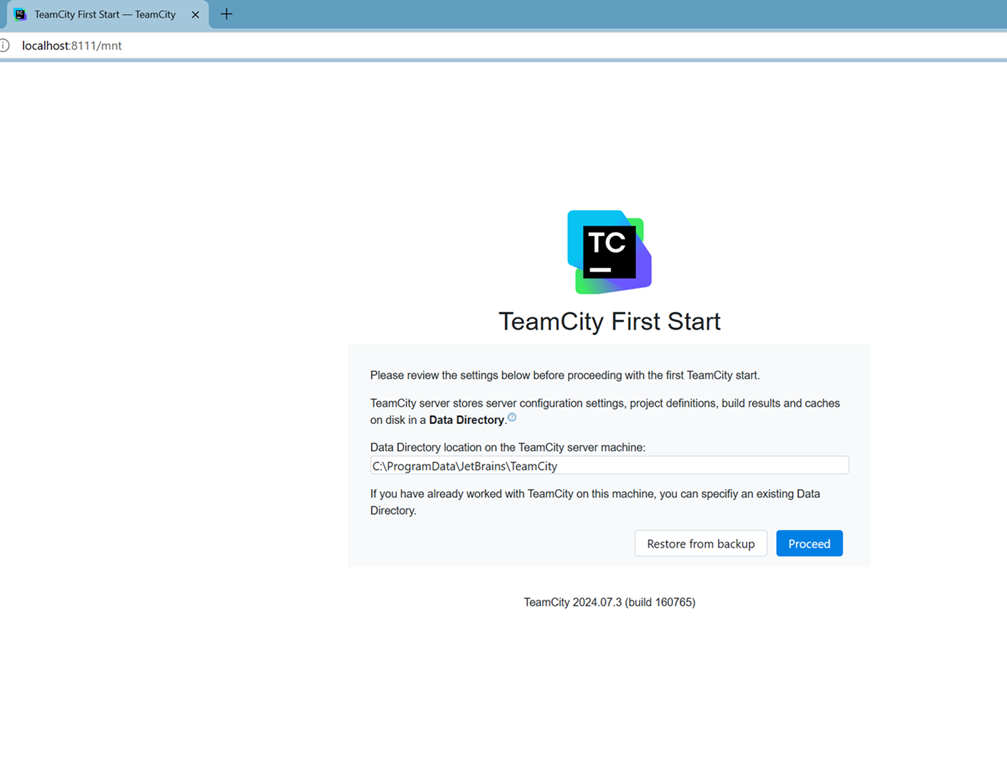
The Web UI runs on localhost on port 8111 (default). Click
Proceed to set the location of data directory for TeamCity
server. Access TeamCity from a browser by going to
http://localhost:8111
-
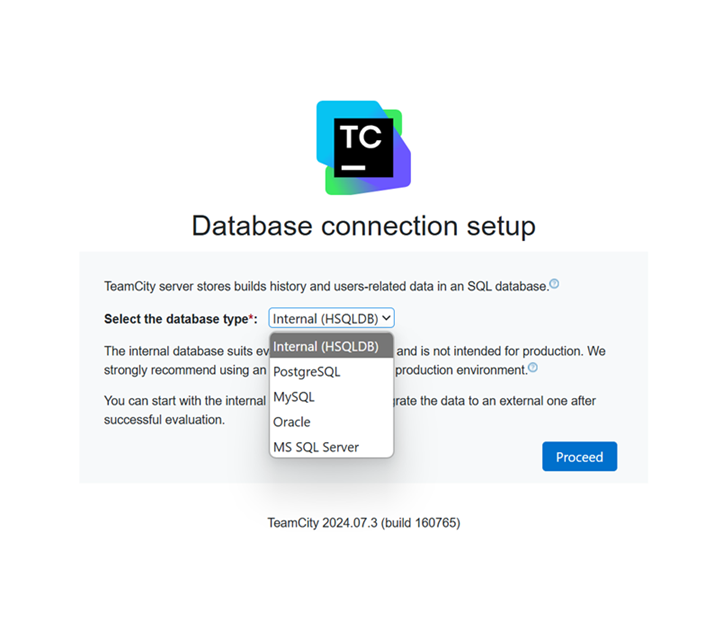
Select the appropriate database which will store the build
history and your account related information. We will be
choosing HSQLDB database for this project.
-
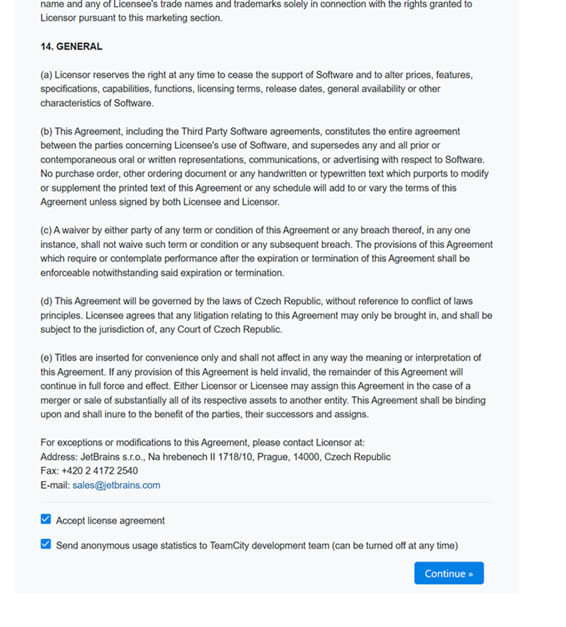
Accept the license agreement and click Continue.
-
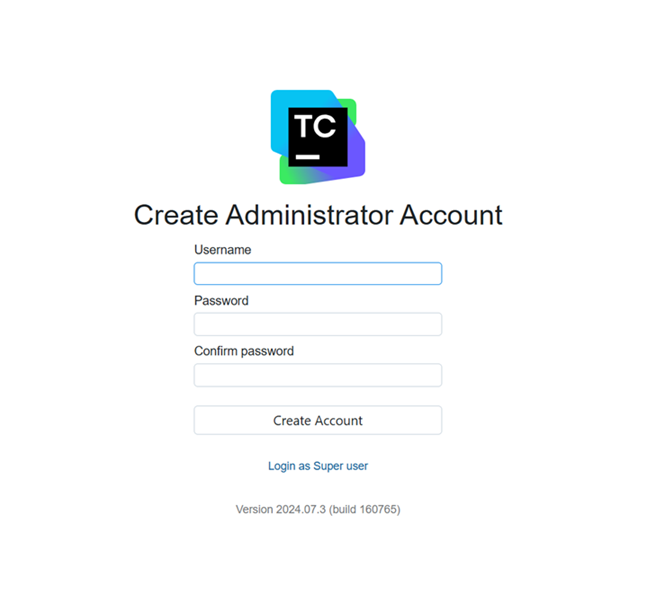
Now create a login account for your CI/CD pipeline and
projects.
-
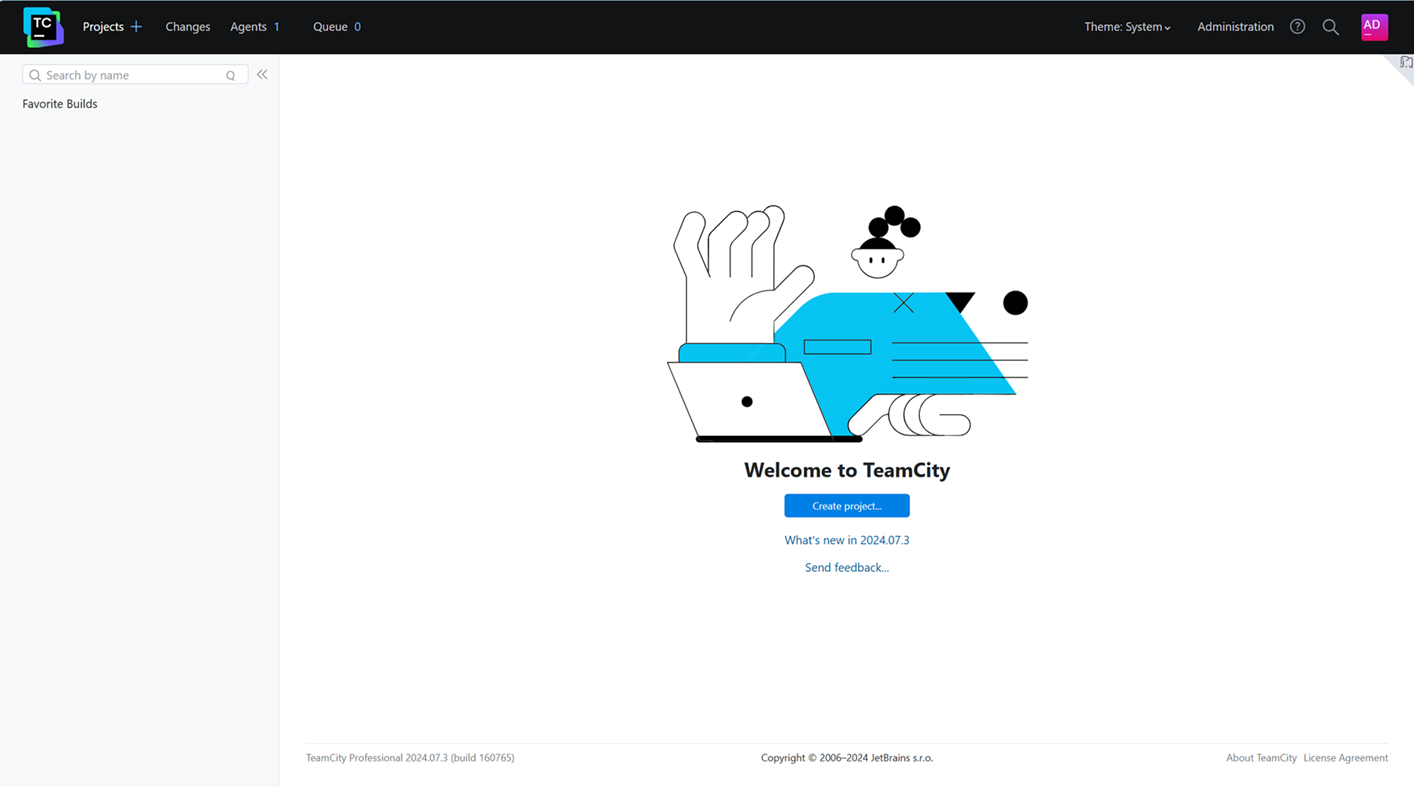
After successful login, it will take you to the TeamCity
Dashboard. Now you can begin with creating your first project.
Click on "Create project".
-
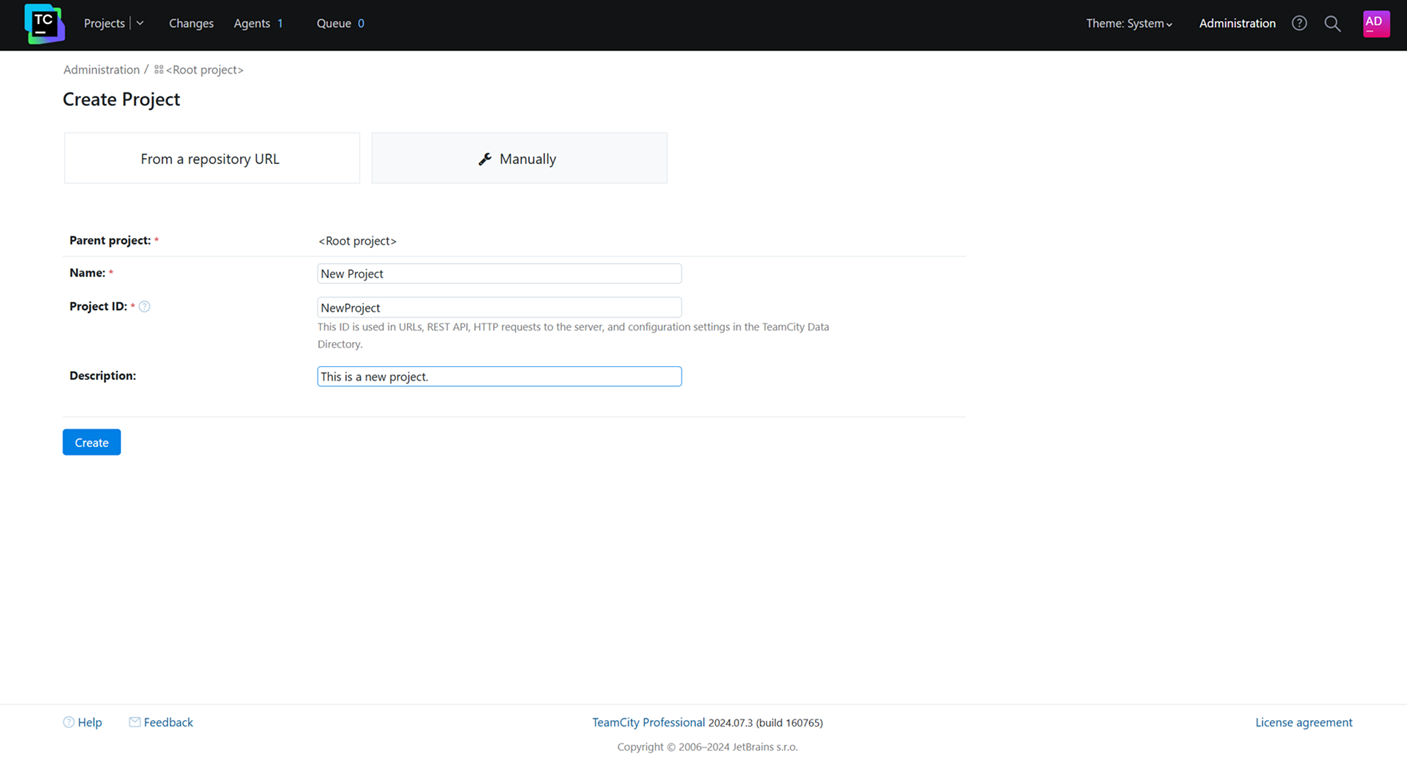
There are two choices when you create a project on TeamCity.
It can be done either using a repository account or manually.
Let's first see the Manual process. Enter the required details
for you project.
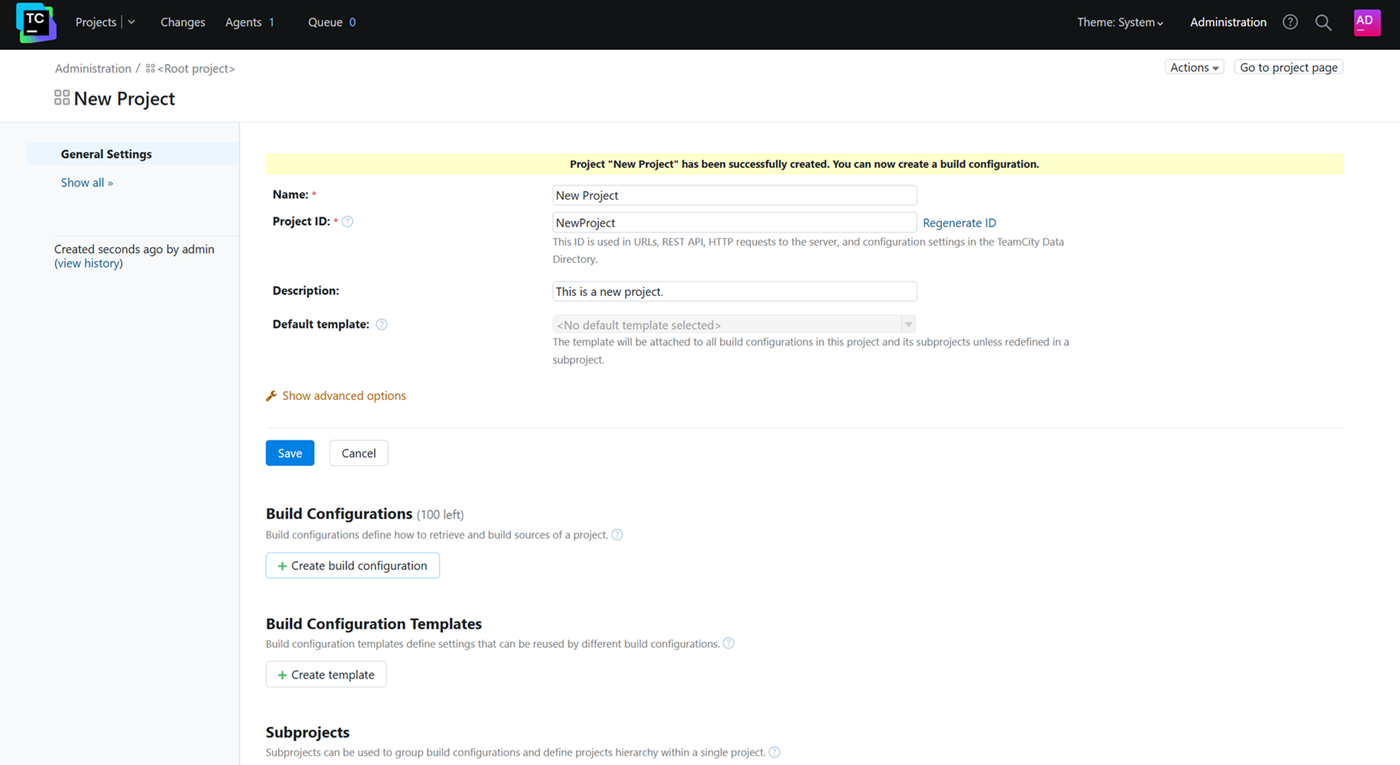
Once successfully created, it will then prompt you to create a
build configuration.
-
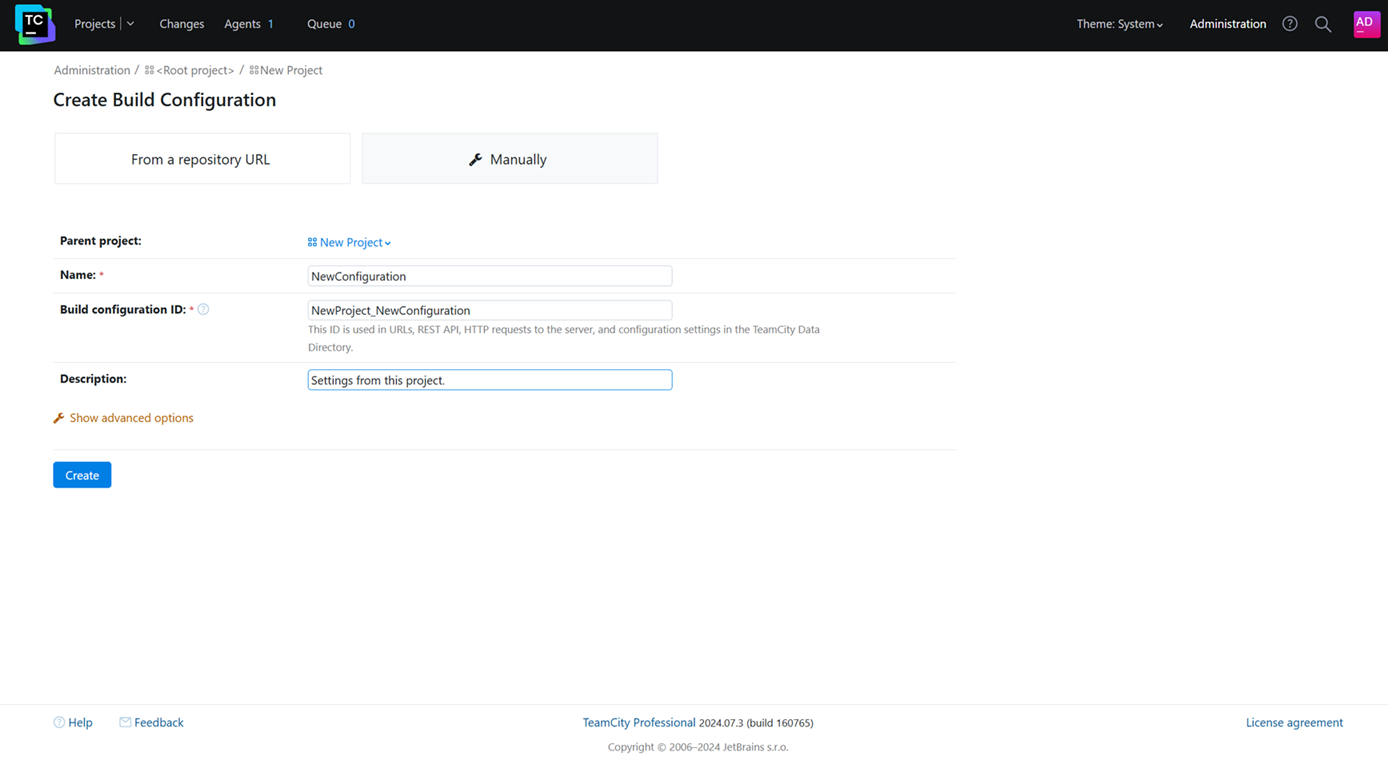
Here as well, you have two options - repository or manual
process. We will again proceed with the manual process. Enter
the required details and click Create.
-
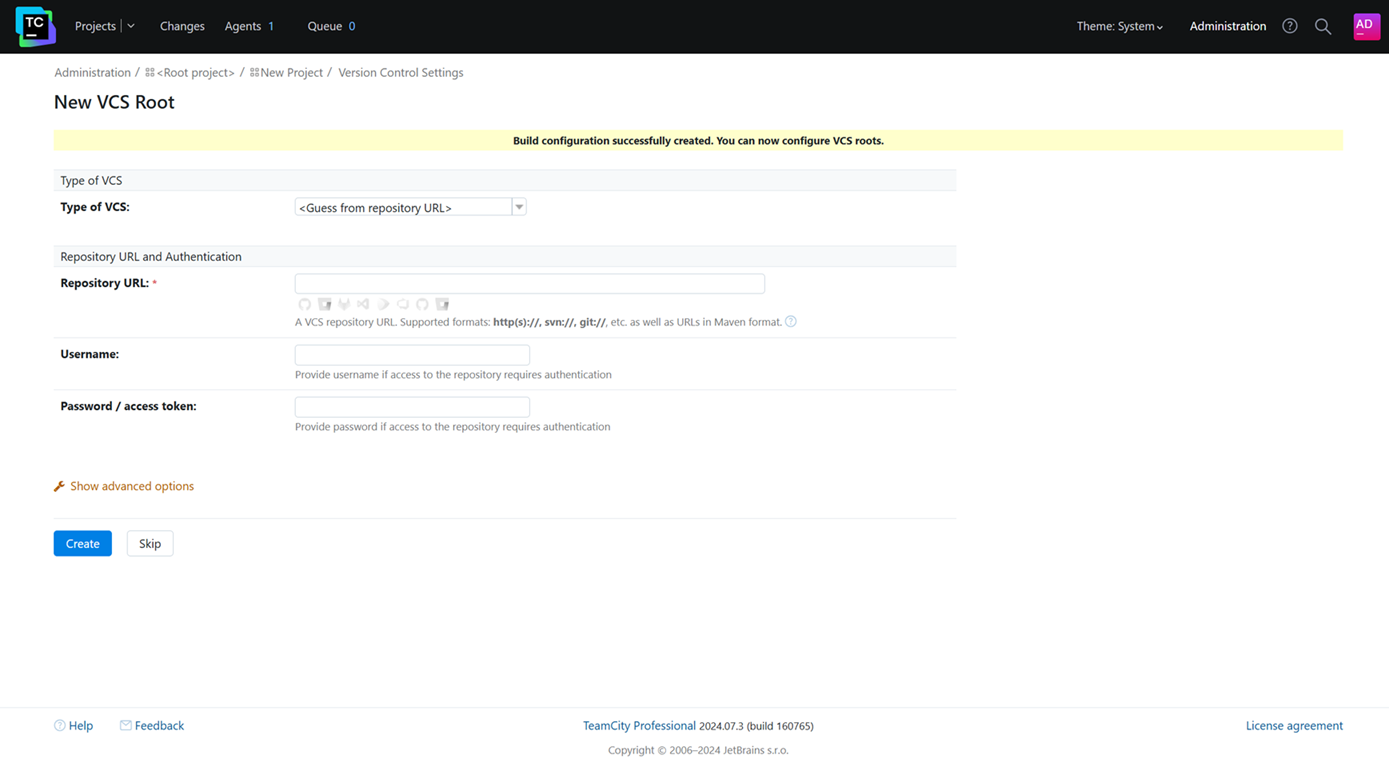
It will then ask you to enter the details for Version Control
Settings. It is an optional step. We will be skipping it for
this project.
-
After setting up the general project and configuration
settings, we can now add build steps to our pipeline. These
are the processes that will actually execute and perform code
signing operations.
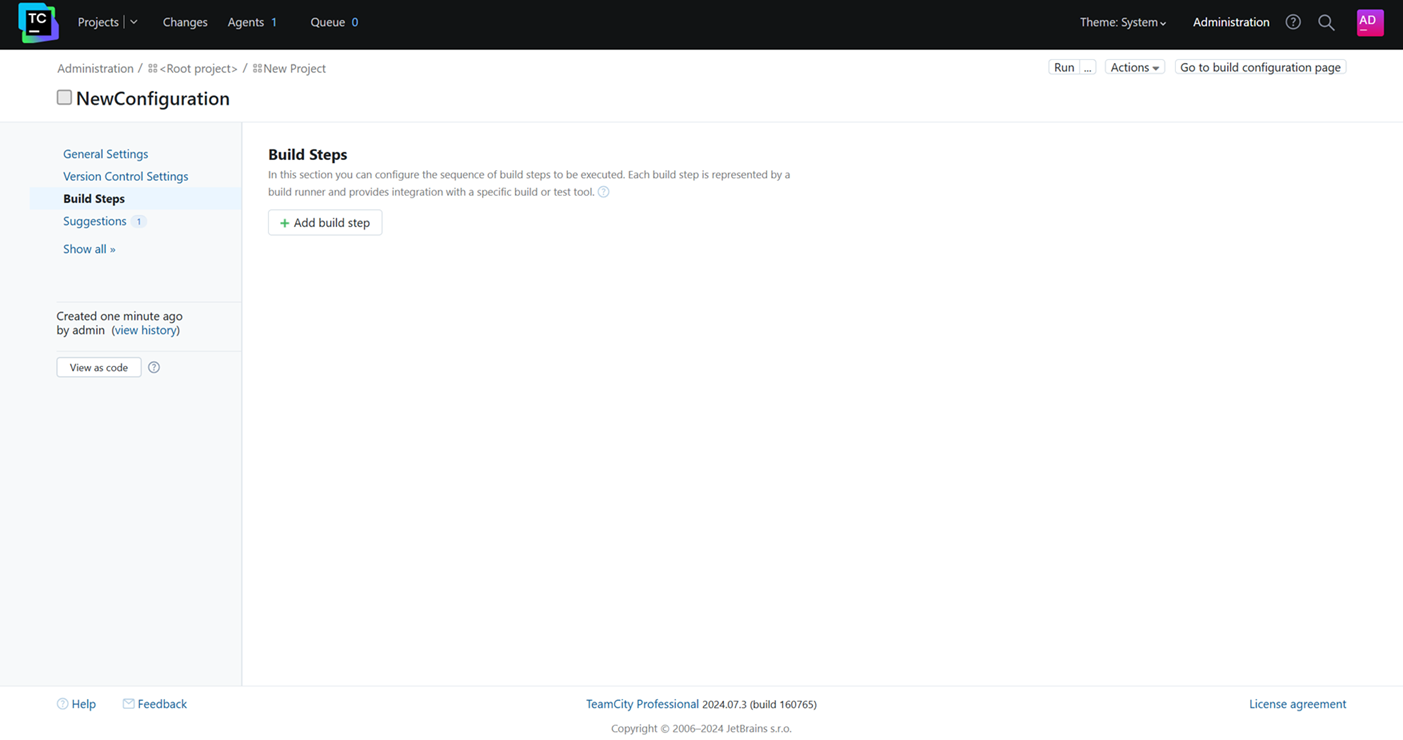
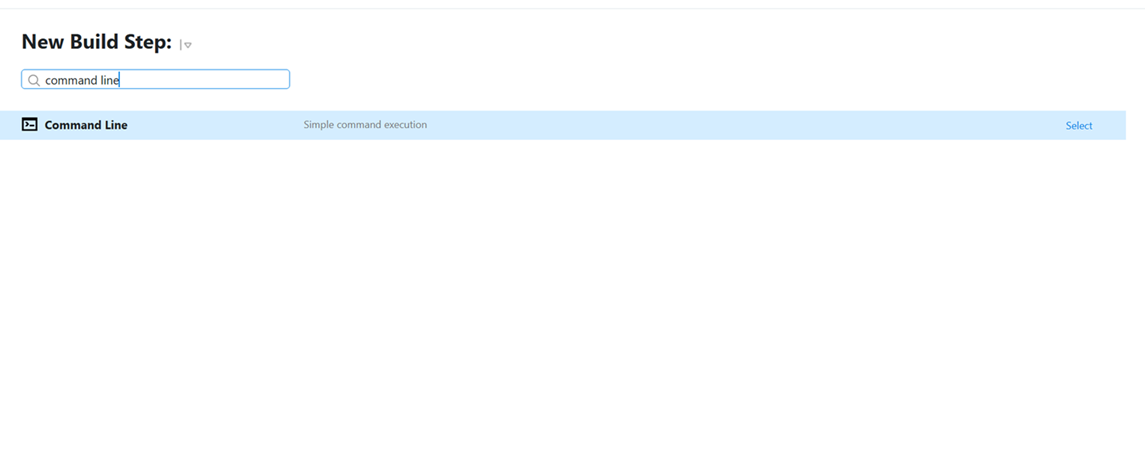
Click on the "Add Build Step" button and choose "Command Line"
from the dropdown.
-
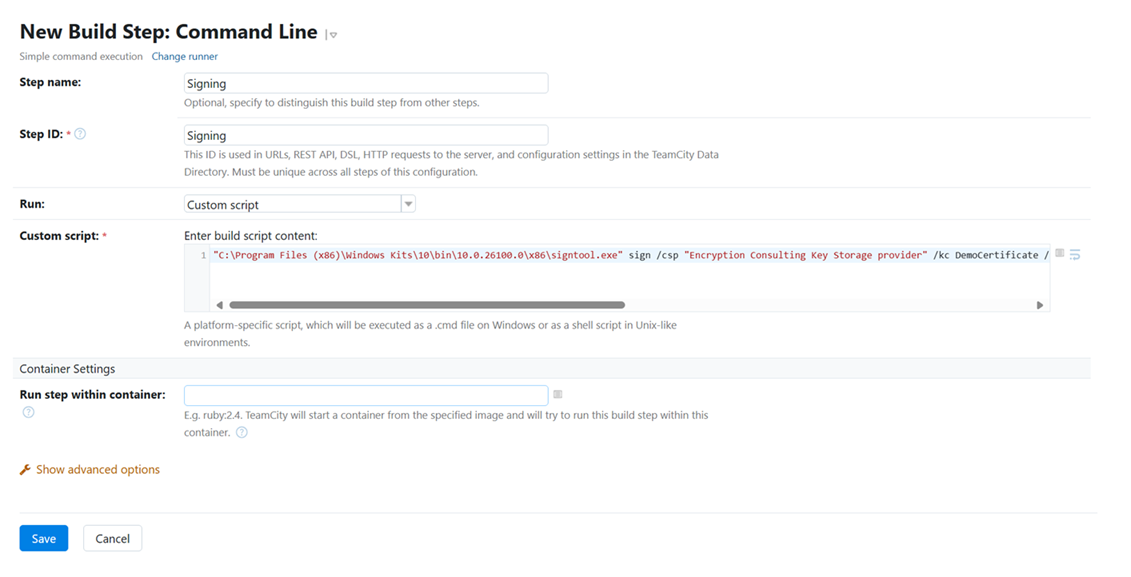
Provide the basic details such as Step name and Step ID.
Select the Custom script code option from the dropbox of
Script field and enter the cmd script to perform the signing
operation using the required details.
A sample Command Line script is provided below for your
reference:
                      # Execute the signtool command
                      "C:\Program Files (x86)\Windows Kits\10\bin\10.0.26100.0\x86\signtool.exe" sign /csp "Encryption Consulting Key Storage Provider" /kc DemoCertificate /fd SHA256 /f "C:\demo files\Signing Certificates\DemoCertificate.crt" /tr http://timestamp.digicert.com /td SHA256 "C:\demo files\Test Files\TestFile1.exe"
The entire step should look something similar to the image
below:
-
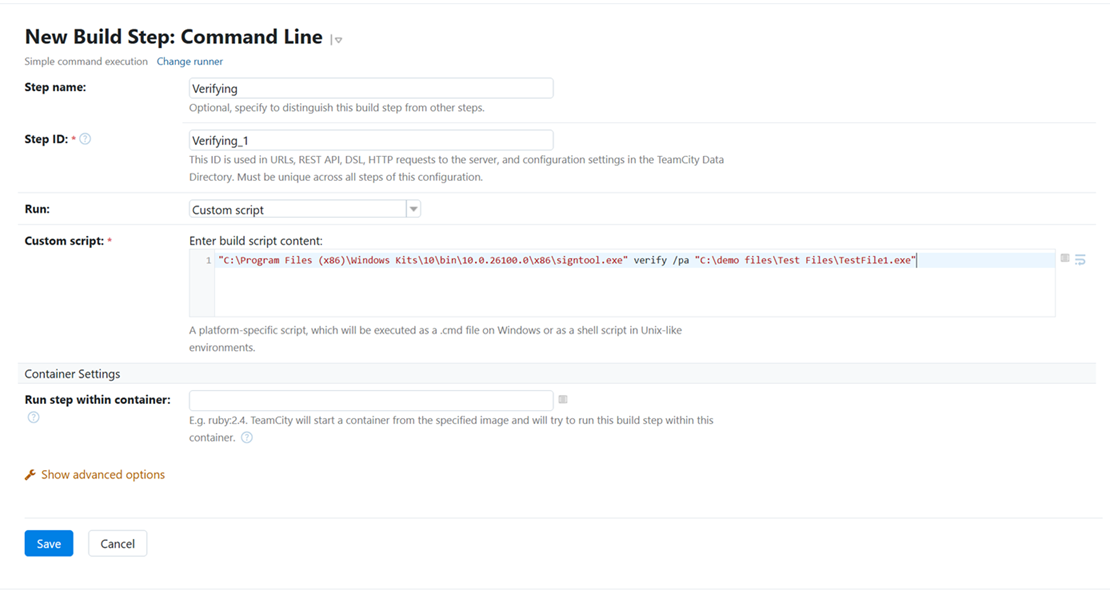
Now repeat the above process to create another build step for
Verification of the signed file.
A sample Command Line script is provided below for your
reference:
                      # Execute the signtool verify command
                      "C:\Program Files (x86)\Windows Kits\10\bin\10.0.26100.0\x86\signtool.exe" verify /pa "C:\demo files\Test Files\TestFile1.exe"
The entire step should look something similar to the image
below:
-
Now to run the pipepline, click on "Run" which is on the
top-right of the project view.
After clicking "Run", you can see the live action of the
pipeline by clicking "Agents"(top-left)->Select the agent
name->Build History.
-
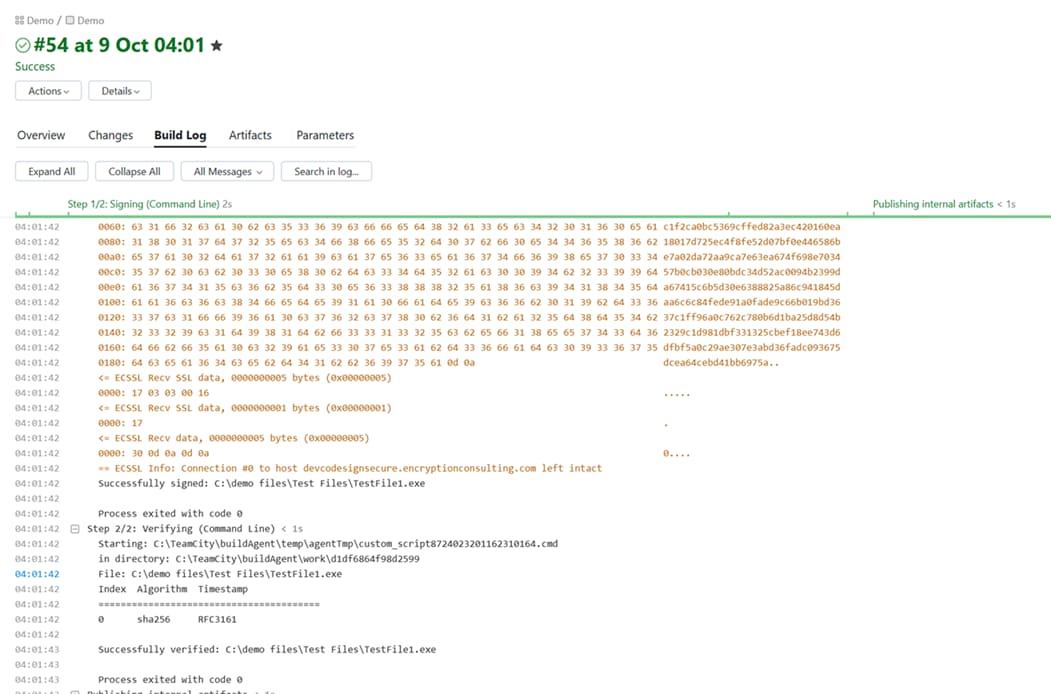
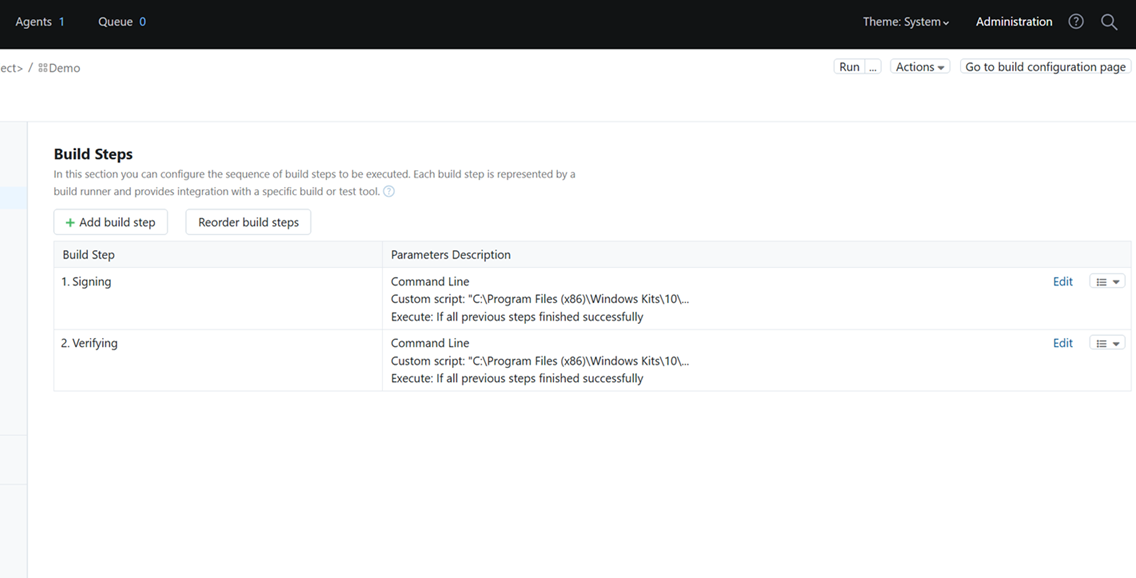
A successfull execution of a pipeline will look like this.
Here you can see that both the build steps - signing and
verification - have been completed.