Install CodeSign Secure on a single Windows Server 2022 machine with the CodeSign Secure installer, then verify that it works.
Requirements
Server hardware
Resource
Requirement
Operating system
Windows Server 2022
CPU
At least 8 cores
Memory
32 GB RAM (recommended)
Storage
250 GB. Increase it if you keep backups and logs on the server for a long time.
HSM
FIPS 140-2 Level 3 HSM: Entrust nShield, Thales Luna, Securosys Primus, or Utimaco SecurityServer. For the supported firmware and software versions, see Supported formats and platforms.
Prepare before you run the installer
A DNS name for the portal, for example codesign.example.com, that resolves to the server or to your load balancer.
A local Administrator account on the server.
The HSM client software installed and connected to your HSM. The installer asks for the HSM type.
For Entrust nShield: openssl.exe present in C:\Program Files\nCipher\nfast\bin\. The installer uses it to create the internal certificate authorities.
If you use Azure AD sign-in, the app registration values: Client ID, client secret, Callback URL and Connection URL. See Identity Store.
What the installer sets up
Item
Details
CodeSign Secure Backend
The REST API.
CodeSign Secure Frontend
The portal.
Apache
Web server that publishes the portal and API over HTTPS. Controlled from the Apache Monitor in the taskbar.
MongoDB and MongoDB Compass
Installed if not already present.
Python
Installed if not already present (3.10.11 or later is required).
Microsoft Build Tools x64
Installed if not already present.
Installation folder
C:\CodeSignSecure by default.
Install CodeSign Secure
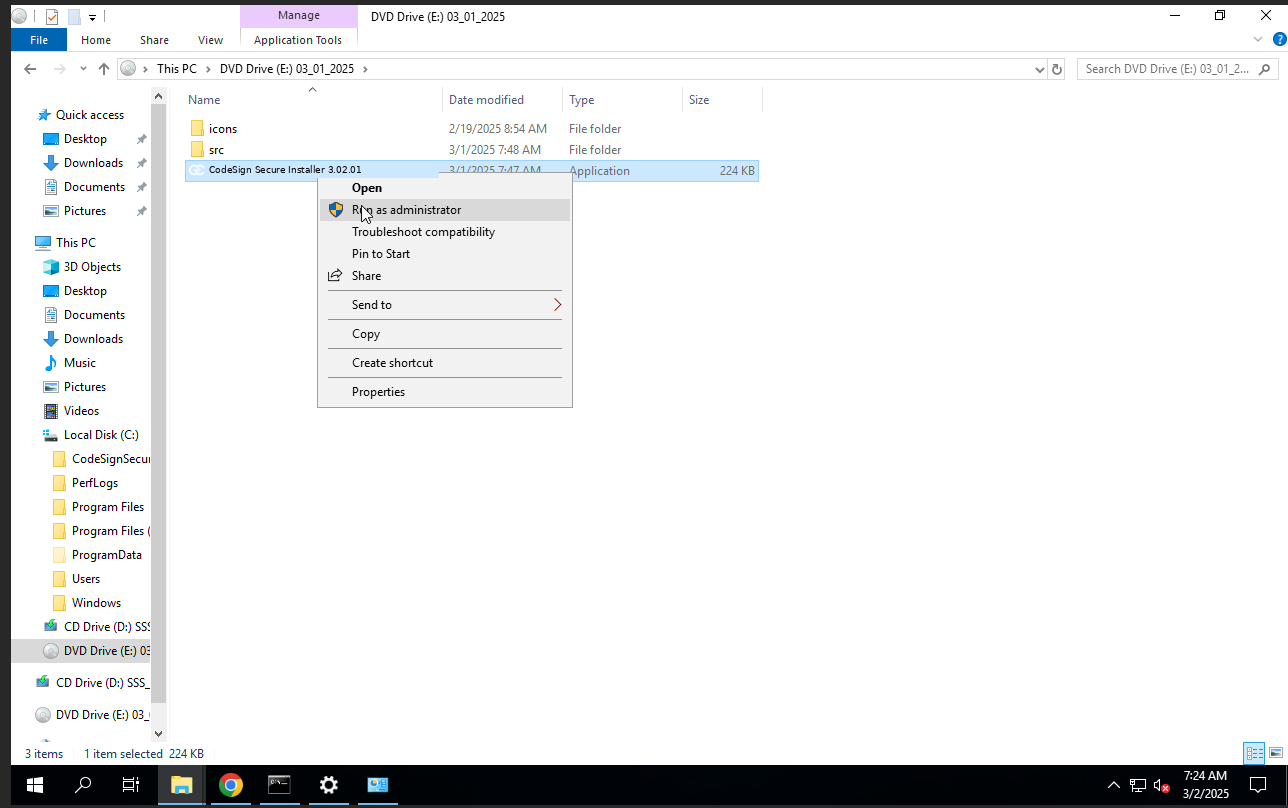
Download the CodeSign Secure ISO file and mount or extract it. It contains the installer and the icons and src folders.
Right-click CodeSign Secure Installer and select Run as administrator.
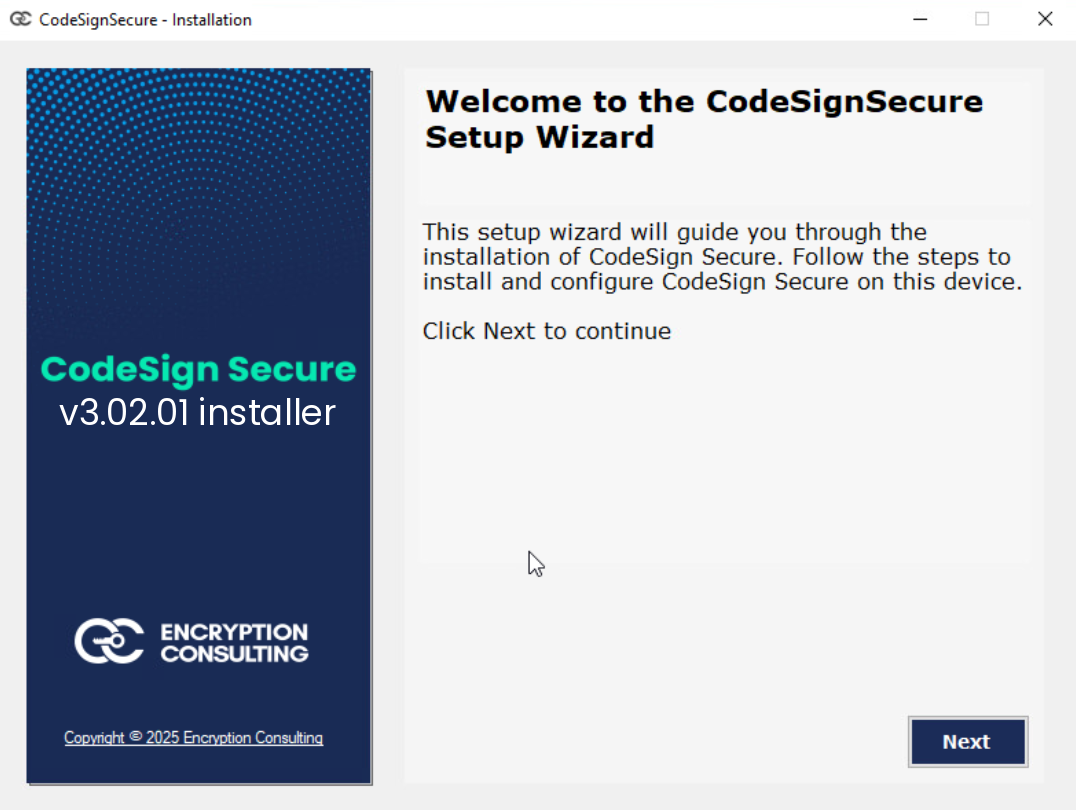
On the welcome page, select Next.
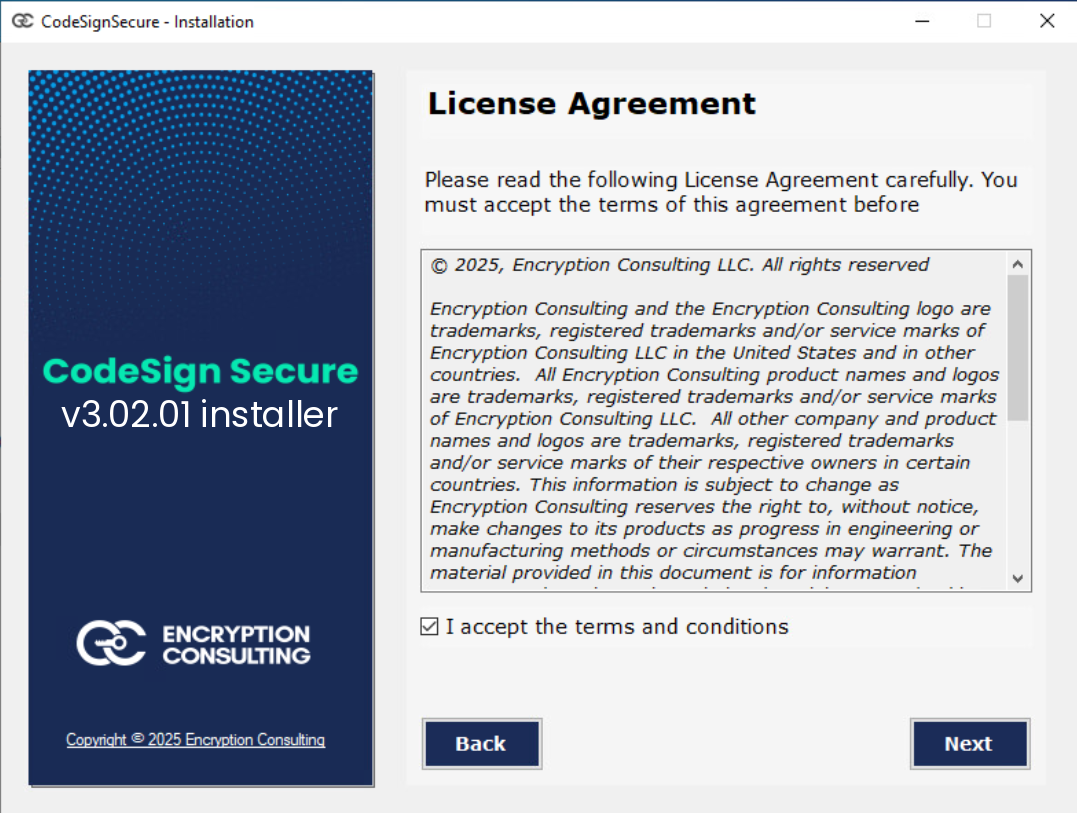
Read the license agreement, select I accept the terms and conditions and select Next.
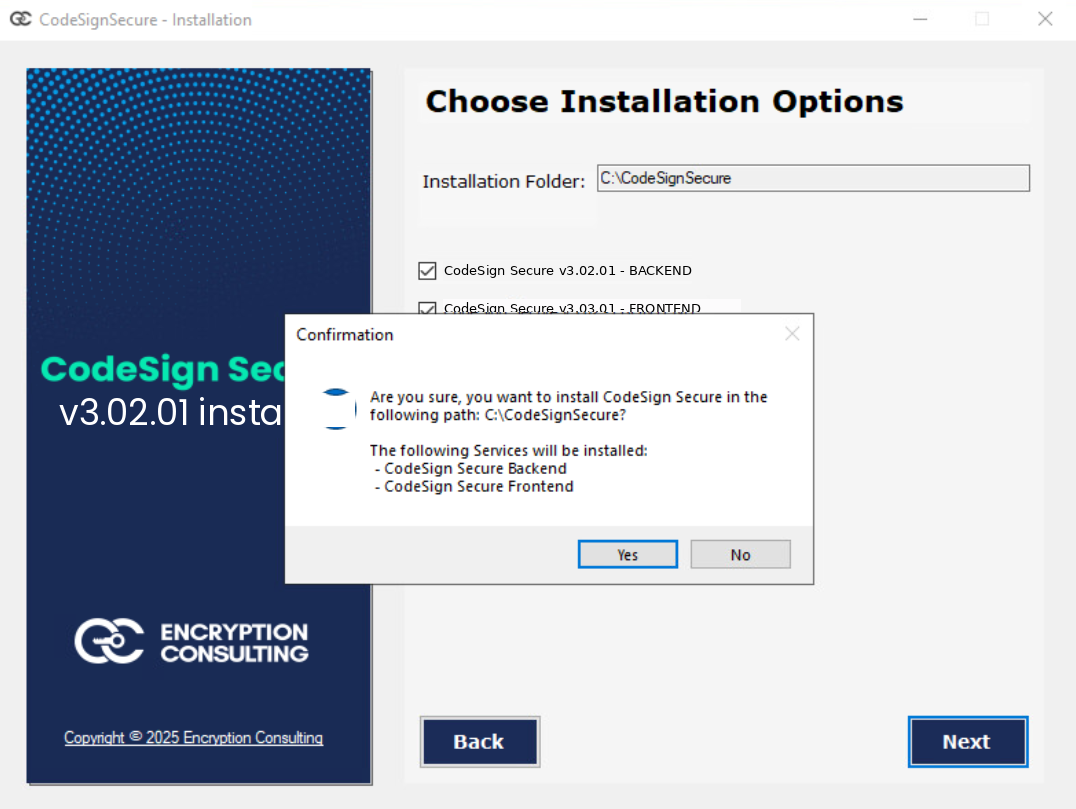
On Choose Installation Options, keep or change the Installation Folder, select both CodeSign Secure – BACKEND and CodeSign Secure – FRONTEND, and select Next. Confirm the path and the two services with Yes.
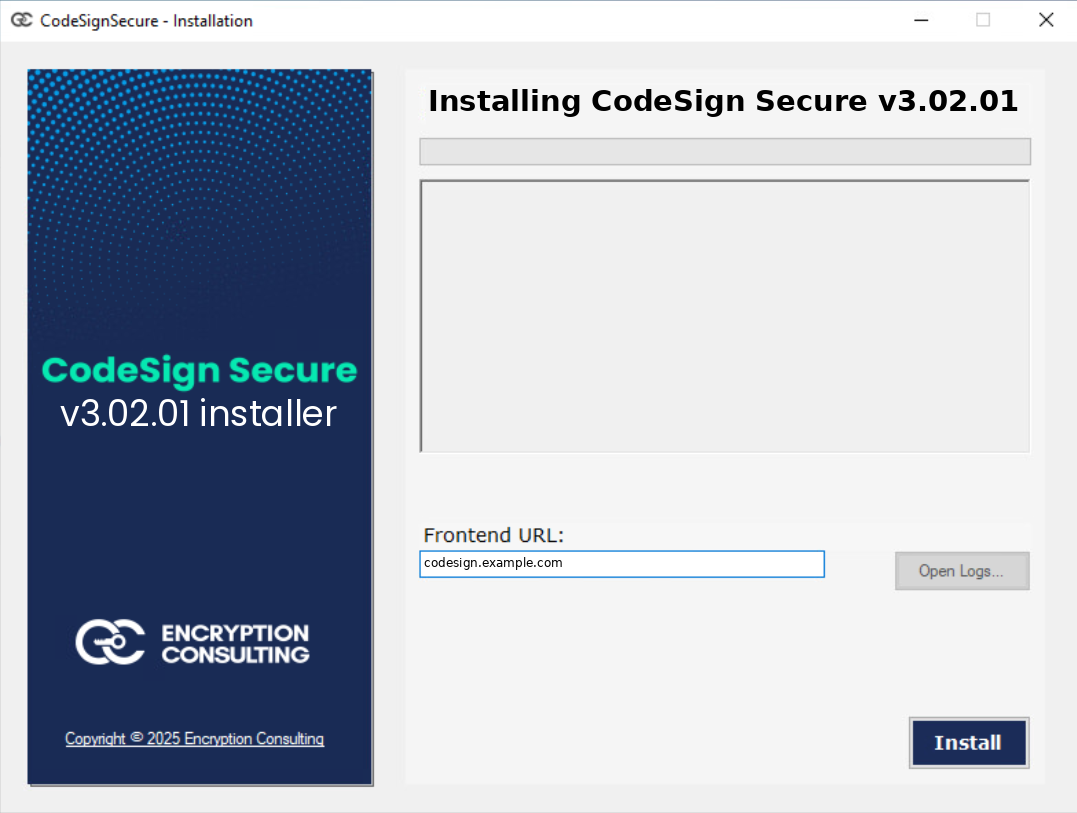
In Frontend URL, enter the portal DNS name without https://, for example codesign.example.com, and select Install.
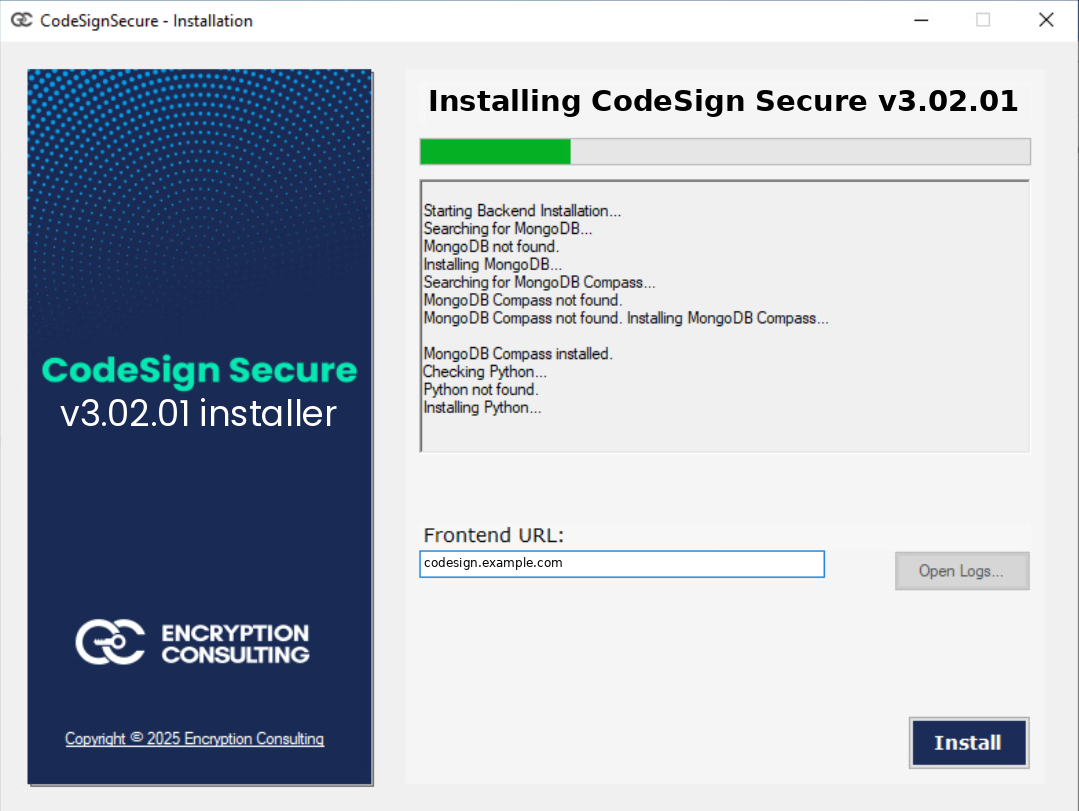
Wait while the installer checks for and installs MongoDB, MongoDB Compass, Python and the Build Tools.
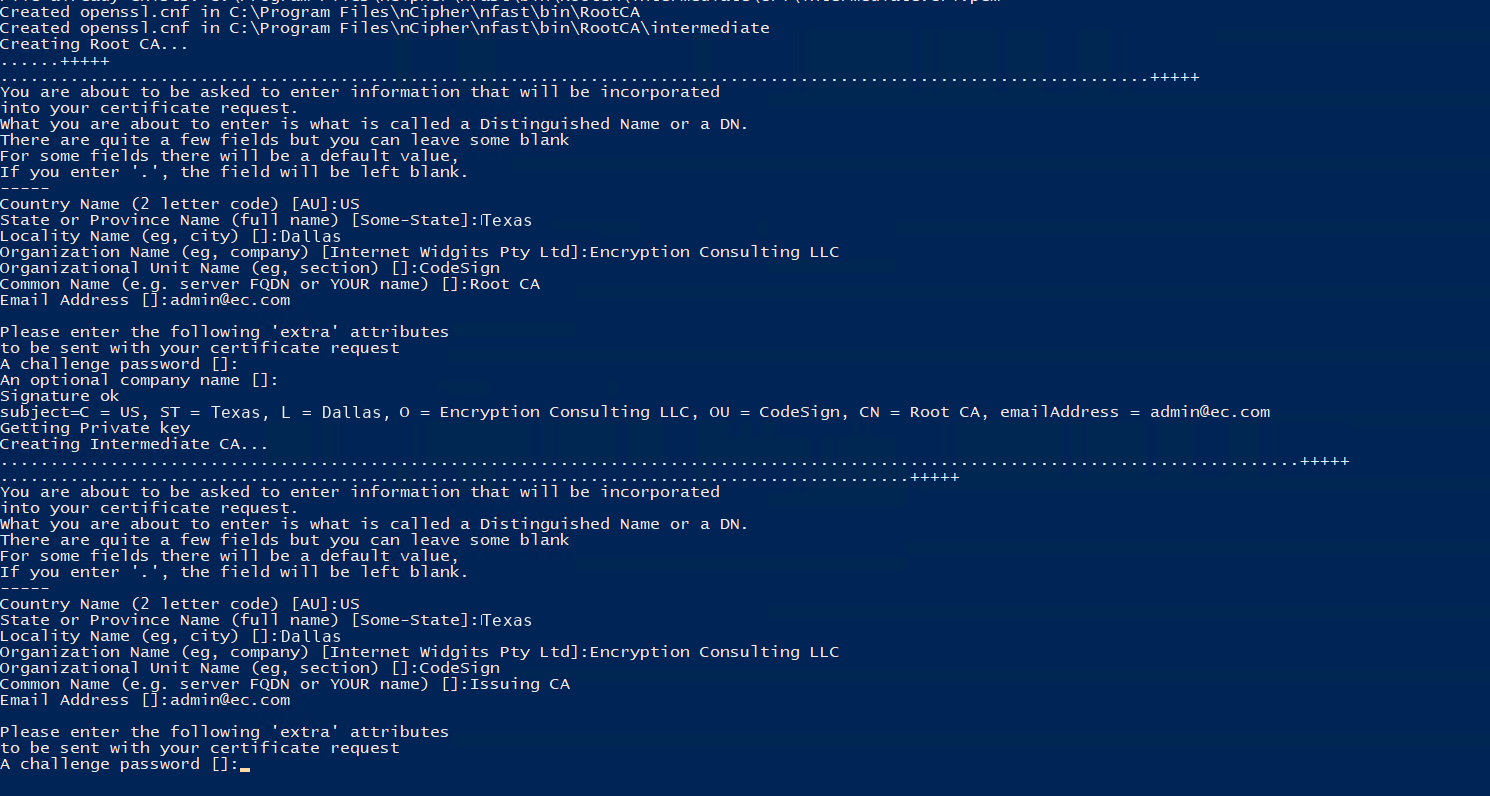
When the PowerShell window asks for certificate authority details, enter the distinguished name for each CA:
CA
Purpose
Root CA
Root of the code-signing certificates issued inside CodeSign Secure
Issuing CA
Issues code-signing end-entity certificates
Root CA for P12 authentication
Issues the client authentication certificates
Each CA asks the standard OpenSSL questions: two-letter country code, state or province, locality (city), organization, organizational unit, common name, and email address. Enter the state and city in their own fields. You can leave the challenge password and optional company name blank.
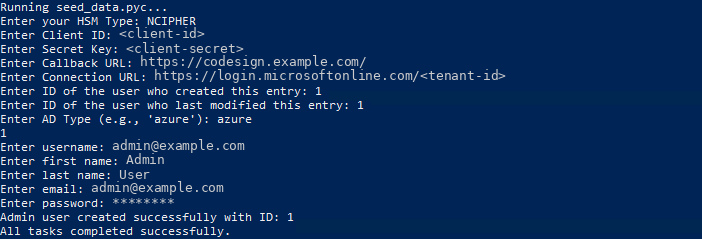
When the seed-data script runs, answer the prompts to create the first administrator:
Prompt
What to enter
Enter your HSM Type
Your HSM type, for example NCIPHER for Entrust nShield
Enter Client ID, Secret Key, Callback URL, Connection URL
Your Azure AD app registration values. See Identity Store.
ID of the user who created / last modified this entry
1
Enter AD Type
azure
username, first name, last name, email, password
The first System Admin account.
Important:
The console shows what you type, including the client secret and password. Close the window when the script finishes, don’t take screenshots of it, and change the password after your first sign-in if anyone else saw it.
The values in this screenshot are placeholders.
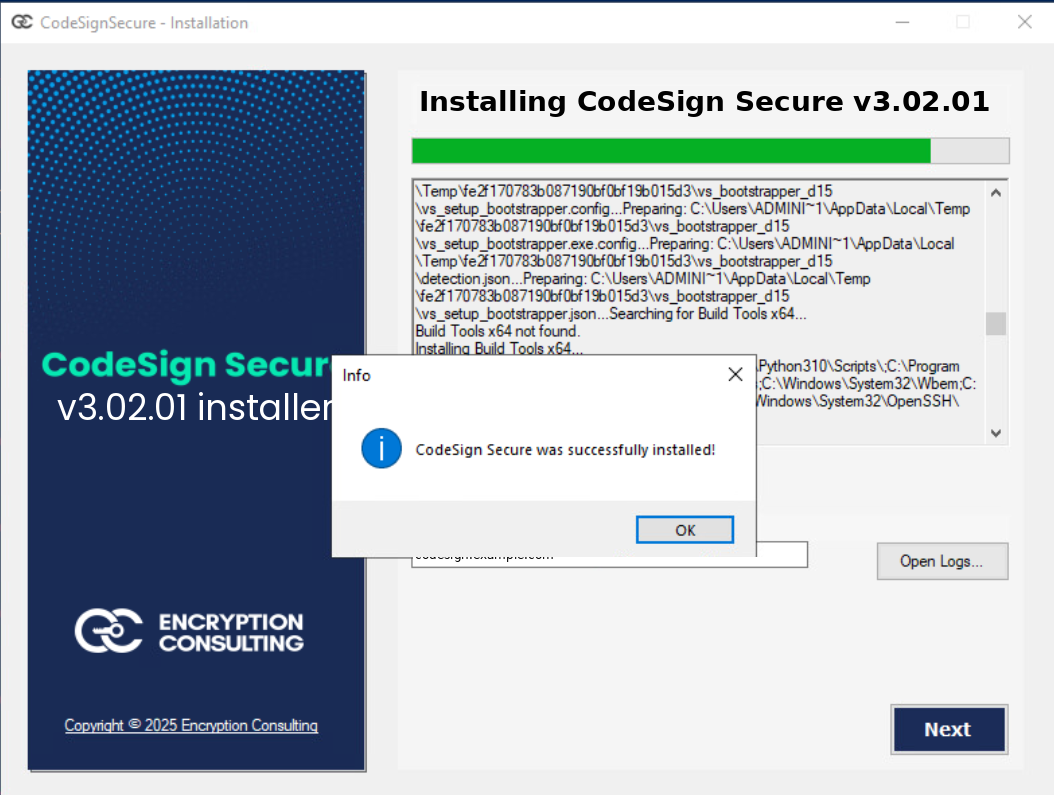
When CodeSign Secure was successfully installed! appears, select OK. Make sure every task in the PowerShell window and the installation wizard has finished.
Start the Apache Monitor from the taskbar and make sure Apache is running.
Verify the installation
Check
Expected result
Open https://<your domain>/ in a browser
The CodeSign Secure sign-in page loads.
Sign in with the System Admin account registered in the previous step
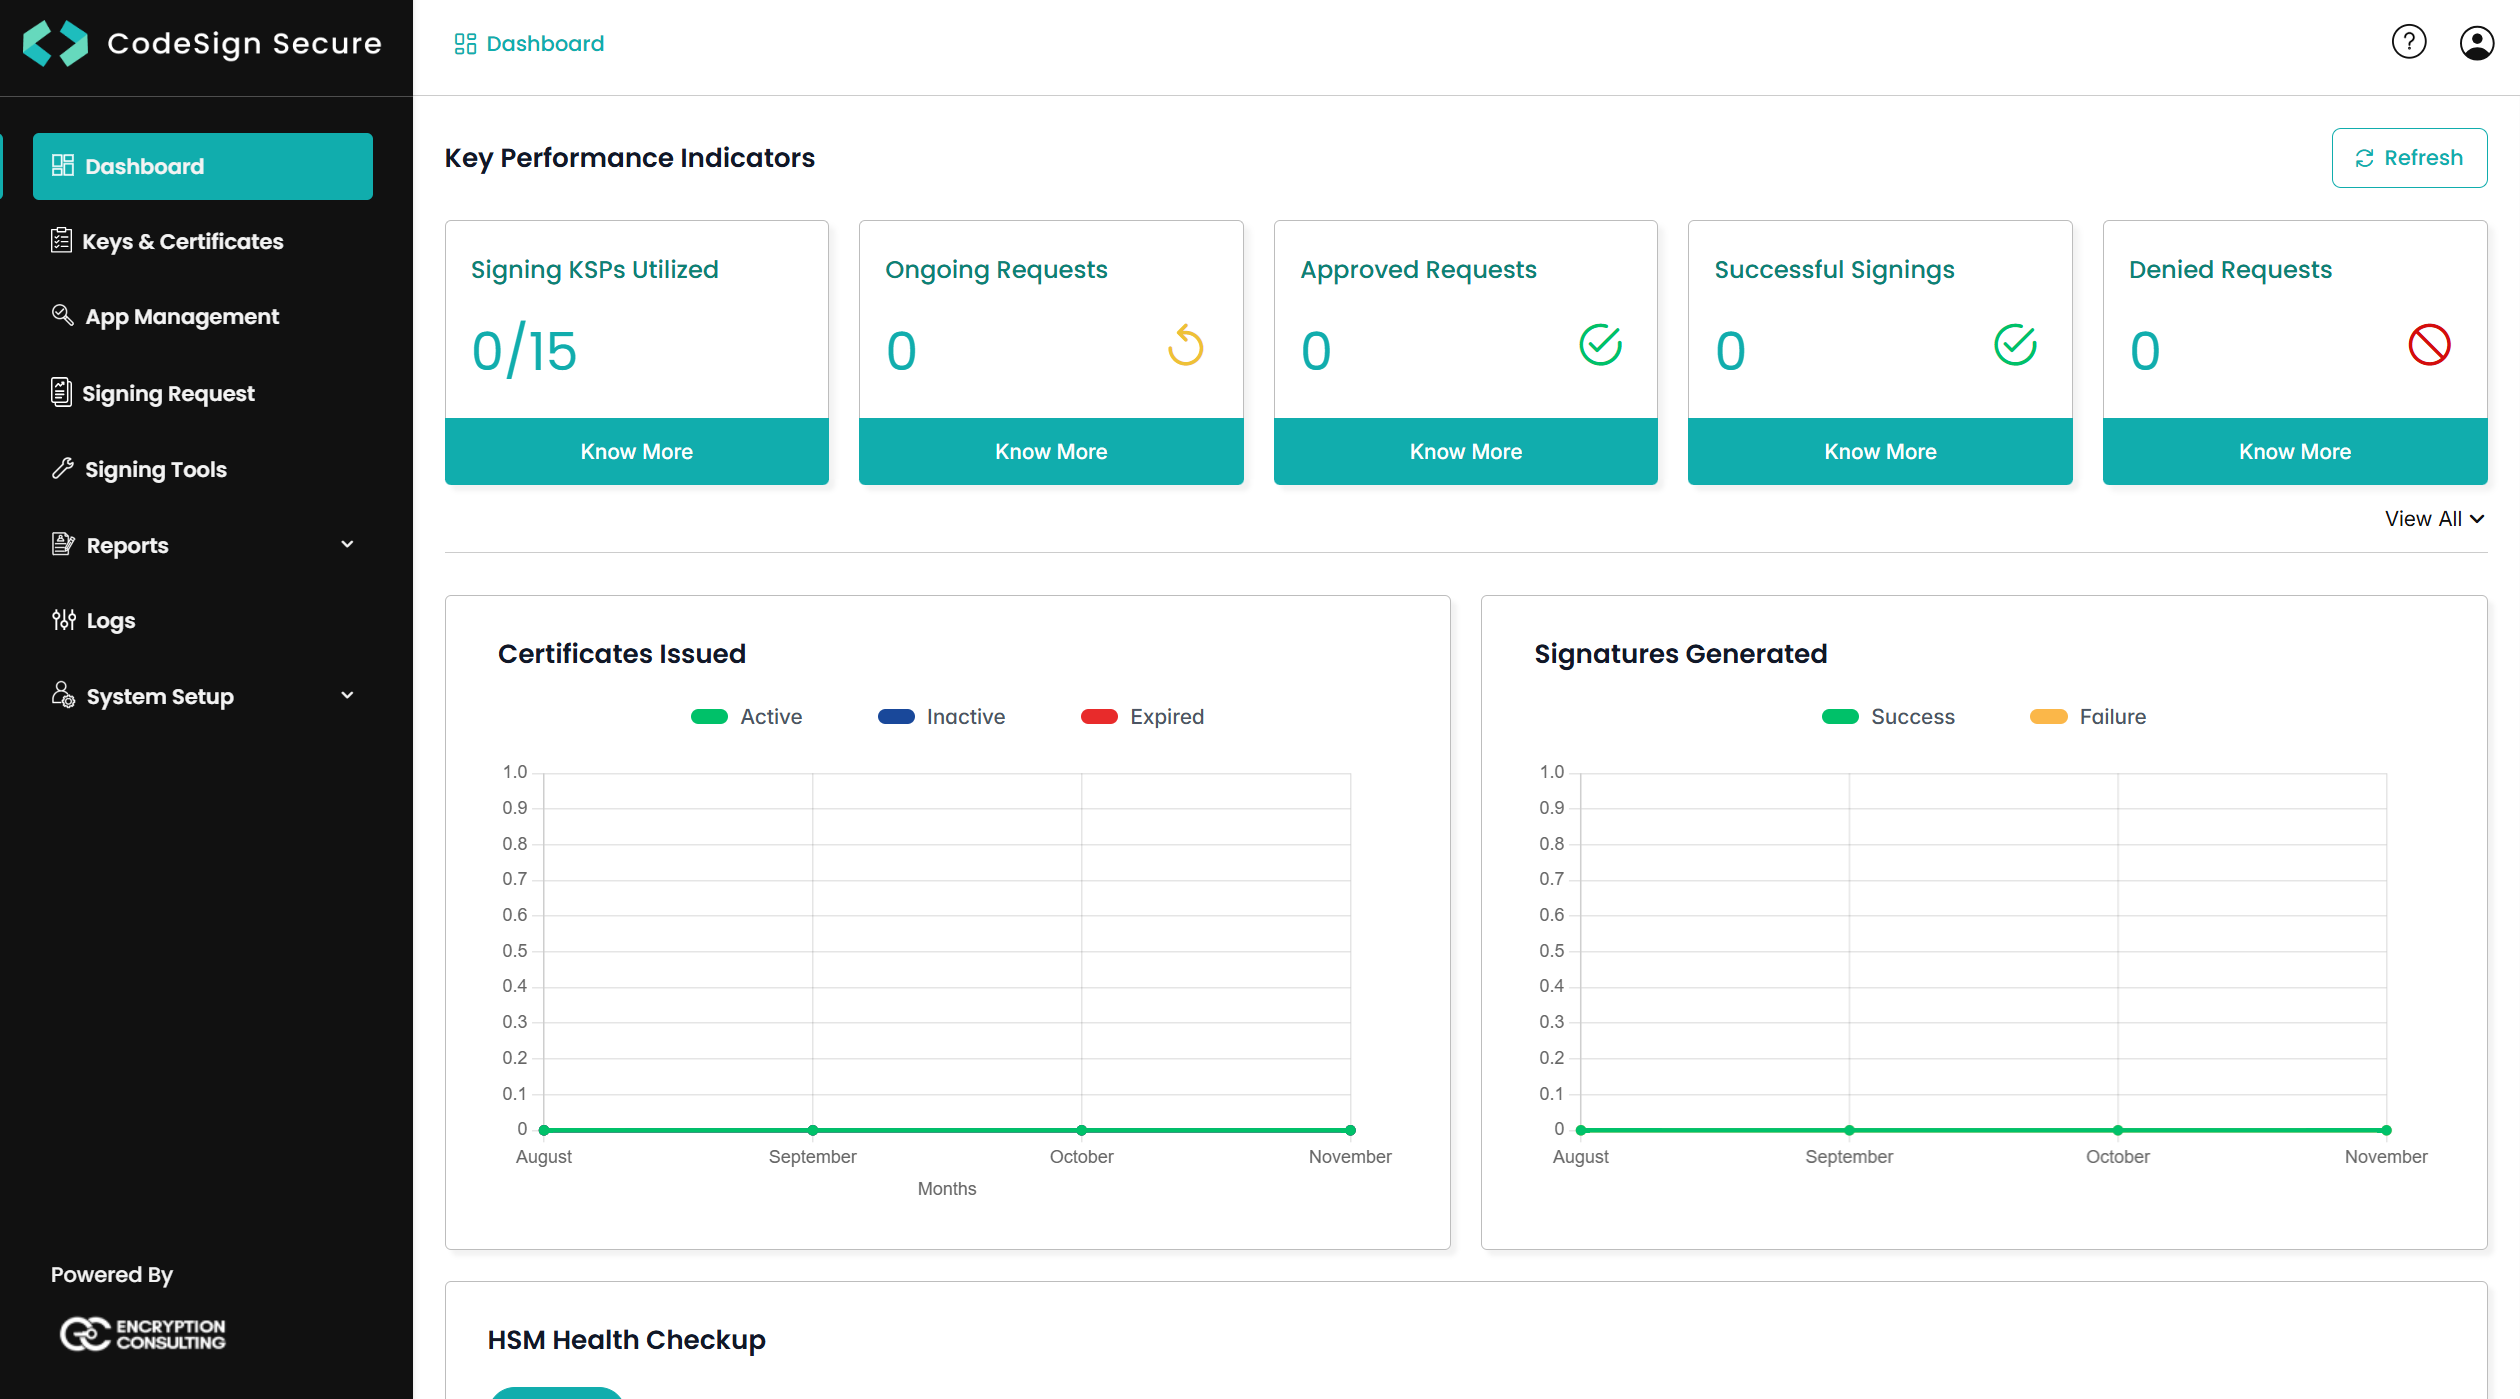
The Dashboard opens.
Dashboard > HSM Health Check
Status is Active, and the HSM model and serial number are shown.
Select Open Logs in the installer to find the failing step.
The installer can’t create the certificate authorities
For nShield, check that openssl.exe exists in C:\Program Files\nCipher\nfast\bin\.
The sign-in page doesn’t load
Check that Apache and both CodeSign Secure services are running and that the Frontend URL resolves to this server and is whitelisted in your firewall configurations.
HSM Health Check shows Inactive
Check the HSM client with the vendor tool, for example enquiry for nShield or vtl verify for Luna. Try to restart the HSM and apache service and check again on the portal.