CodeSign Secure Documentation
  • Overview
    • About CodeSign Secure
    • Getting Started
    • Documentation Guide
    • Portal Overview
    • Troubleshooting
      • FAQ
    • Glossary
  • Reference Guide
    • Header Bar
      • CodeSign Secure Documentation
      • Swagger API
      • Profile Section
    • Dashboard
      • Key Performance Indicators
      • Issued Certificates
      • Signatures Generated
      • HSM Health Check
    • Keys and Certificates
      • Key and Certificate Lifecycle
    • App Management
    • Signing Requests
      • Approval Workflows
    • Signing Tools
    • Reports
      • Signing Request Report
      • Audit Trail
      • Certificate Report
      • Client Report
    • Logs
    • System Setup
      • Identity Store
      • Backup
      • User
      • Roles and Permissions
      • Email
      • Signing Projects
      • SSL/TLS Management
      • Environment
      • Plugins
  • Setup & Architecture
    • Identity and Access Control
    • Architecture and Concepts
    • Installation
      • Windows
        • Installing the Server
        • Ports and Protocols
        • High Availability and Backup
        • Upgrades and Compatibility
    • Security
      • Security Hardening Checklist
      • Client Authentication
      • Designing Signing Policies
  • Release Notes
    • Releases for 2026
      • v3.2.1
    • Releases for 2025
      • v3.2.0
    • Releases for 2024
      • v3.1.0
  • API Reference
    • Getting Started
    • Authorizing Requests
    • Securing API Access
    • Request and Response Conventions
    • Endpoint Reference
      • Signing
      • Signing Requests
      • Certificates
      • Applications and Environments
      • User Management
      • Permissions
      • Email
      • System Setup
      • Reports
      • Dashboard
      • License
  • Integration Guides
    • Signing Capabilities
      • Supported Formats and Platforms
      • Timestamping
      • Windows Signing - SignTool
        • Signing
        • Macro Signing
      • Apple Signing
      • AppX & MSIX Signing
      • Visual Studio ClickOnce
      • Jar Signing
      • Sign HLK/HCK using CodeSign Secure
      • NuGet Signing
      • Mage Signing
      • Sign OVA/OVF using Encryption Consulting’s Utility Tool
      • Utility Tool for code signing
      • Container Signing
      • PKCS11 Wrapper
        • APK Signing
        • OpenSSL Signing
        • XML Signing
        • JSign Tool Signing
        • Jarsigner Signing
        • GPG2, Debian & RPM Signing
      • Reproducible Build
        • Automated Hash Validation
        • Reproducible Build Process Flow
        • Pipeline Script Components
        • Hash Validation
    • CI/CD Integration
      • GitHub Actions
      • Jenkins
      • GitLab
      • Azure DevOps
      • TeamCity
      • Bamboo
      • Securing CI/CD Credentials

GPG2, Debian & RPM Signing

GPG2, or GNU Privacy Guard 2, is a free, open-source implementation of the OpenPGP standard designed to provide powerful encryption and signing capabilities.

Important: This guide builds GnuPG from source and enables debug-all and verbose logging so that you can check each step. On production build machines, run signing as a dedicated non-root user, remove the debug and verbose options from the GnuPG configuration files once signing works, and restrict ec_pkcs11client.ini to that user with chmod 600.

NOTE: To perform Debian and RPM signings, you will still need to configure and set up GPG on your machine.

For Linux - Ubuntu

To perform Signing using GPG2 Tool and our PKCS11 Wrapper in Linux (Ubuntu) machine, you would need to follow the below steps:

Prerequisites
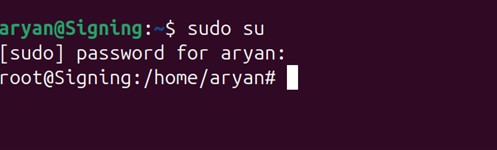
  • First, you need to be logged in as the root user before we move forward with GPG2 signing.

    sudo su
                      

    Login as Admin

  • To set up PKCS#11 Wrapper, you will need to run the following commands and install some dependencies and packages on your Ubuntu machine:

    • sudo apt-get install curl
    • sudo apt-get install liblog4cxx12
Installing EC’s PKCS#11 Wrapper
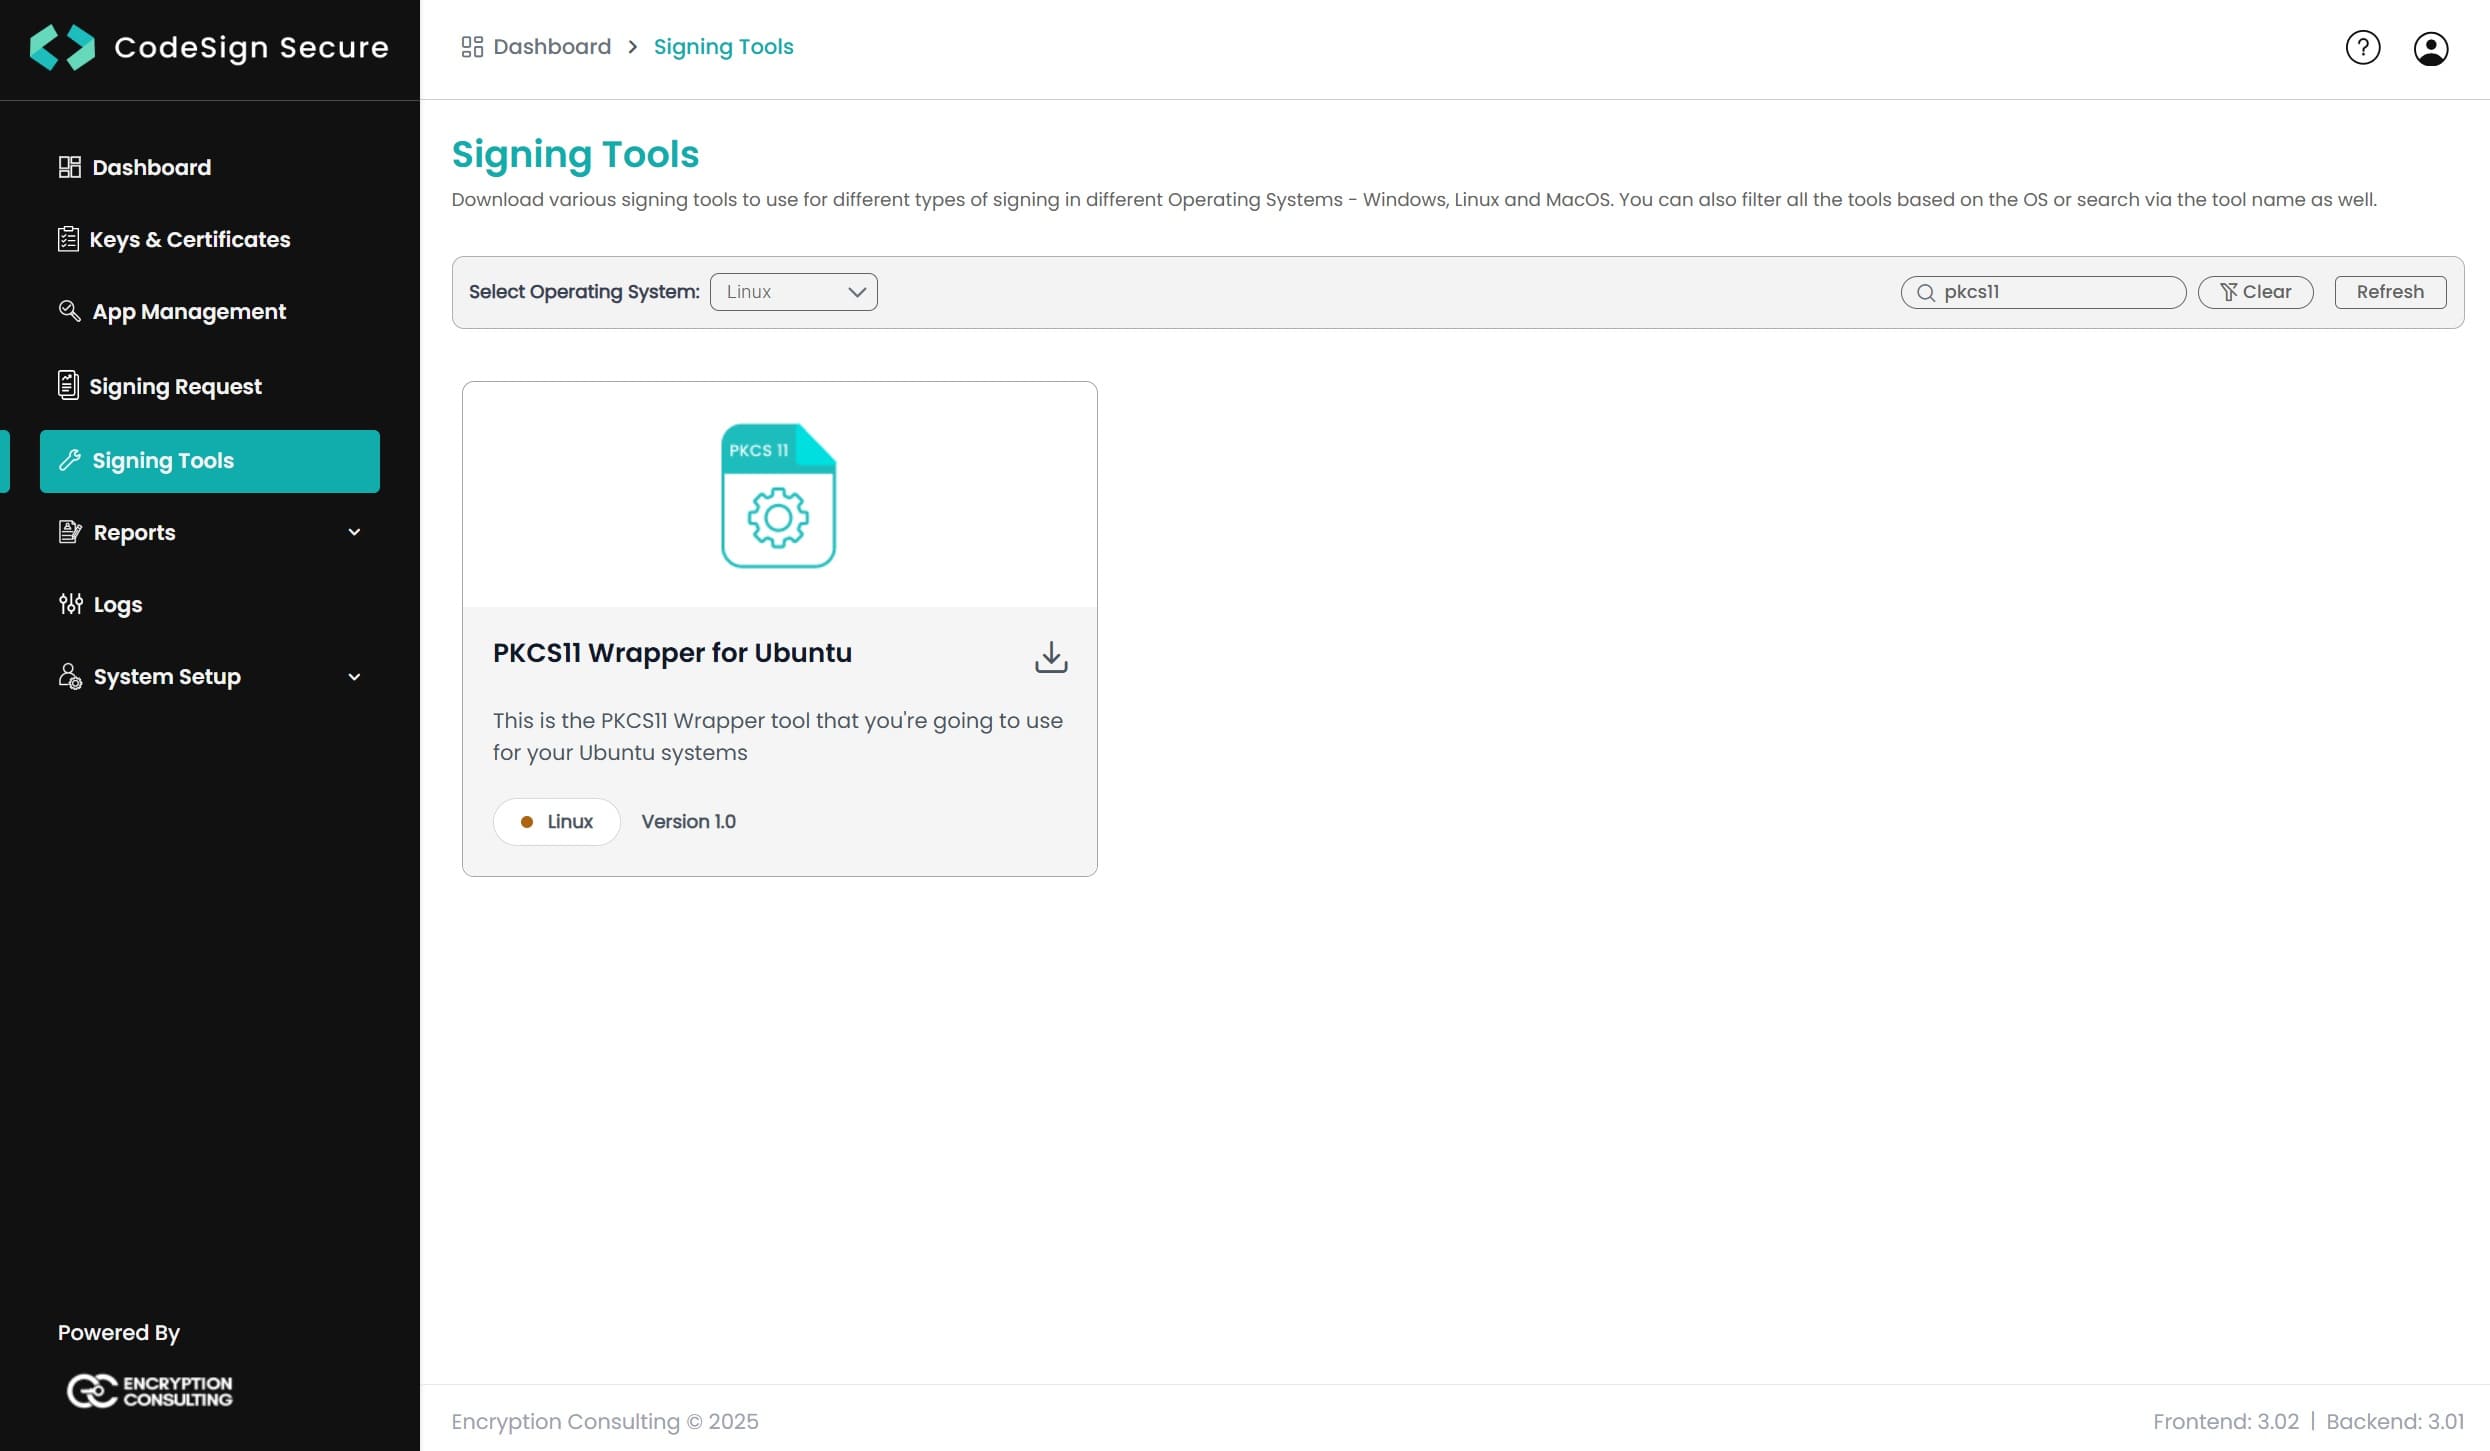
  • Go to EC CodeSign Secure’s v3.02’s Signing Tools section and download the PKCS11 Wrapper for Ubuntu.

    PKCS11 Wrapper Linux

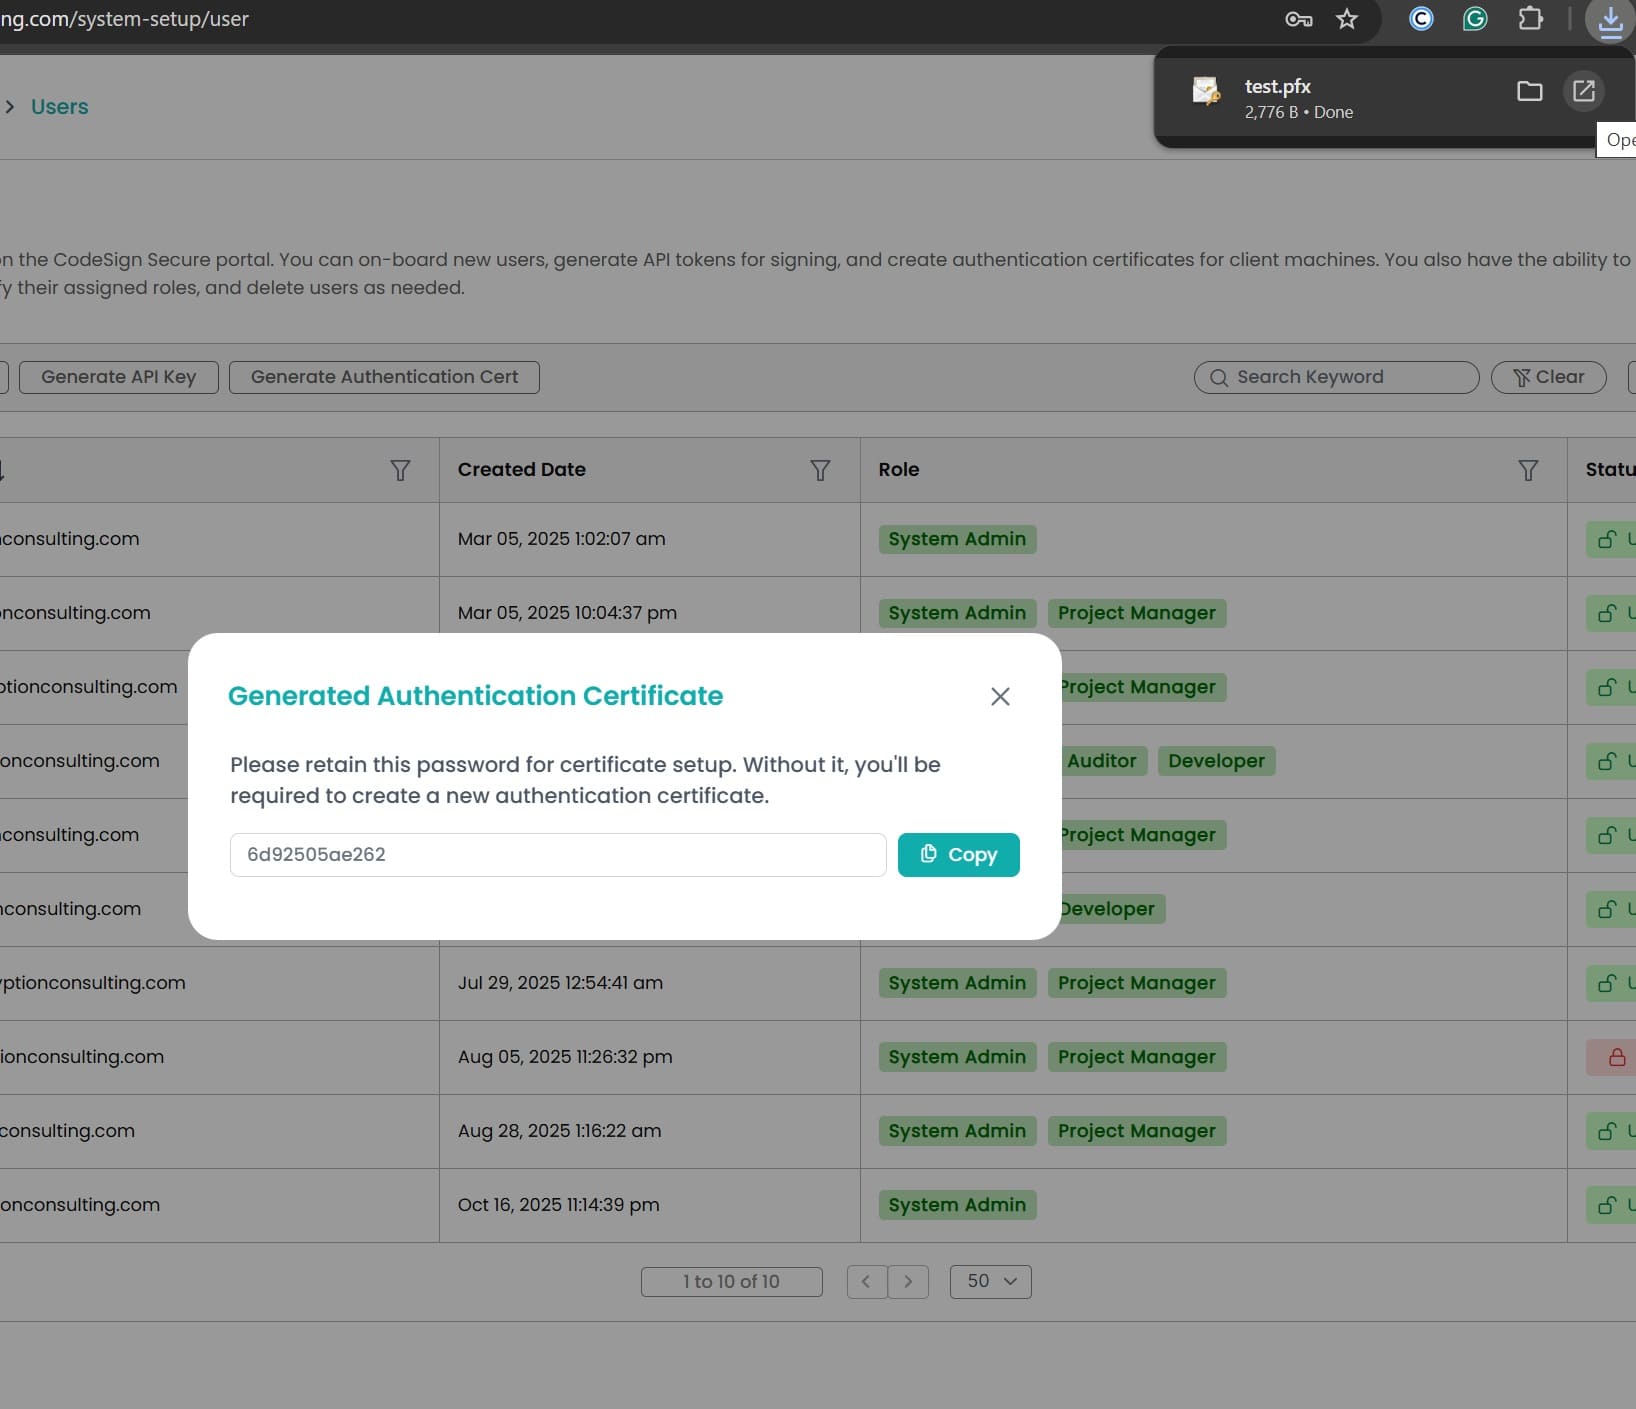
  • After that, generate a P12 Authentication certificate from the System Setup > User > Generate Authentication Certificate dropdown.

    Authentication Certificate

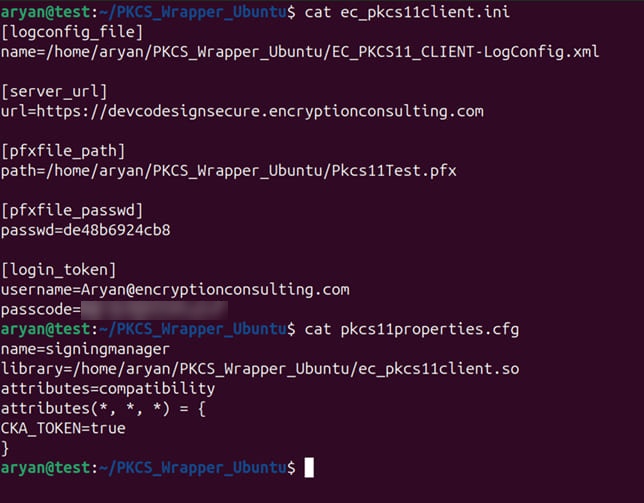
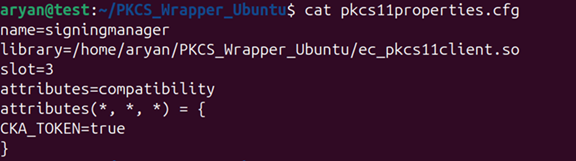
  • Go to your Ubuntu client system and edit the configuration files (ec_pkcs11client.ini and pkcs11properties.cfg) downloaded in the PKCS11 Wrapper.

    APK configuration setup Linux

    NOTE: When using Luna HSM, add the slot number in the pkcs11properties.cfg file as shown below:

    Configuration setup Linux in Luna

  • Now we need to add the environment variable for the pkcs11 client library.

    Run the below command to open the bashrc file:

    nano ~/.bashrc
                      

    Open Nano File

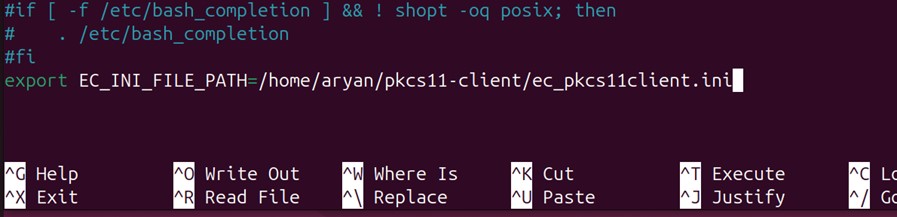
    Now add the EC_INI_FILE_PATH variable with the path of the .ini at the end of the bashrc file, like:

    export EC_INI_FILE_PATH=/home/aryan/pkcs11-client/ec_pkcs11client.ini
                      

    Set Variable

    Press Ctrl+X, then enter Y, and then press Enter to save.

    Reload the environment variables

    source ~/.bashrc
                      

    Reload Nano File

    Check whether the variable has been set correctly

    echo $EC_INI_FILE_PATH
                      

    Check Variable

    NOTE: If you can't see the file location from echo commands, open a new terminal and try again.

GPG2 Setup
Installing Gnupg (version 2.5.4) package
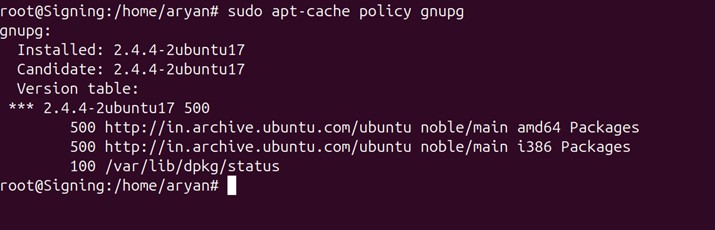
  • Check the default version of gnupg in your ubuntu machine

    sudo apt-cache policy gnupg
                      

    Check Default Version of Gnupg

    If the 2.5.4 version is present in your system, you can run the below command and go to the next section:

    sudo apt install gnupg
                      

    Since this version is not present, you would need to perform the following steps:

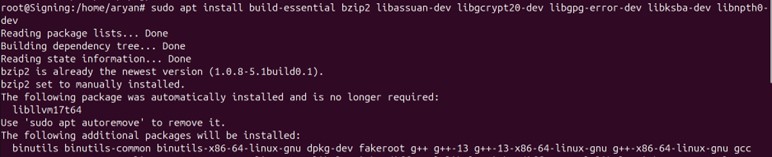
    • Install the required build tools and dependencies for the gnupg package.

      sudo apt install build-essential bzip2 libassuan-dev libgcrypt20-dev libgpg-error-dev libksba-dev libnpth0-dev
                            

      Prerequisites for Gnupg

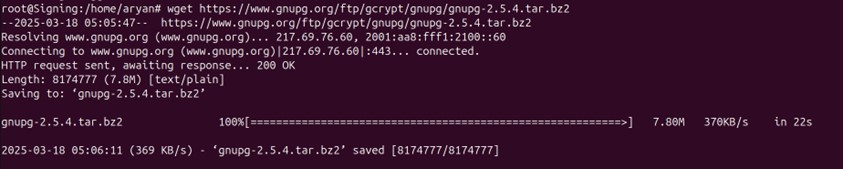
    • Download the 2.5.4 version of gnupg using the below command

      wget https://www.gnupg.org/ftp/gcrypt/gnupg/gnupg-2.5.4.tar.bz2
                            

      Download Gnupg

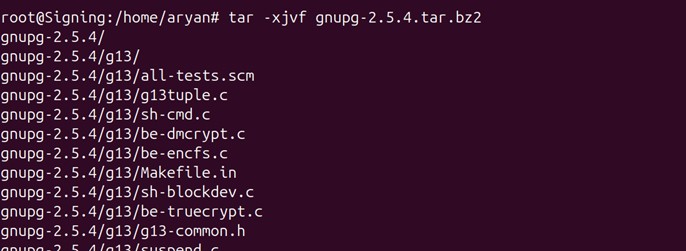
    • Extract the Archive

      tar -xjvf gnupg-2.5.4.tar.bz2
                            

      Extract Gnupg

    • Go to the newly created gnupg-2.5.4 directory

      cd gnupg-2.5.4
                            

      Change Directory Gnupg

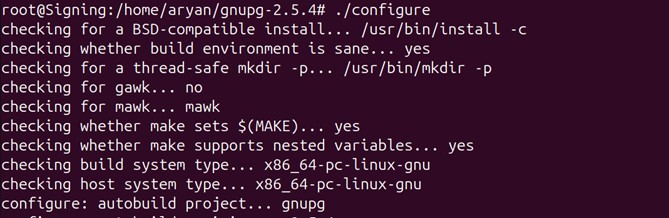
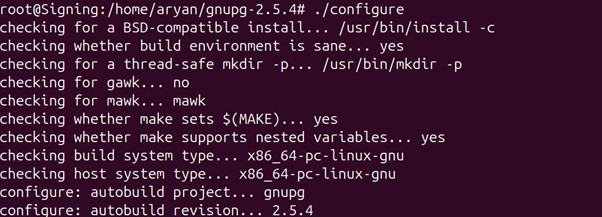
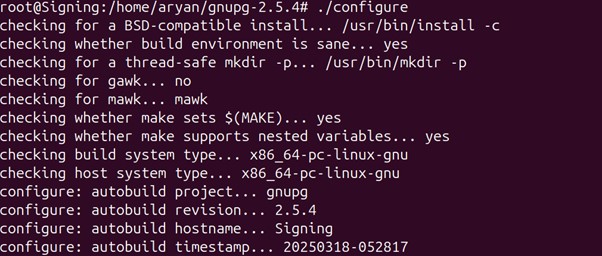
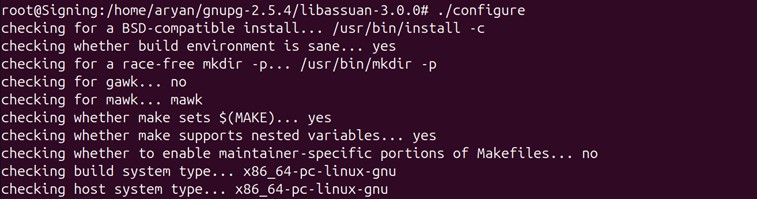
    • Run the configure file

      ./configure
                            

      Configure Gnupg

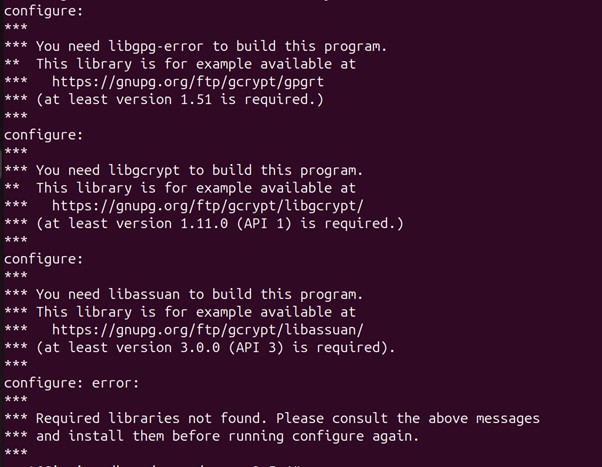
      If this release of GnuPG requires some newer shared libraries than you have installed, the output of the configure command will tell you, as shown in the image below:

      New Libraries for Gnupg

      The above output of the configure command tells us we need to build and install the latest version of the libgpg-error, libgcrypt, and libassuan libraries.

    • Install the additional dependencies for GPG2
    • Install the libgpg-error version from the link provided as the configure command output

      wget https://gnupg.org/ftp/gcrypt/gpgrt/libgpg-error-1.51.tar.bz2
                            

      Download Additional Libgpg Error Package

      Extract the archive

      tar xf libgpg-error-1.51.tar.bz2
                            

      Download Additional Libgpg Error Package

      Go to the newly created libgpg-error-1.51 directory

      cd libgpg-error-1.51/
                            

      Download Additional Libgpg Error Package

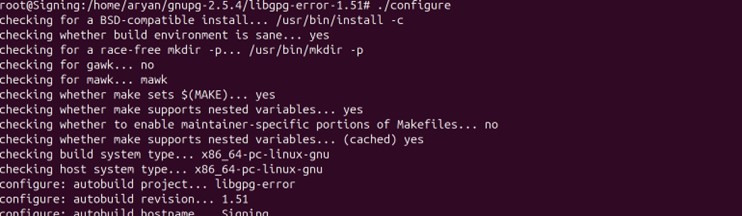
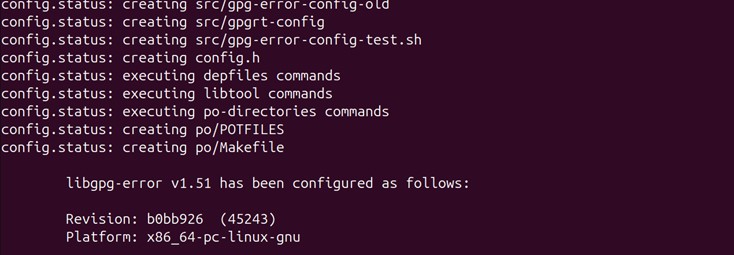
      Run the configure file

      ./configure
                            

      Download Additional Libgpg Error Package

      Download Additional Libgpg Error Package

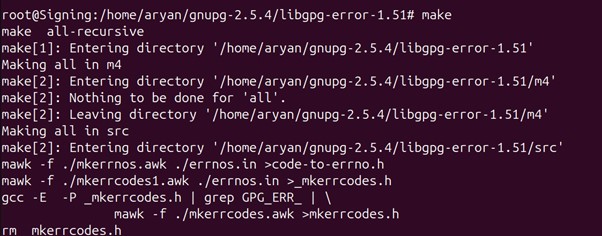
      Run the make command

      make
                            

      Download Additional Libgpg Error Package

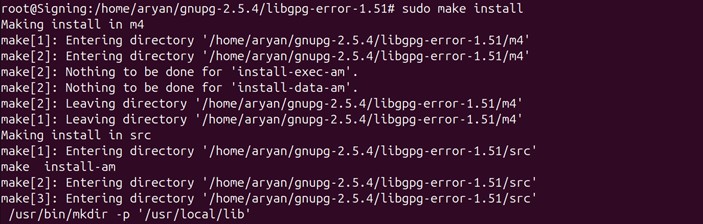
      Install the package

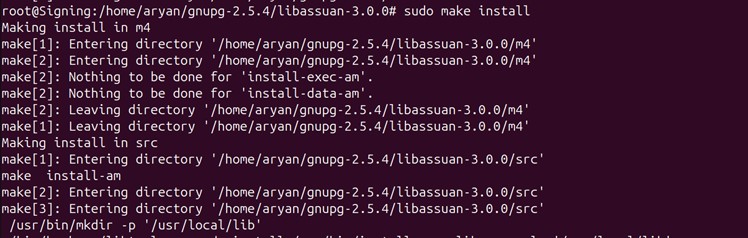
      sudo make install
                            

      Download Additional Libgpg Error Package

      Update the system's dynamic linker cache using the below command:

      sudo ldconfig
                            

      Download Additional Libgpg Error Package

      Go back one directory (../gnupg-2.5.4) to install other libraries

      cd ..
                            

      Download Additional Libgpg Error Package

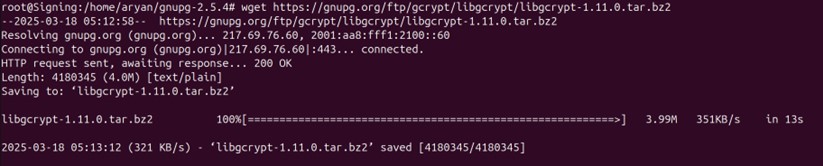
    • Install the libgcrypt version from the link provided as the configure command output

      wget https://gnupg.org/ftp/gcrypt/libgcrypt/libgcrypt-1.11.0.tar.bz2
                            

      Download Additional Libgcrypt Package

      Extract the archive

      tar xf libgcrypt-1.11.0.tar.bz2
                            

      Download Additional Libgcrypt Package

      Go to the newly created libgcrypt-1.11.0 directory

      cd libgcrypt-1.11.0/
                            

      Download Additional Libgcrypt Package

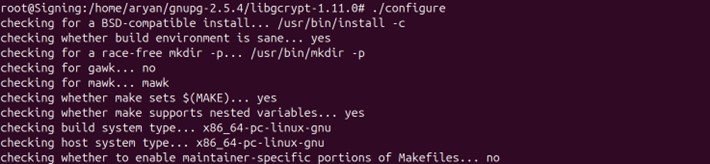
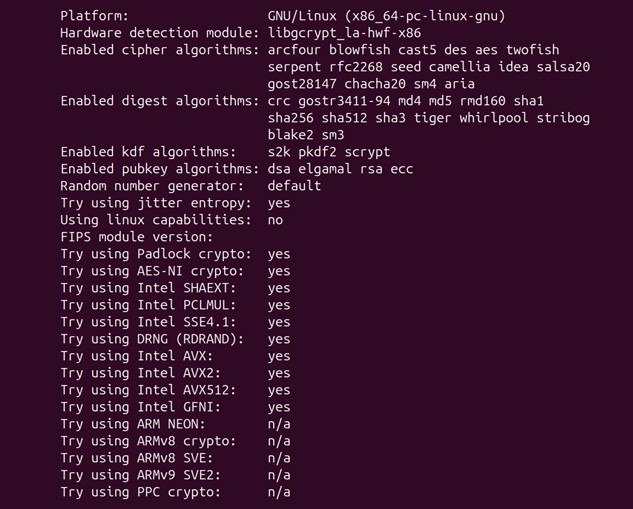
      Run the configure file

      ./configure
                            

      Download Additional Libgcrypt Package

      Download Additional Libgcrypt Package

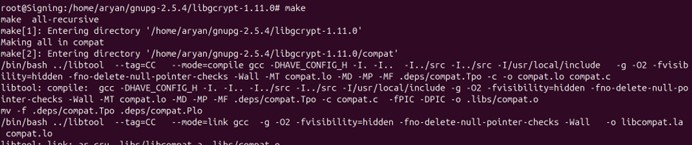
      Run the make command

      make
                            

      Download Additional Libgcrypt Package

      Install the package

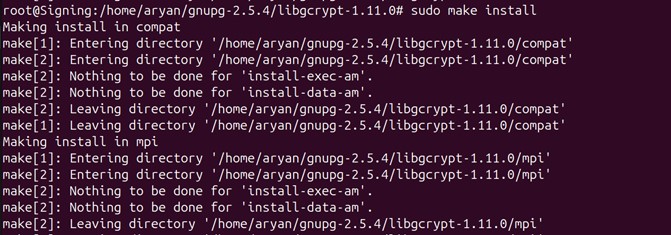
      sudo make install
                            

      Download Additional Libgcrypt Package

      Update the system's dynamic linker cache using the below command:

       sudo ldconfig
                            

      Download Additional Libgcrypt Package

      Go back one directory (../gnupg-2.5.4) to install other libraries

      cd ..
                            

      Download Additional Libgcrypt Package

    • Install libassuan version from the link provided as the configure command output

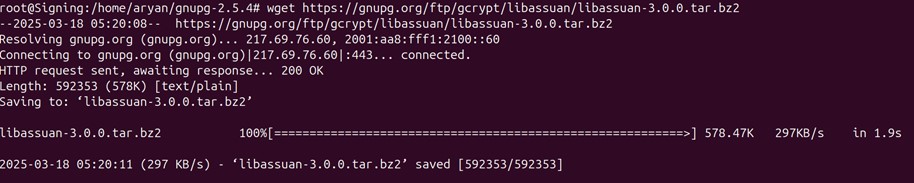
      wget https://gnupg.org/ftp/gcrypt/libassuan/libassuan-3.0.0.tar.bz2
                            

      Download Additional Libassuan Package

      Extract the archive

      tar xf libassuan-3.0.0.tar.bz2
                            

      Download Additional Libassuan Package

      Go to the newly created libassuan-3.0.0 directory

      cd libassuan-3.0.0/
                            

      Download Additional Libassuan Package

      Run the configure file

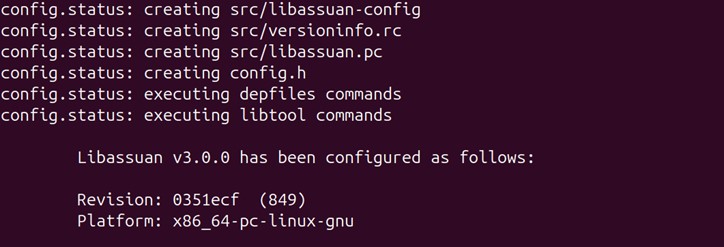
      ./configure
                            

      Download Additional Libassuan Package

      Download Additional Libassuan Package

      Run the make command

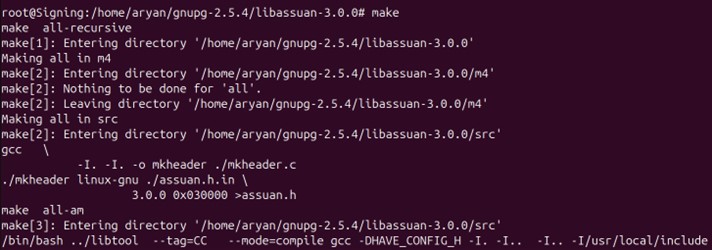
      make
                            

      Download Additional Libassuan Package

      Install the package

      sudo make install
                            

      Download Additional Libassuan Package

      Update the system's dynamic linker cache using the below command:

      sudo ldconfig
                            

      Download Additional Libassuan Package

      After installing all the libraries as directed by the original GnuPG configure command result, change back to the GnuPG release directory,

      cd ..
                            

      Download Additional Libassuan Package

    • Run the configure file from the gnupg-2.5.4 directory

      ./configure
                            

      Configure Gnupg

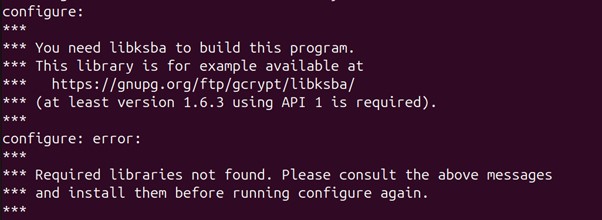
      Check the output of the above command

      Configure Gnupg

      The above output of the configure command again tells us we need to build and install another library with the latest version for libksba.

    • Install libksba version from the link provided as the configure command output

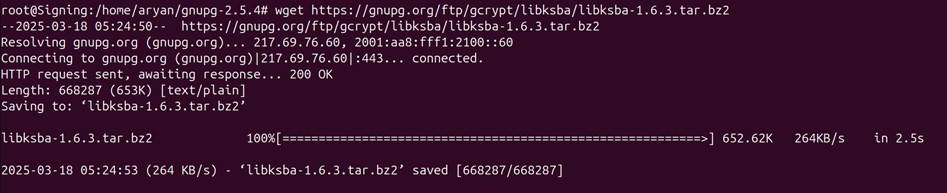
      wget https://gnupg.org/ftp/gcrypt/libksba/libksba-1.6.3.tar.bz2
                            

      Download Additional Libksba Package

      Extract the archive

      tar xf libksba-1.6.3.tar.bz2
                            

      Download Additional Libksba Package

      Go to the newly created libksba-1.6.3 directory

      cd libksba-1.6.3/
                            

      Download Additional Libksba Package

      Run the configure file

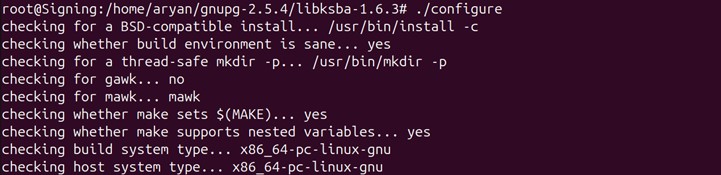
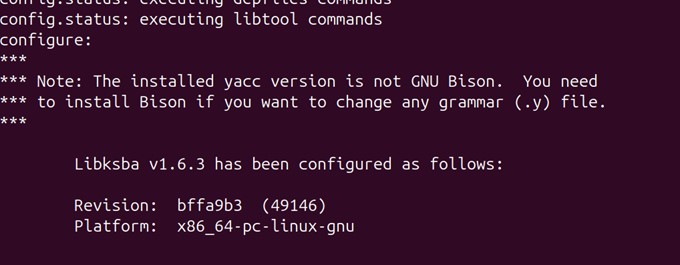
      ./configure
                            

      Download Additional Libksba Package

      Download Additional Libksba Package

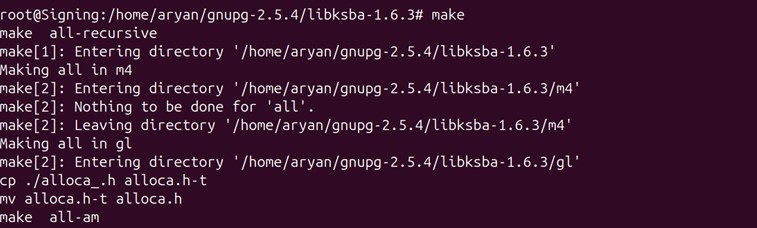
      Run the make command

      make
                            

      Download Additional Libksba Package

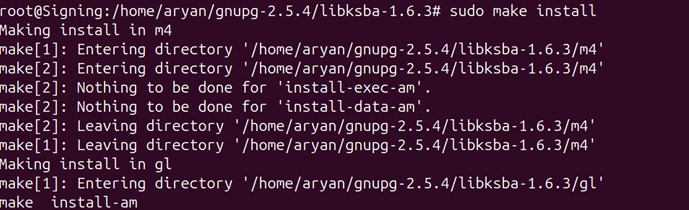
      Install the package

      sudo make install
                            

      Download Additional Libksba Package

      Update the system's dynamic linker cache using the below command:

      sudo ldconfig
                            

      Download Additional Libksba Package

      Go back one directory (../gnupg-2.5.4)

      cd ..
                            

      Download Additional Libksba Package

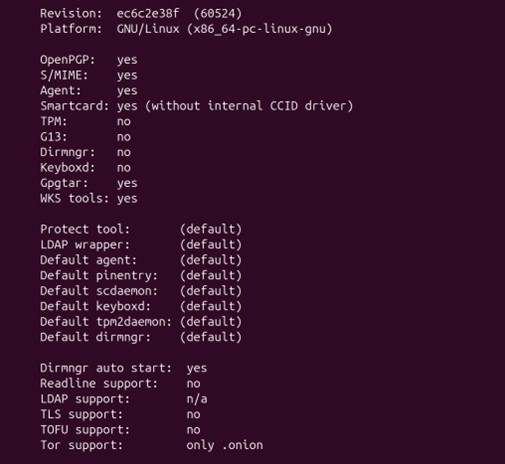
  • Run the configure file again from the gnupg-2.5.4 directory

    ./configure
                        

    Configure GnuPG

    Check the output of the above command

    Configure GnuPG

    Since there is no error of package version, we can move forward with the installation

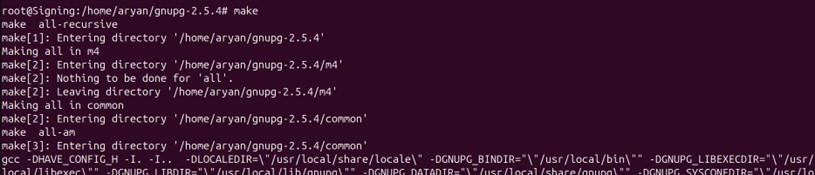
  • Run the make command

    make
                        

    Configure GnuPG

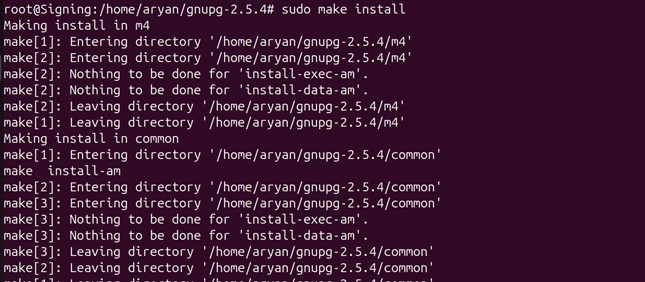
  • Install the package

    sudo make install 
                        

    Configure GnuPG

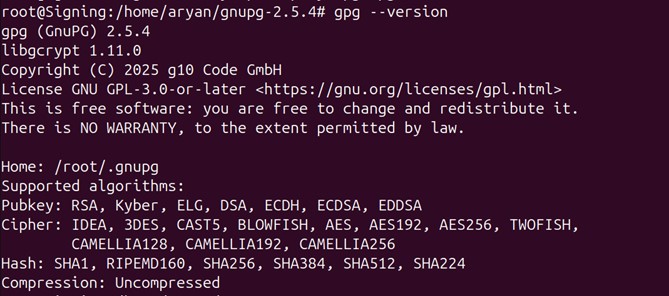
  • Check whether gpg has been installed correctly or not

    gpg --version
                        

    Check GPG

  • Check whether gpg-agent has been installed correctly or not

    gpg-agent --version
                        

    Check GPG Agent

Installing Gnupg-pkcs11-scd (version 0.11.0) package
  • Check the default version of gnupg-pkcs11-scd in your ubuntu machine

    sudo apt-cache policy gnupg-pkcs11-scd
                      

    Check gnupg-pkcs-scd version

    If the required version, 0.11.0, is installed on your machine, run the below command:

    sudo apt install gnupg-pkcs11-scd
                      

    Otherwise, you would need to perform the following steps:

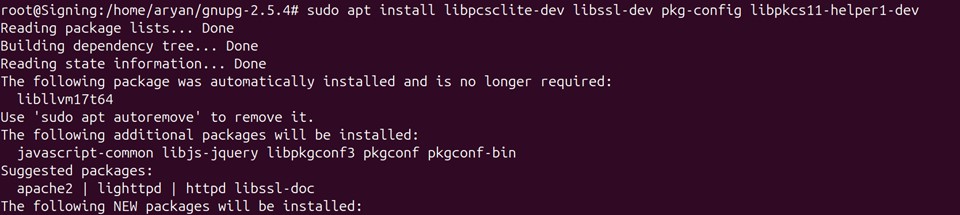
    • Install the required build tools and dependencies for gnupg-pkcs11-scd package.
      sudo apt install libpcsclite-dev libssl-dev pkg-config libpkcs11-helper1-dev
                            

      Prerequisites for gnupg-pkcs-scd

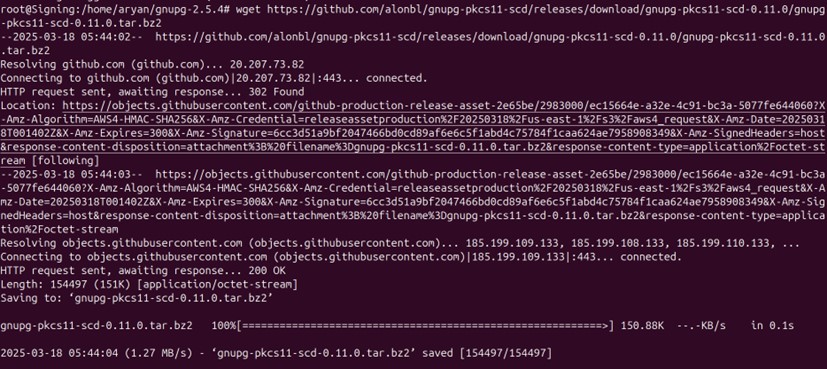
    • Download the required package

      wget https://github.com/alonbl/gnupg-pkcs11-scd/releases/download/gnupg-pkcs11-scd-0.11.0/gnupg-pkcs11-scd-0.11.0.tar.bz2
                            

      Download gnupg-pkcs-scd

    • Extract the Archive

      tar xf gnupg-pkcs11-scd-0.11.0.tar.bz2
                            

      Extract gnupg-pkcs-scd

    • Go to the newly created gnupg-pkcs11-scd-0.11.0 directory

      cd ./gnupg-pkcs11-scd-0.11.0/
                            

      Change directory to gnupg-pkcs-scd

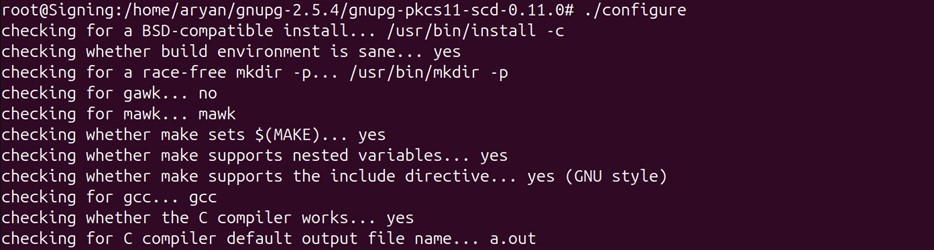
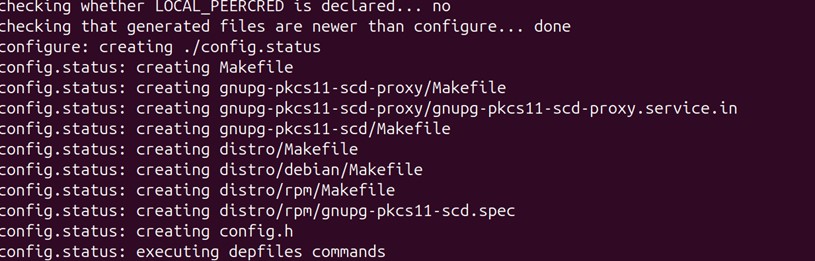
    • Run the configure file

      ./configure
                            

      Configure gnupg-pkcs-scd

      Check the output of the above command

      Configure gnupg-pkcs-scd

      Since there is no error of package version, we can move forward with the installation

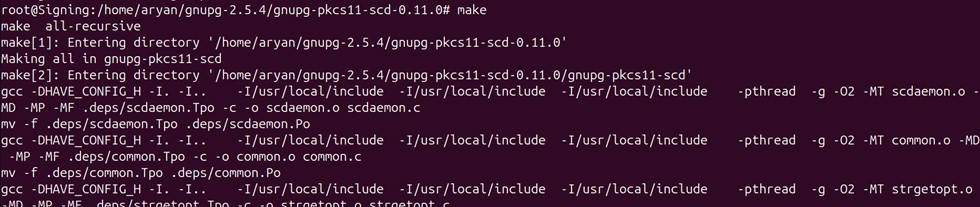
    • Run the make command

       make
                            

      Make gnupg-pkcs-scd package

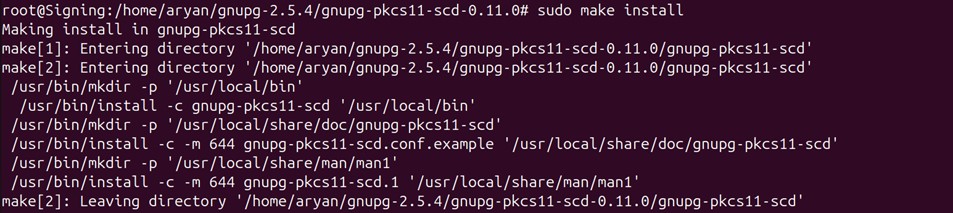
    • Install the package

      sudo make install
                            

      Install gnupg-pkcs-scd package

    • Update the system's dynamic linker cache using the below command:

      sudo ldconfig
                            

      Update ldconfig

    • Check whether gnupg-pkcs11-scd has been installed correctly or not

      gnupg-pkcs11-scd --version
                            

      Check version of gnupg-pkcs-scd

Create the Gnupg Directory and Environment Variables
  • Check whether /root/.gnupg directory exists or not in your system

    ls -ld /root/.gnupg
                      

    Check directory /root/.gnupg

    If not, then use the below command to make the directory

    mkdir /root/.gnupg
                      

    Make directory /root/.gnupg

  • Add the environment variables for GPG Agent and Gnupg-pkcs11 socket directory.

    Open the bashrc file using the below command

     nano ~/.bashrc
                      

    Open Bashrc file

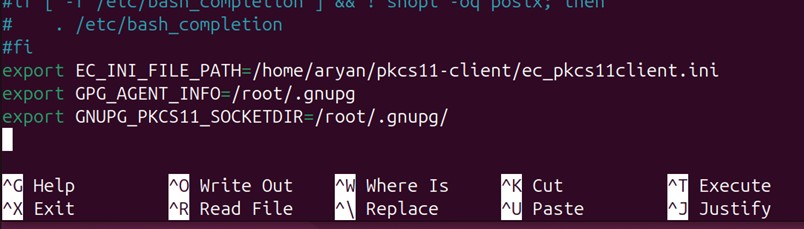
    Paste the below commands as per the file locations in your system, at the end of the file, like:

    export GPG_AGENT_INFO=/root/.gnupg
    export GNUPG_PKCS11_SOCKETDIR=/root/.gnupg/
                      

    Edit Bashrc file

    Press Ctrl+X, then enter Y, and then press Enter to save.

  • Reload the bashrc file

    source ~/.bashrc
                      

    Reload Bashrc file

  • To Check these variables, run:

    echo $GPG_AGENT_INFO
                      
    echo $GNUPG_PKCS11_SOCKETDIR
                      

    Check Variables

    If you can't see the file location from echo commands, open a new terminal and try again.

Create the Configuration Files
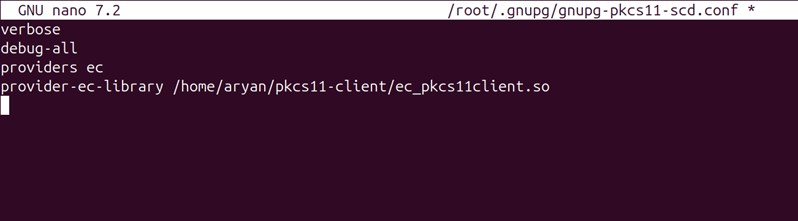
  • Create a gnupg-pkcs11-scd.conf file in /root/.gnupg directory

    Run the following command to create/edit the file

    nano /root/.gnupg/gnupg-pkcs11-scd.conf
                      

    Open gnupg-pkcs11-scd.conf file

    Modify and configure the file as per the below command and your system’s file locations:

    verbose
    debug-all
    providers ec
    provider-ec-library /home/aryan/pkcs11-client/ec_pkcs11client.so

    Edit gnupg-pkcs11-scd.conf file

    Press Ctrl+X, then enter Y, and then press Enter to save.

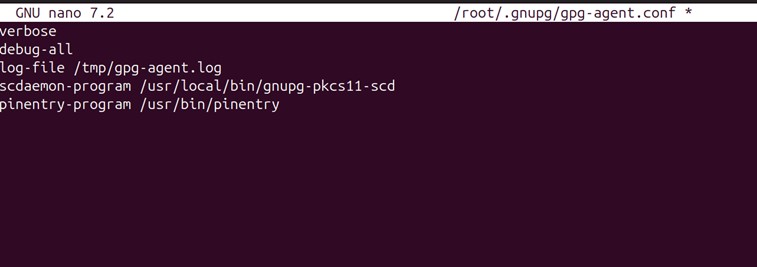
  • Create a gpg-agent.conf file in /root/.gnupg directory

    Run the following command to create/edit the file

    nano /root/.gnupg/gpg-agent.conf
                      

    Open gnupg-agent.conf file

    Modify and configure the file as per the below command and your system’s file locations:

    verbose
    debug-all
    log-file /tmp/gpg-agent.log
    scdaemon-program /usr/local/bin/gnupg-pkcs11-scd
    pinentry-program /usr/bin/pinentry

    Edit gnupg-agent.conf file

    Press Ctrl+X, then enter Y, and then press Enter to save.

  • Create a gpg.conf file in /root/.gnupg directory

    Run the following command to create/edit the file

    nano /root/.gnupg/gpg.conf
                      

    Open gpg.conf file

    Modify and configure the file as per the below command and your system’s file locations:

    use-agent   #log-file /tmp/gpg.log
                      

    NOTE: You can uncomment the line (by removing the # symbol) to generate a gpg.log file

    Edit gpg.conf file

    Press Ctrl+X, then enter Y, and then press Enter to save.

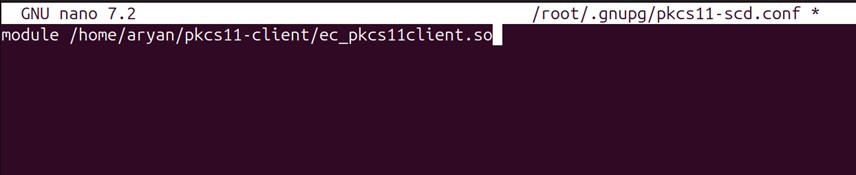
  • Create a pkcs11-scd.conf file in /root/.gnupg directory

    Run the following command to create/edit the file

    nano /root/.gnupg/pkcs11-scd.conf
                      

    Open pkcs-scd.conf file

    Modify and configure the file as per the below command and your system’s file locations:

    module /home/aryan/pkcs11-client/ec_pkcs11client.so
                      

    Edit pkcs11-scd.conf file

    Press Ctrl+X, then enter Y, and then press Enter to save.

  • Create a scdaemon.conf file in /root/.gnupg directory

    Run the following command to create/edit the file

    nano /root/.gnupg/scdaemon.conf
                      

    Open scdaemon.conf file

    Add the below command to this file:

    disable-ccid
                      

    Edit scdaemon.conf file

    Press Ctrl+X, then enter Y, and then press Enter to save.

Start the GPG Agent
  • To check if gpg-agent is running on your ubuntu machine

    ps -aef | grep gpg
                      

    Check gpg agent status

    If any agent is already running, you will need to kill that instance and start a new one.

  • To kill an instance of the agent, use the following command with the changes to the PID number (number after the “root” user in the above image) as per your machine

    kill -9 <PID>
                      

    Kill gpg agent

    kill -9 <PID>
                      

    Kill gpg agent

  • Start a new gpg agent

     sudo gpg-agent --verbose --debug-level advanced --daemon
                      

    Start a new gpg agent

  • Check again that only one gpg-agent is running on your ubuntu machine

    ps -aef | grep gpg
                      

    Check gpg agent status

Retrieve and Import the Keys and Certificates into GPG2
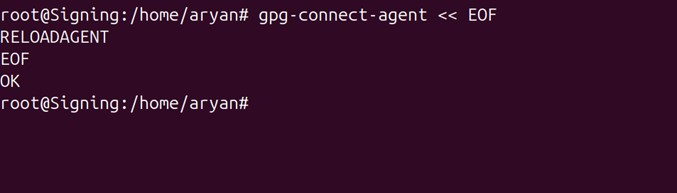
  • Reload the agent

    gpg-connect-agent <<EOF
    RELOADAGENT
    EOF

    Reload gpg agent

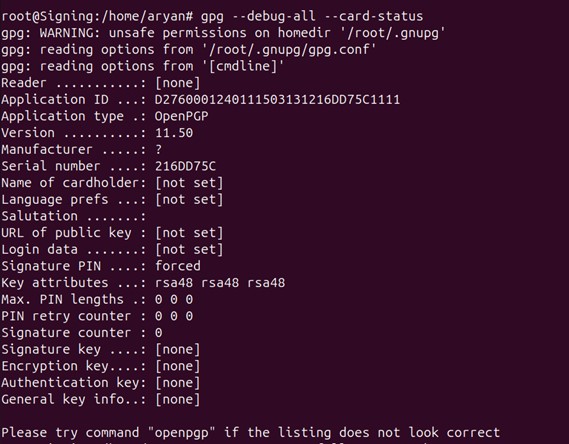
  • Retrieve card status

    gpg --debug-all --card-status
                      

    Retrieve card status

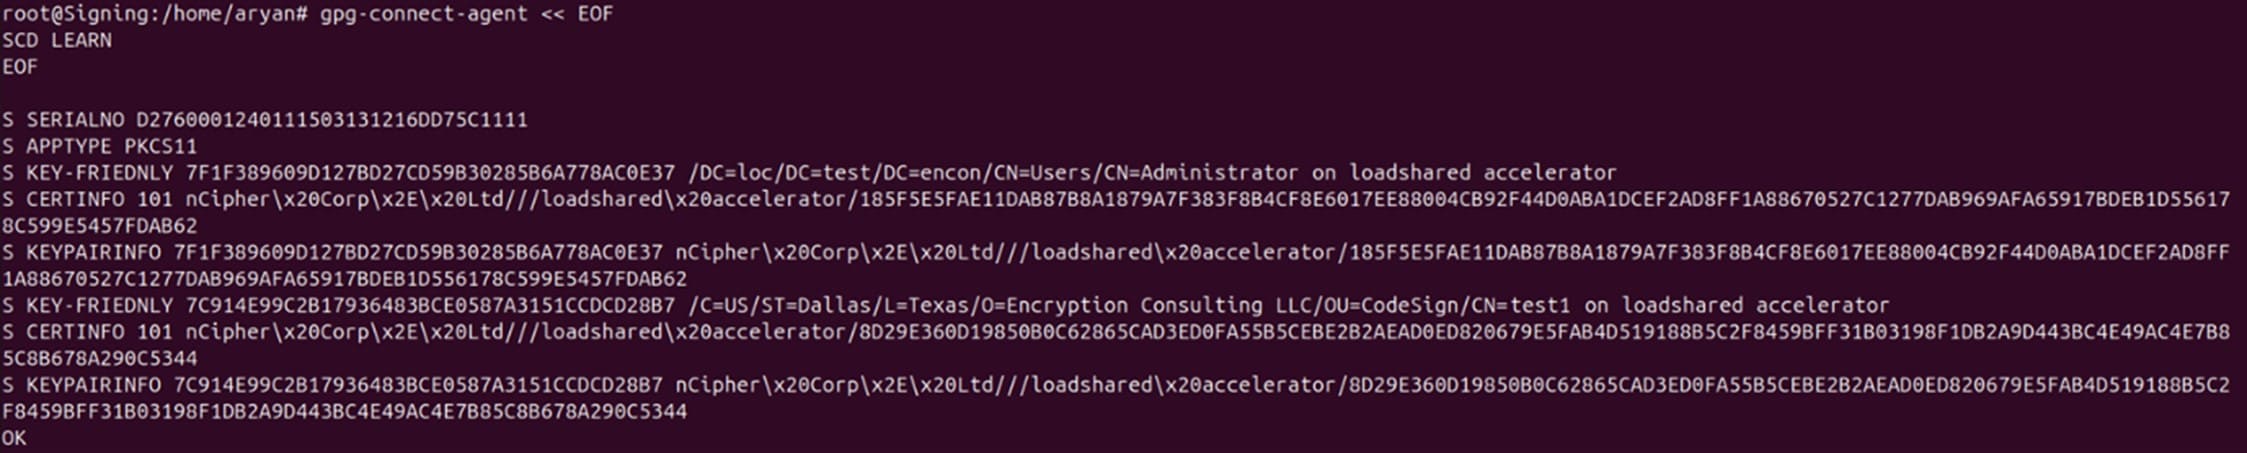
  • Get the key friendly names and certificates

    gpg-connect-agent <<EOF
    SCD LEARN
    EOF

    Get Key Friendly names and certificates

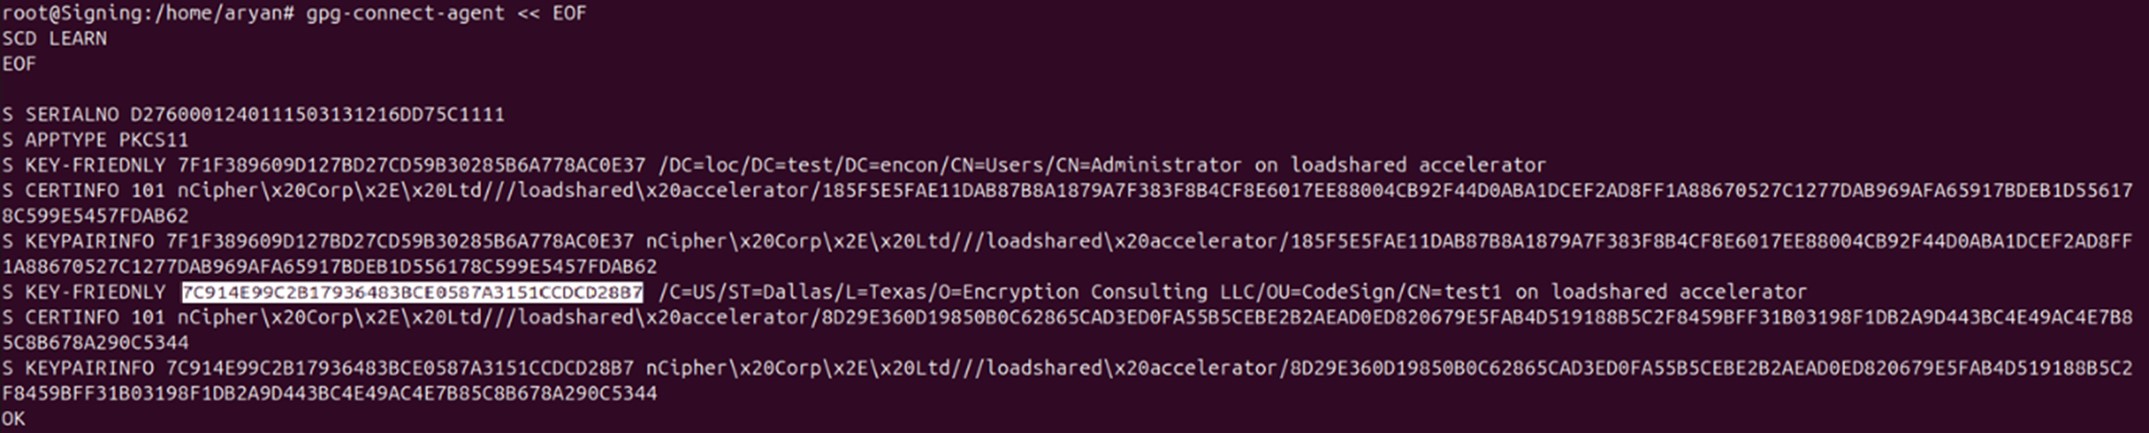
  • Copy the required KEY FRIENDLY Id

    You can compare the respective CKA_ID of the key you want to use for signing from CodeSign Secure portal and copy the KEY FRIENDLY Id.

    Copy the Key Friendly ID

  • Import key into GPG 2

    gpg --expert --full-generate-key
                      

    Import the Key Friendly ID

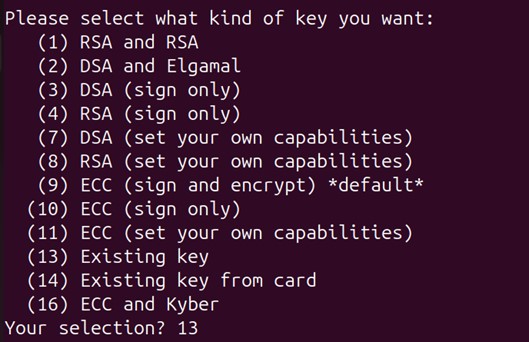
    This command will ask you for various inputs to properly import and set the permissions for the key in your machine.

    • First, it will ask you to select a number from the list. You will need to enter 13 as the key was already created from CodeSign Secure portal.

      Enter the details for the key

    • Then, you will need to enter the KEY FRIENDLY Id that you had taken from earlier steps.

      Enter the details for the key

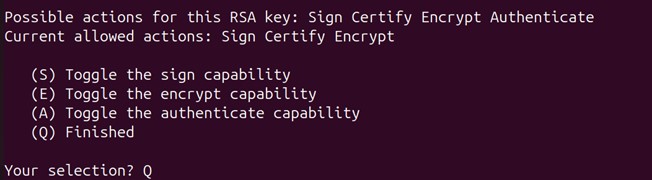
    • It will then ask you to confirm the permissions for this key. Type “Q”.

      Enter the details for the key

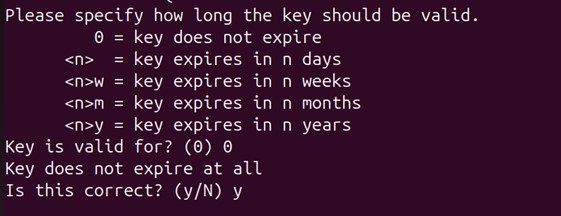
    • Now, you will need to set the key expiry date in your system. The default selection is “key does not expire.”

      Enter the details for the key

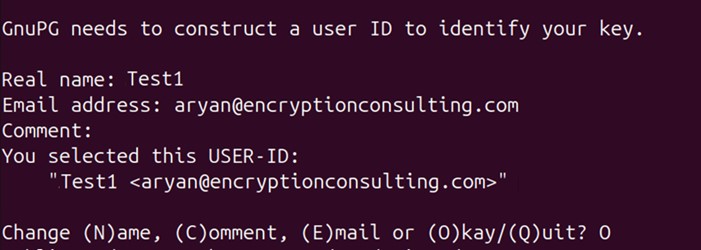
    • Finally, it will prompt you to enter the key identification details for easier system access. Provide the name and email address for that key and confirm your settings by entering “O.”

      Enter the details for the key

    • Your key will successfully get imported into GPG2 and now can be used for signing.

      Enter the details for the key

NOTE: Now you have GPG2 set up and installed on your machine.

To perform GPG2 Signing, go to the section (GPG2 Signing and Verification)

To perform Debian Signing, go to the section (Additional Steps for Debian Signing and Verification)

To perform RPM Signing, go to the section (Additional Steps for RPM Signing and Verification)

GPG2 Signing and Verification
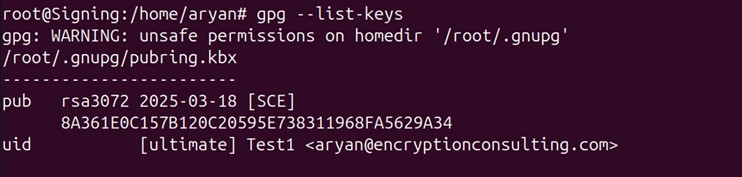
  • List all the keys available for GPG2 signing

    gpg --list-keys
                      

    GPG List Keys

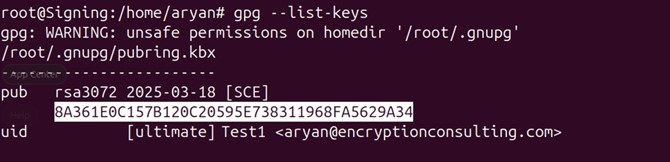
  • Copy the pub key ID for the key you want to use for signing.

    Copy GPG List Keys

  • Look for the file that you will sign using the key we just imported into GPG2.

    File to Sign

  • Run the signing command

    gpg --sign --default-key <PUB Key ID> <File Path that needs to be signed>
                      

    A sample command is provided below

    gpg --sign --default-key 8A361E0C157B120C20595E738311968FA5629A34 /home/aryan/pkcs11-client/testfile
                      

    GPG Signing

    It has successfully generated a signature file (testfile.gpg).

  • Run the verification command

    gpg --verify <Generated Signature Path>
                      

    A sample command is provided below

    gpg --verify /home/aryan/pkcs11-client/testfile.gpg
                      

    GPG Verification

Additional Steps for Debian Signing and Verification

Debian signing relies on GPG2 (GNU Privacy Guard) keys, so before proceeding, you will need to install and set up GPG2 on your system.

  • List all the keys available for GPG2 signing

    gpg --list-keys
                      

    GPG List Keys

  • Copy the pub key ID for the key you want to use for signing.

    Copy GPG List Keys

  • Mention the pub key ID in the gpg.conf file that we created earlier.

    Open the gpg.conf using the below command:

    nano /root/.gnupg/gpg.conf
                      

    Open gpg.conf

    This should be the content in inside this file.

    Content gpg.conf

    Now, add the respective pub key ID as the default key at the end of the file, like:

    default-key 8A361E0C157B120C20595E738311968FA5629A34

    Edit gpg.conf

    Press Ctrl+X, then enter Y, and then press Enter to save.
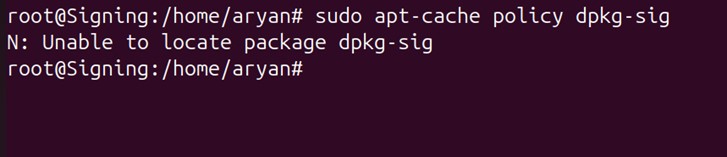
  • Check whether dpkg-sig is available using the below command

    sudo apt-cache policy dpkg-sig
                      

    Check dpkg-sig

    If the above gives an error or returns an empty output, refer to the below steps to download and install dpkg-sig package

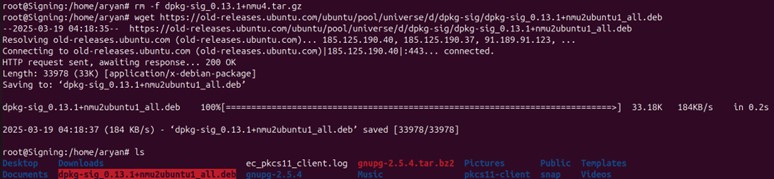
    • Download dpkg-sig package

      wget https://old-releases.ubuntu.com/ubuntu/pool/universe/d/dpkg-sig/dpkg-sig_0.13.1+nmu2ubuntu1_all.deb
                            

      Download dpkg-sig package

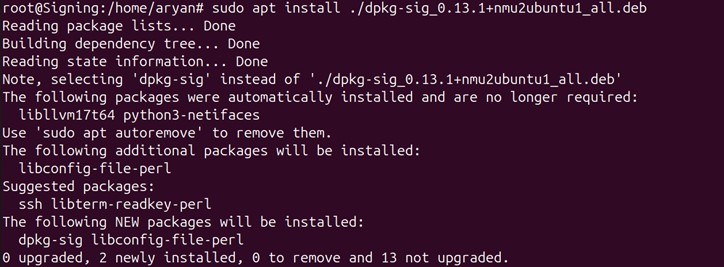
    • Install the package

      sudo apt install ./dpkg-sig_0.13.1+nmu2ubuntu1_all.deb
                            

      Install dpkg-sig package

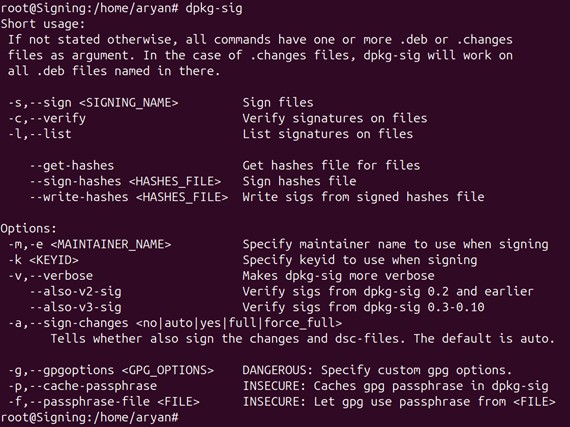
    • Check whether dpkg-sig has installed correctly in your system

      dpkg-sig
                            

      Check dpkg-sig package

  • Locate the Debian file, which you need to sign using the key that you had set in the gpg.conf file as the “default key.”

    File to Sign

  • Run the signing command

    dpkg-sig --sign builder <File Path you want to sign>
                      

    A sample command is provided below

    dpkg-sig --sign builder /home/aryan/pkcs11-client/testsample.deb
                      

    Debian Signing

  • Run the verification command

    dpkg-sig --verify <File Path which got signed>
                      

    A sample command is provided below

    dpkg-sig --verify /home/aryan/pkcs11-client/testsample.deb
                      

    Debian Verification

Additional Steps for RPM Signing and Verification
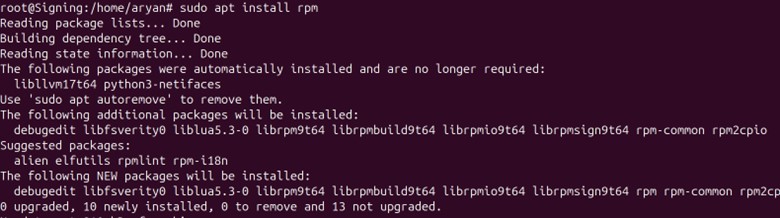
  • Install the rpm package on your machine

    sudo apt install rpm
                      

    Install RPM Package

  • Check whether rpm has been installed correctly

    rpm --version
                      

    Check RPM Package Version

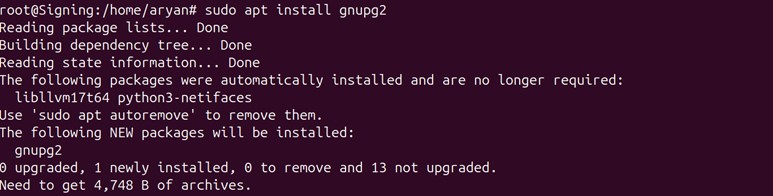
  • Install gnupg2 package

    sudo apt install gnupg2
                      

    Install Gnupg2 package

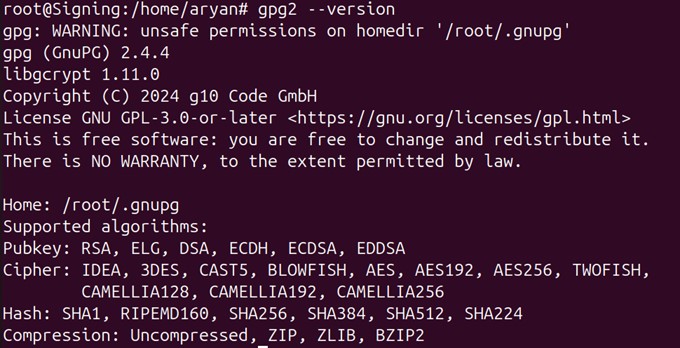
  • Check whether gpg2 has installed correctly

    gpg2 --version
                      

    Check Gnupg2 package Version

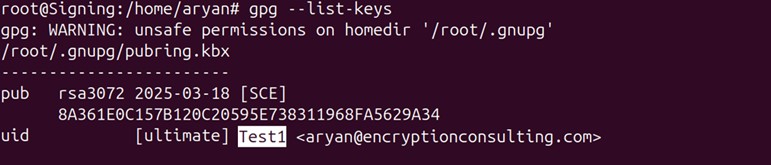
  • List all the keys available for GPG2 signing

    gpg --list-keys
                      

    GPG List Keys

  • Copy the set pub key uid name for the key you want to use for signing.

    Copy GPG List Keys name

  • Export the respective key to a file with the pub key uid name as per your setup, like:

    gpg --export -a "Test1" > ~/RPM-GPG-KEY
                      

    GPG Export Key

  • Import this file into RPM

    rpm --import ~/RPM-GPG-KEY
                      

    RPM Import Key

  • Create a .rpmmacros file, which will tell the RPM package which GPG key to use for signing.

    nano ~/.rpmmacros
                      

    Open rpmmacros file

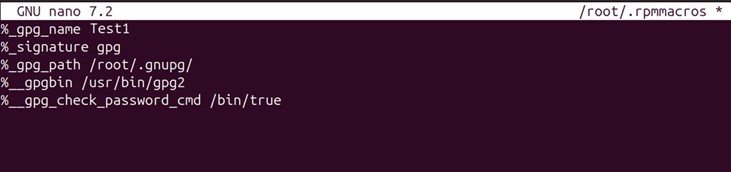
    Modify the ~/.rpmmacros with file locations as per the paths set in your ubuntu machine and the required pub key uid name.

    
      %_gpg_name Test1
      %_signature gpg
      %_gpg_path /root/.gnupg/
      %__gpgbin /usr/bin/gpg2
      %__gpg_check_password_cmd /bin/true


    Edit rpmmacros file

    Press Ctrl+X, then enter Y, and then press Enter to save.
  • Locate the RPM file that you need to sign using the key we just imported into RPM.

    File to Sign

  • Run the signing command

    rpm --verbose  --addsign <File Path to be signed>
                      

    A sample command is provided below

    rpm --verbose --addsign /home/aryan/pkcs11-client/RPMsample.rpm
                      

    RPM Signing

  • Run the verification command

    rpm --verbose --checksig <File Path which was signed>
                      

    A sample command is provided below

    rpm --verbose --checksig /home/aryan/pkcs11-client/RPMsample.rpm
                      
On this Page:
Support Privacy Policy Terms of Service

Copyright Encryption Consulting LLC. All rights reserved.