Our Windows Signing tool can sign all types of Windows files
including .exe, .dll, .sys, and more.
Windows Configuration
To install the client tools:
Sign in to CodeSign Secure
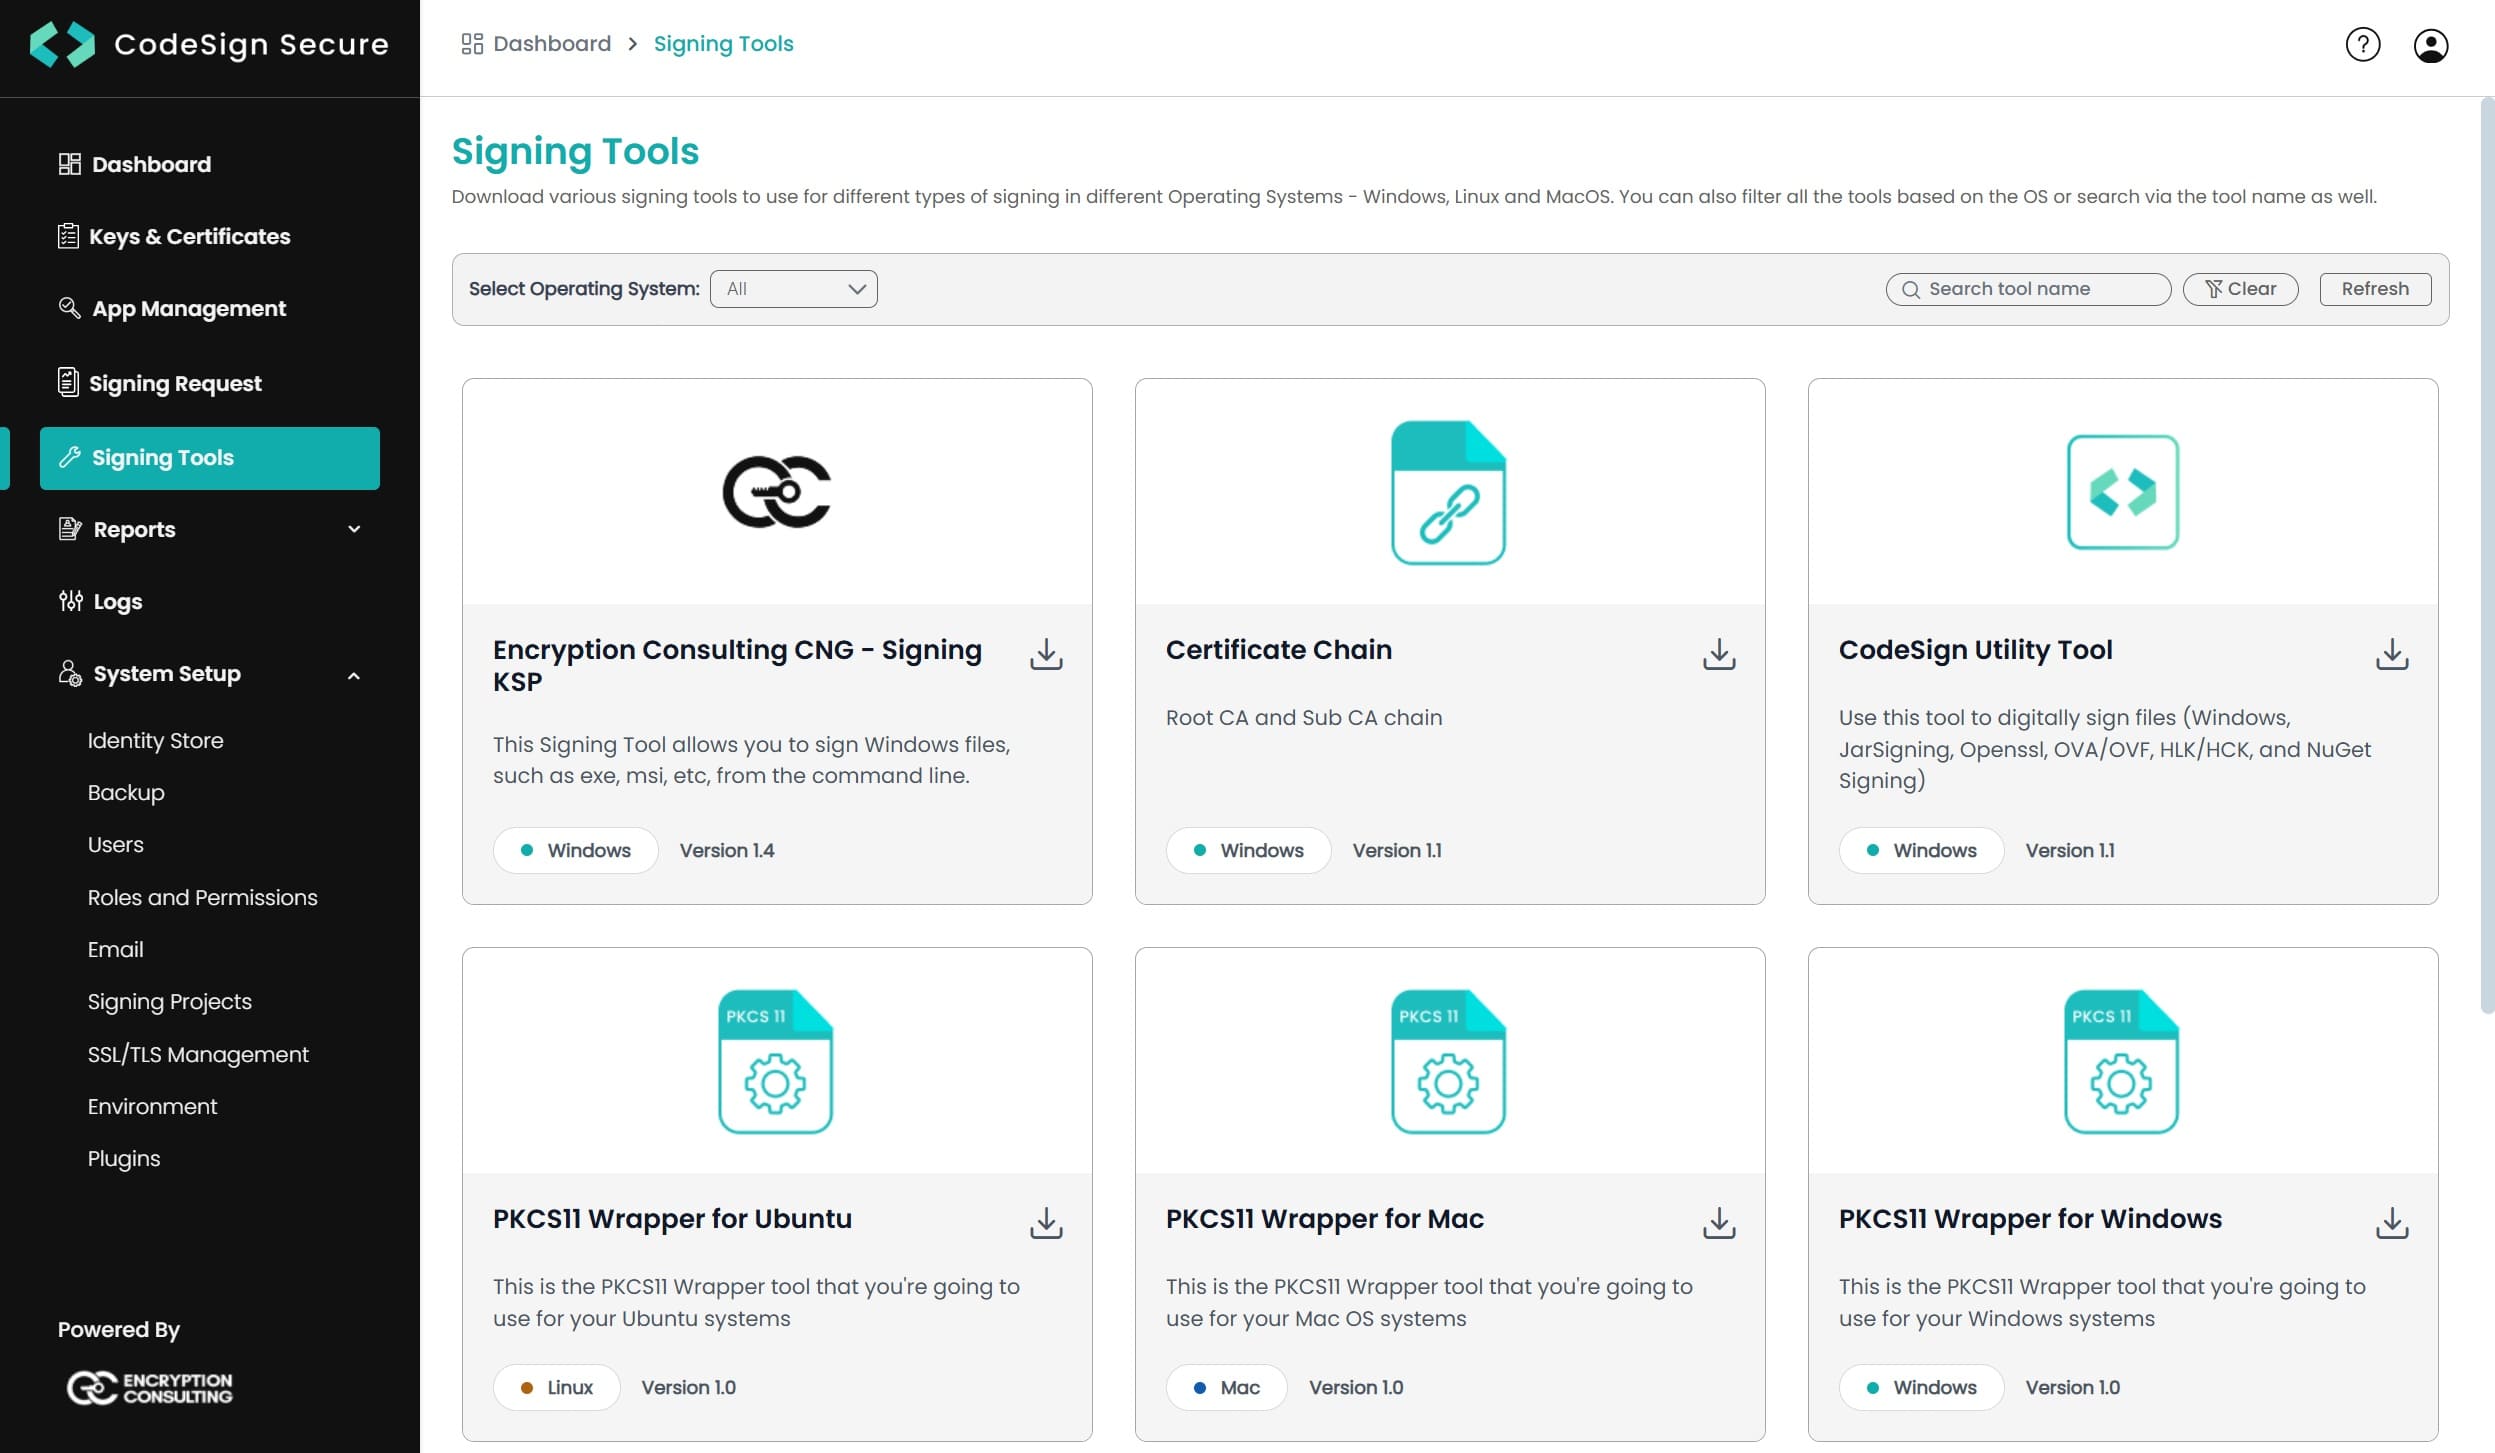
Navigate to: Signing tools repository.
Download "Encryption Consulting CNG-SigningKSP".
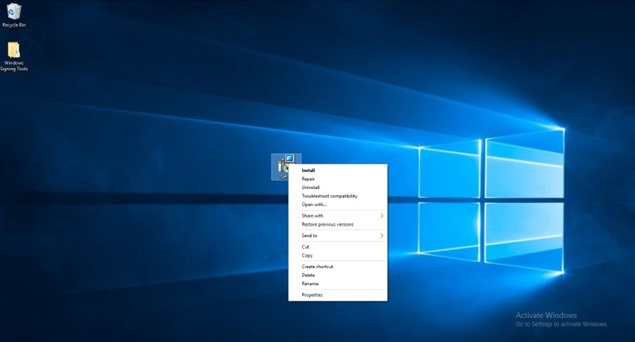
Install the client tools using the .MSI installer. The .MSI
installer automates much of the configuration. Navigate to
where the downloaded file is saved and launch the installer.
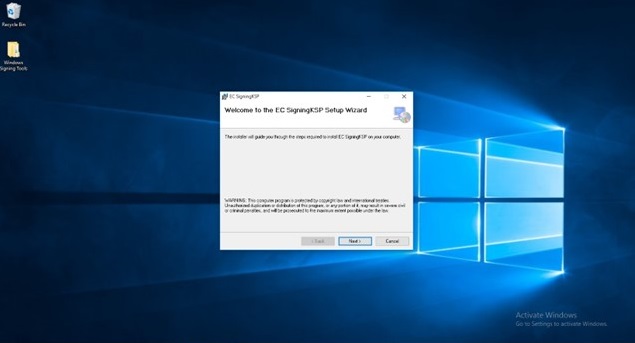
Click next when the installation wizard appears.
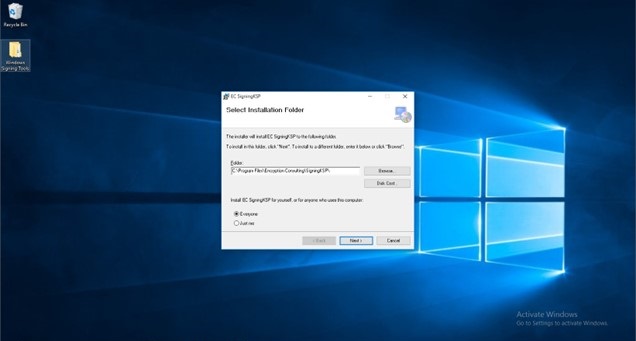
Click next.
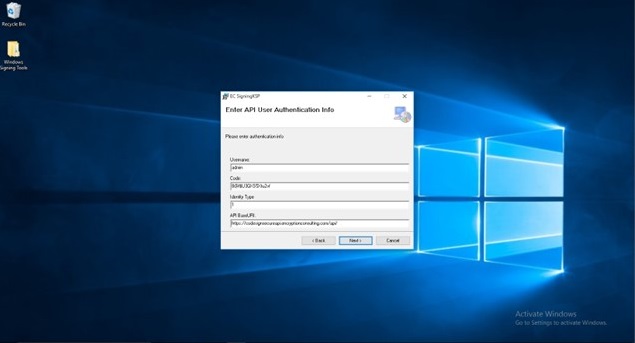
In the Username field,
type registered username.
In the Code field, enter the CodeSign Secure activation code that was set during setup. Your CodeSign Secure administrator can provide it.
Change the
Identity Type to 1.
Leave API BaseURL the
same.
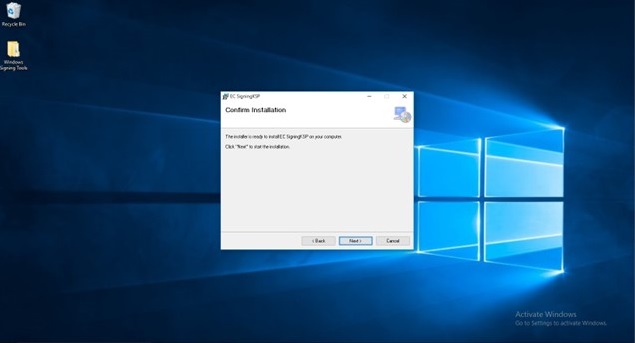
Click next.
Click next.
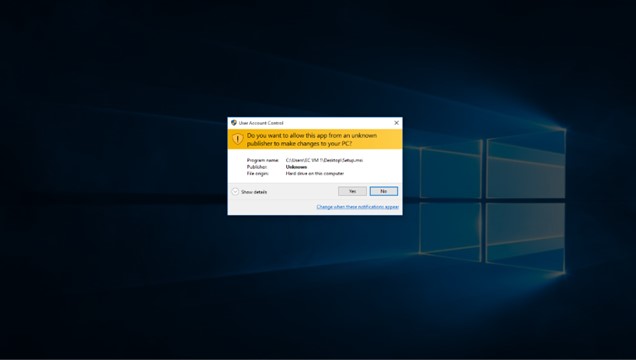
You will then be notified that this program will make
changes to your pc, click yes.
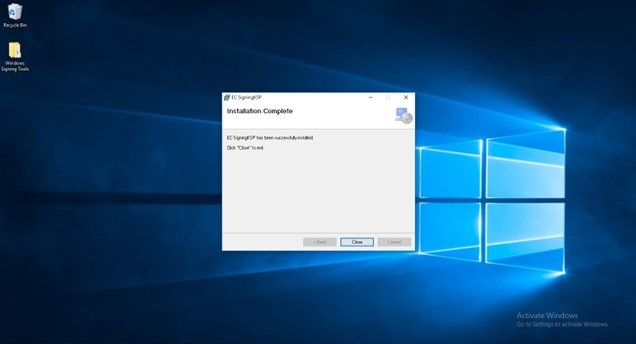
Installation is now complete
After installing the KSP, we need to update the Environment
Variables
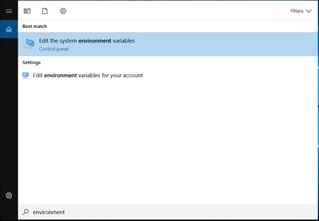
Click on Start menu and search for Environment Variables
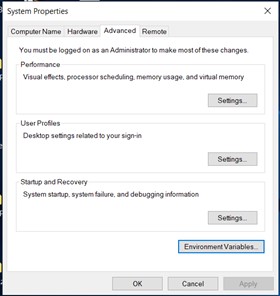
Click on Environment Variables
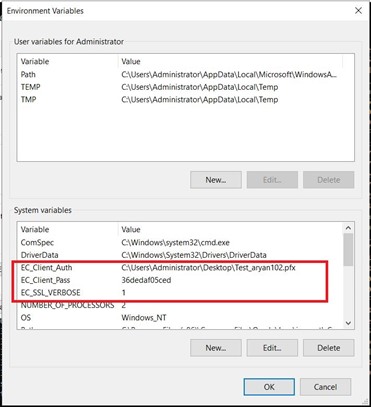
Add new system variables by clicking on New button.
Provide the following variable name and there
corresponding details.
EC_Client_Auth:Corresponds to the path of your SSL
Authentication
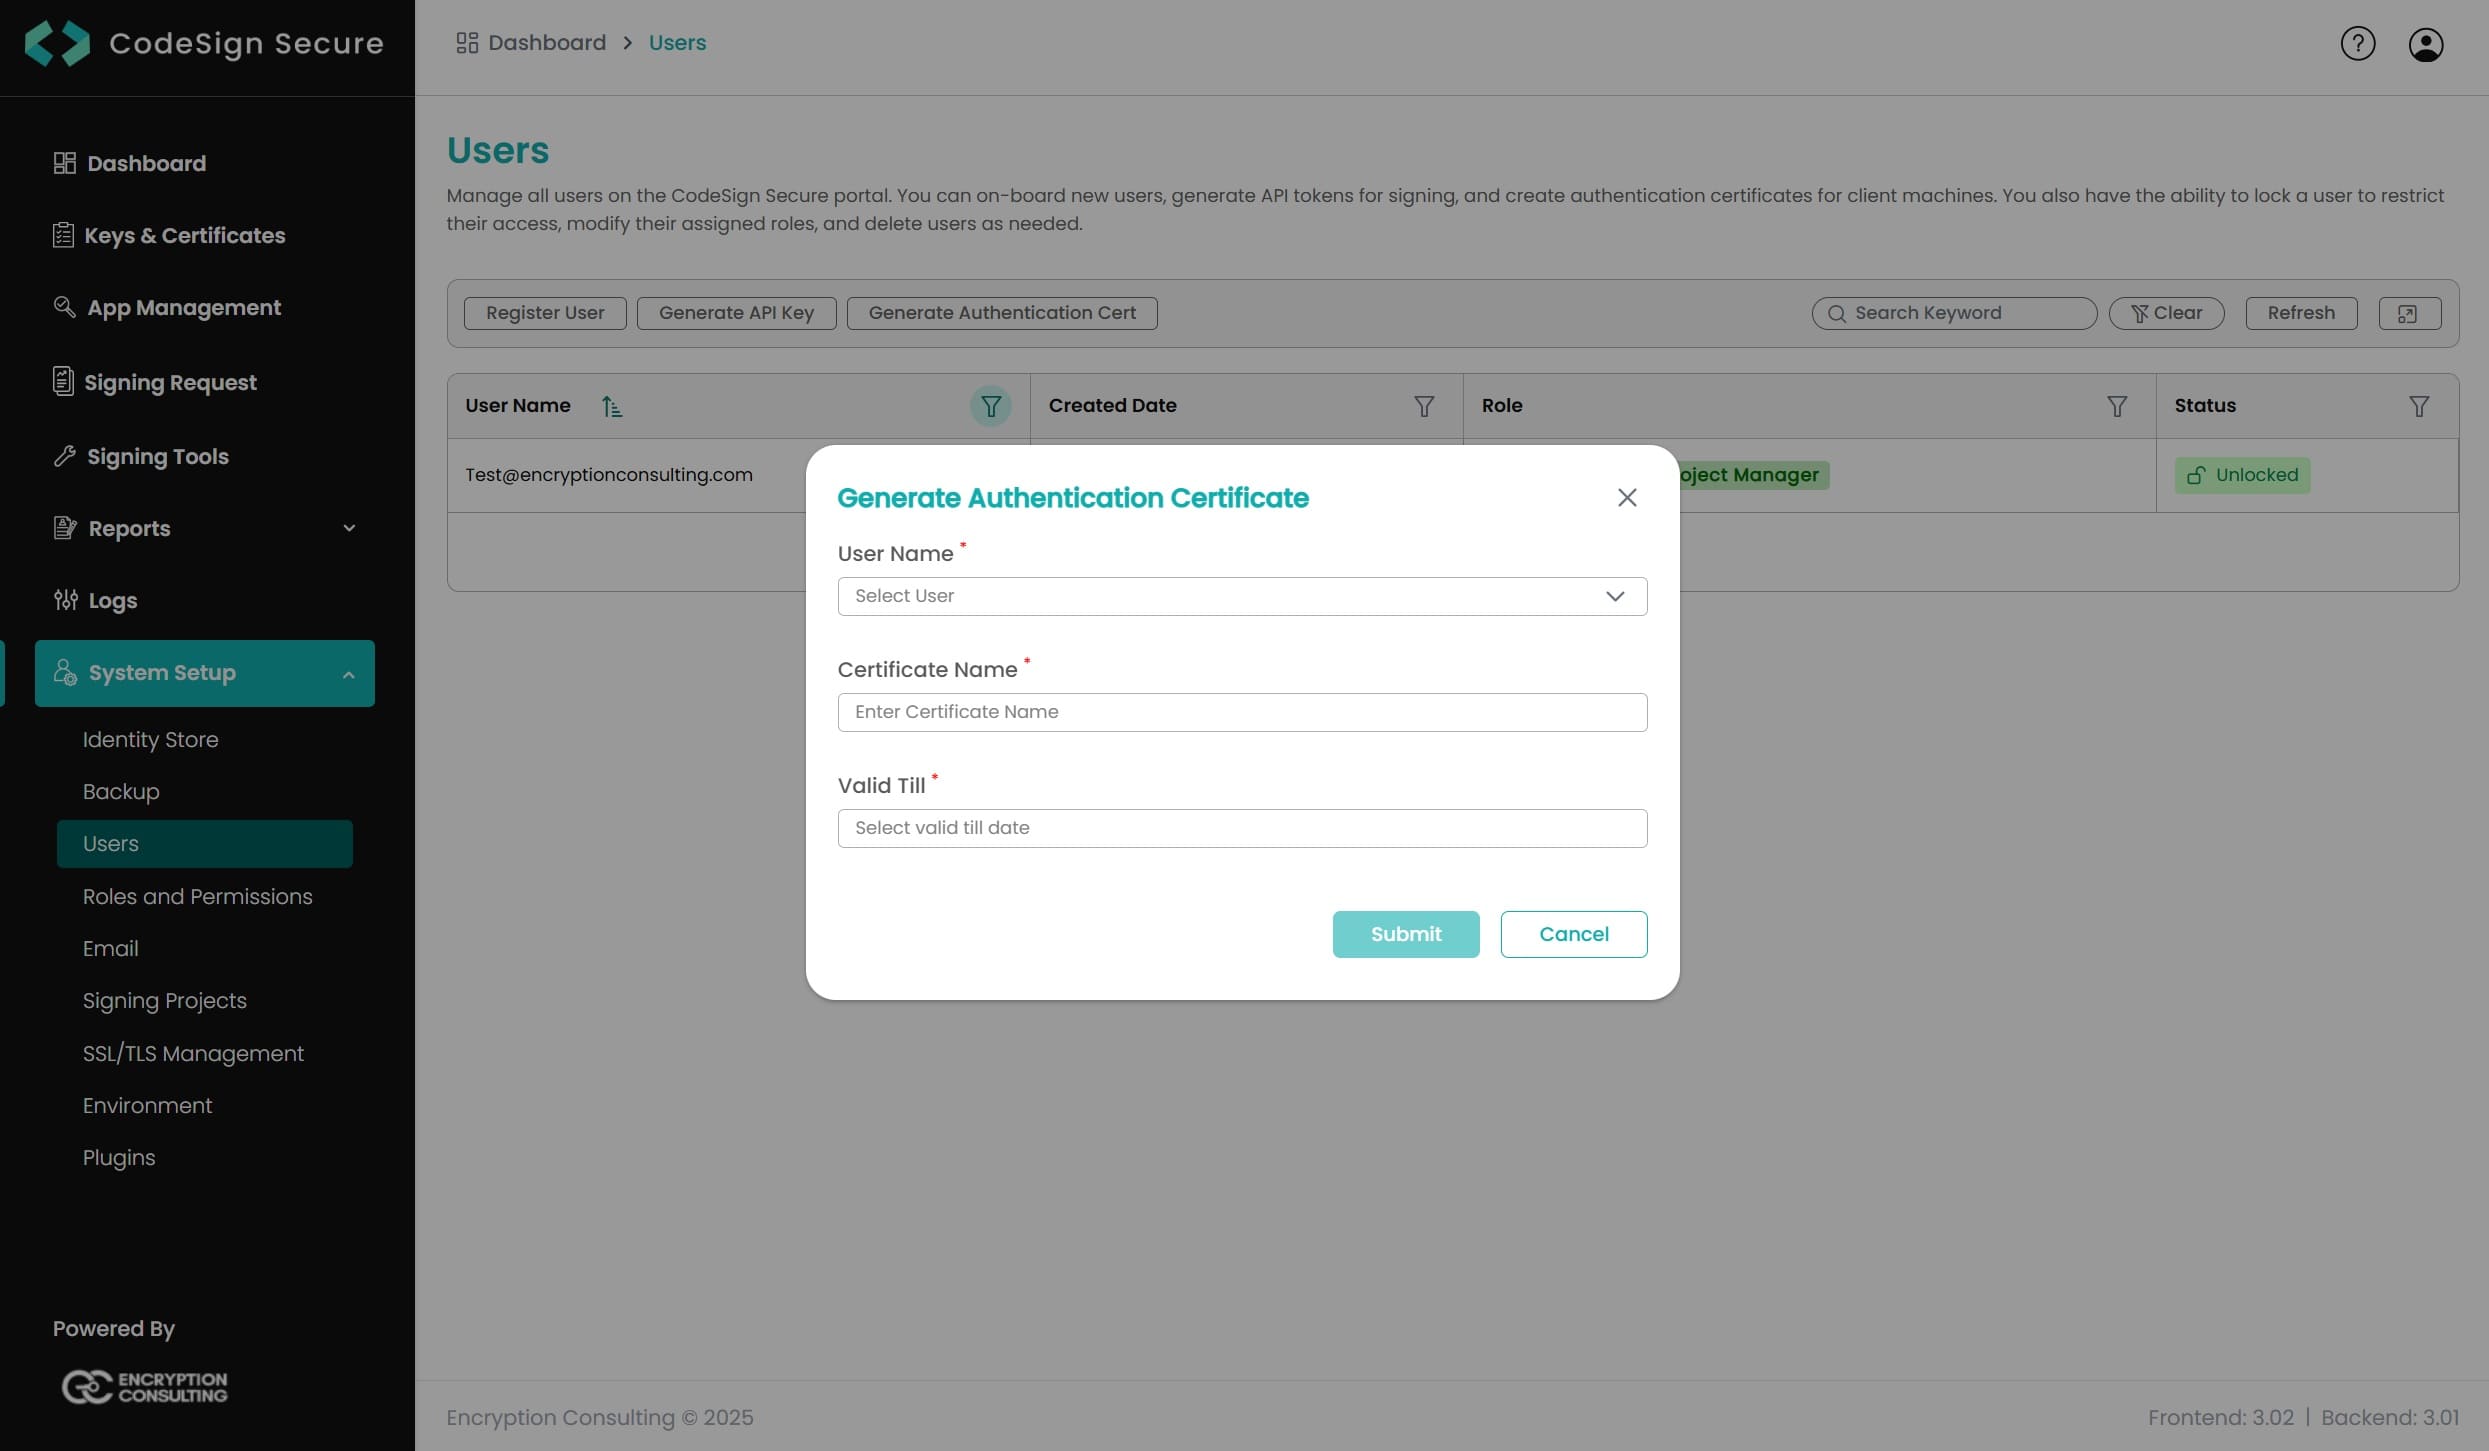
certificate which can be created from CodeSignSecure
EC_Client_Pass:
Corresponds to the password of your certificate
which is provided at the time of creation of the
certificate.
EC_SSL_VERBOSE:
Corresponds to the setting to either enable (1) or
disable (0) the debugging output for EC KSP.
We also need add the “ectoken” in the Registry Editor
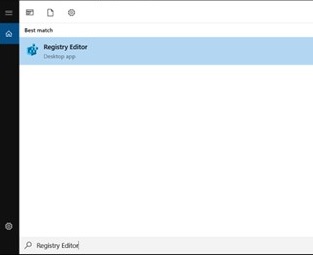
Click on Start menu and search for “Registry Editor"
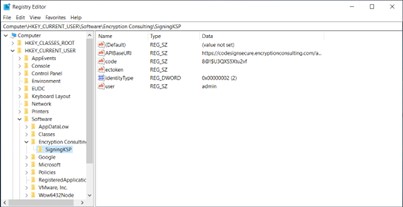
Go to HKEY_CURRENT_USER -> Software -> Encryption
Consulting -> SigningKSP
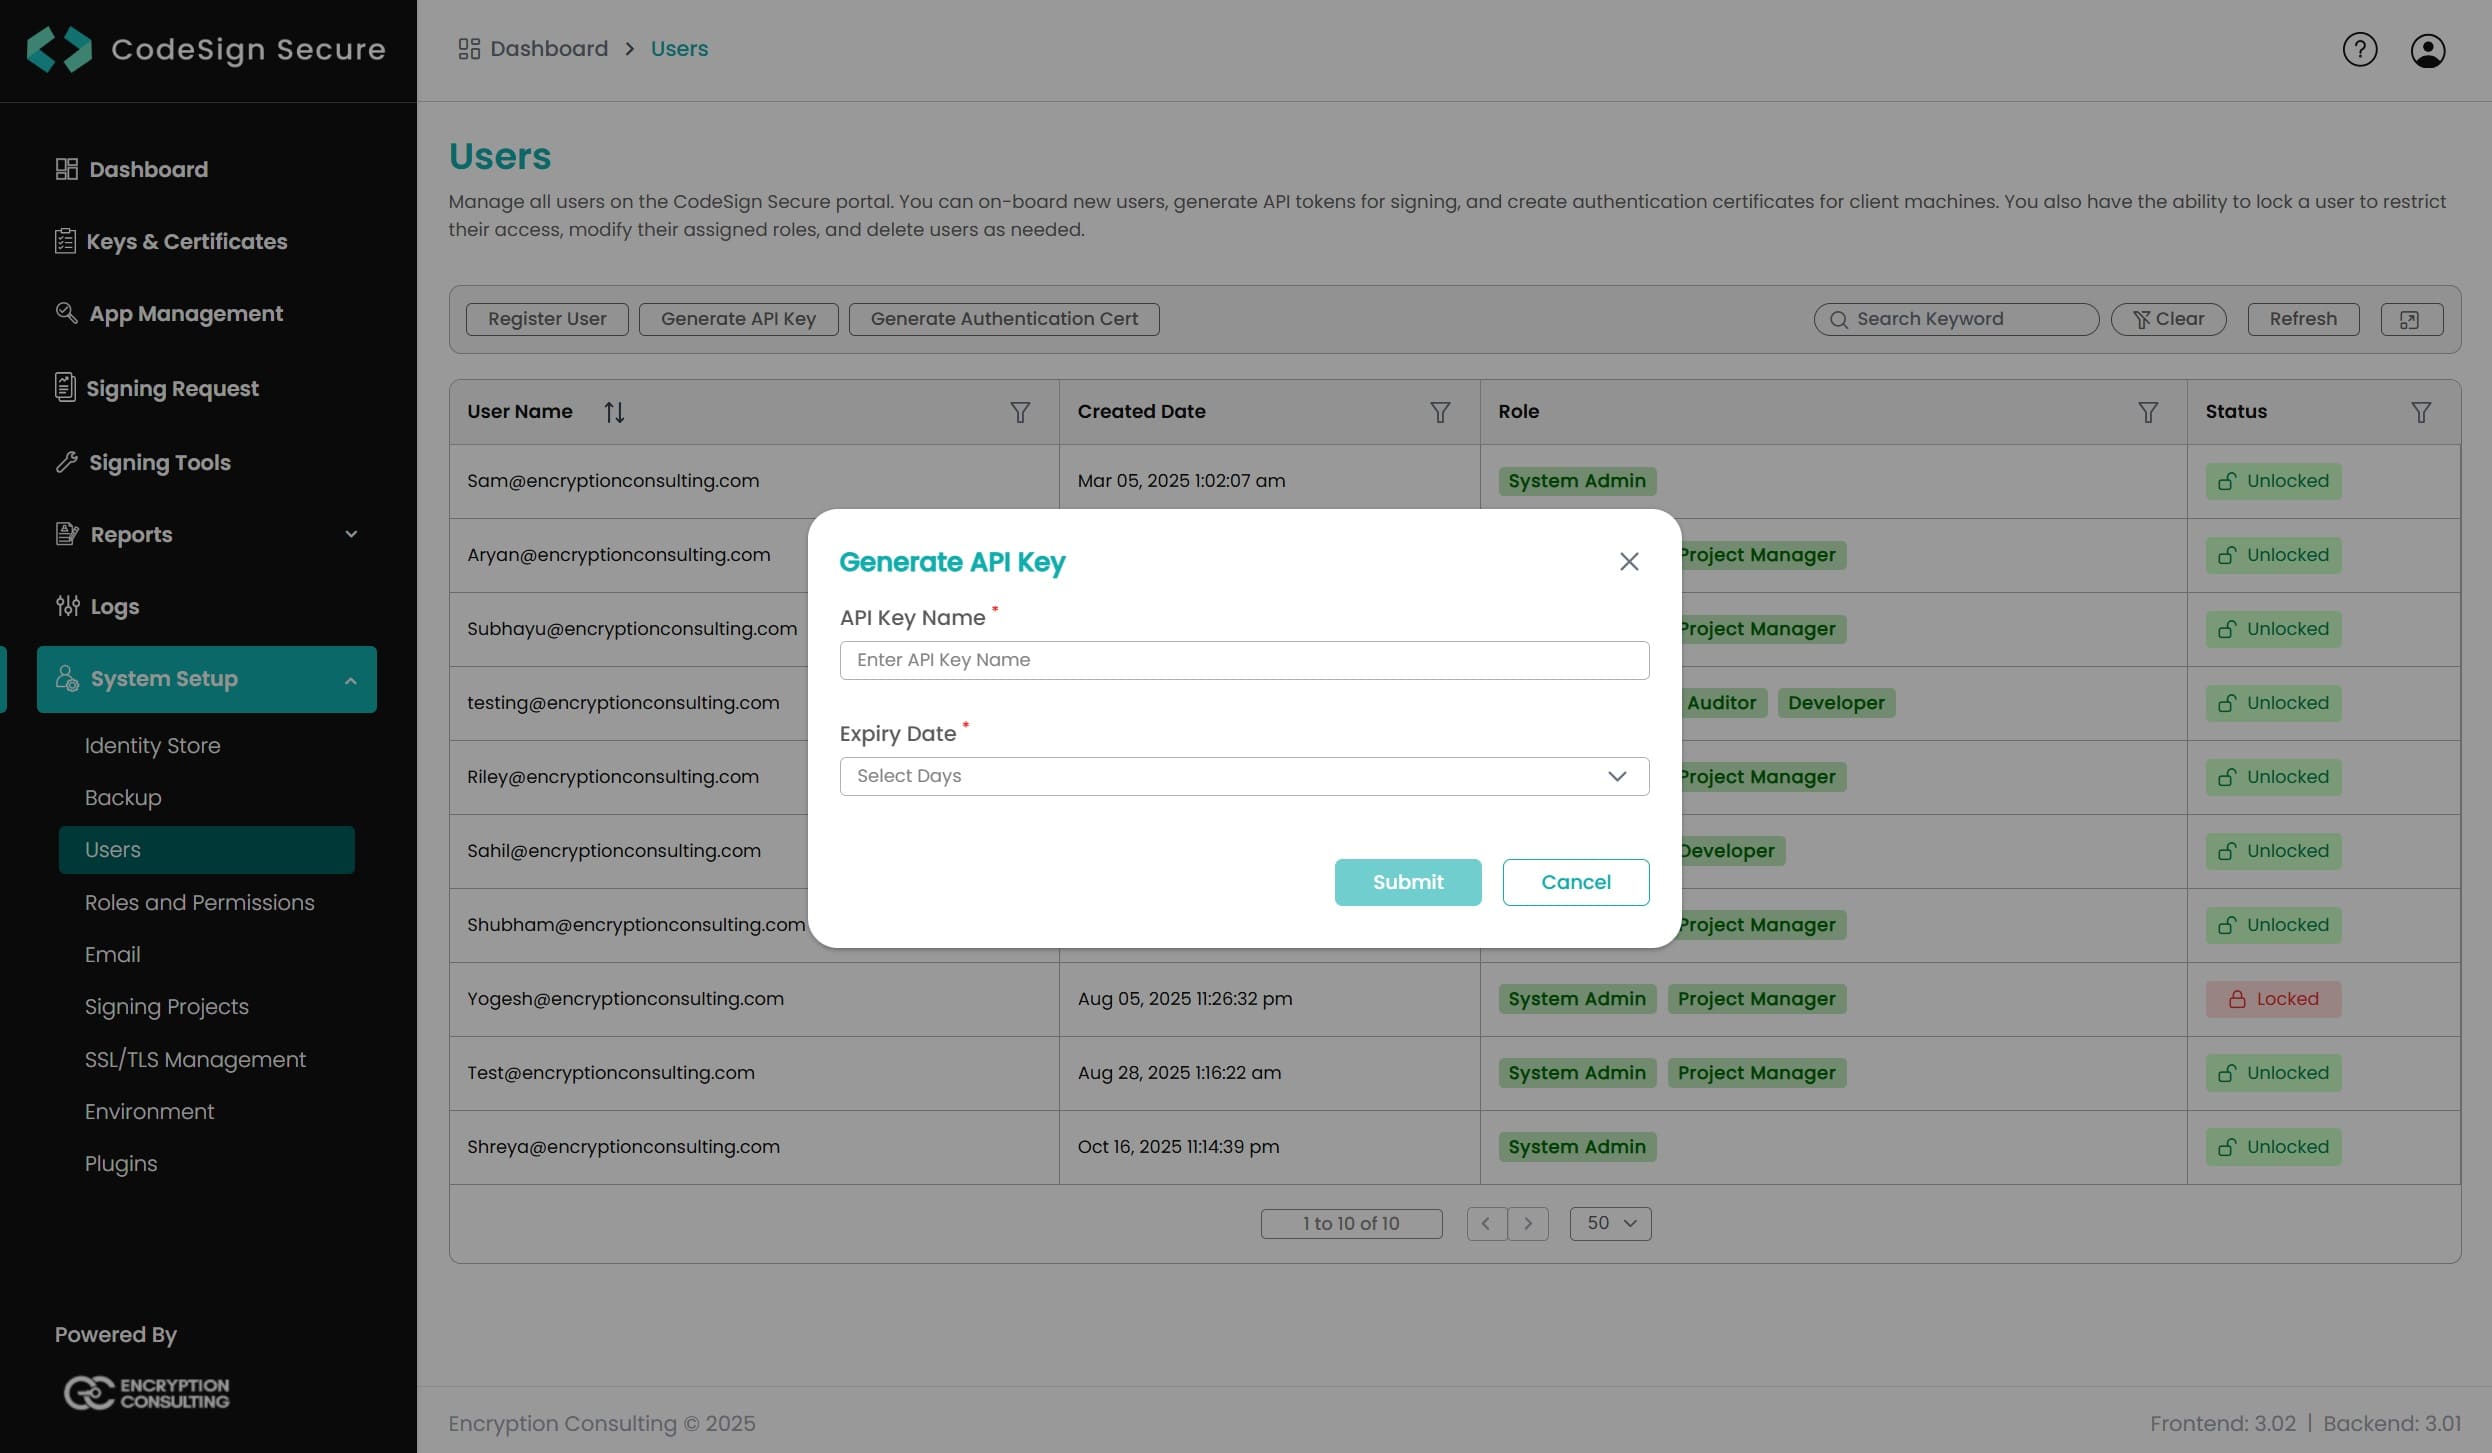
Get the ectoken from CodeSignSecure
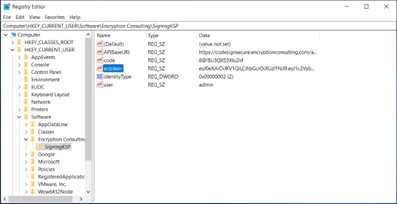
Update the field with the token generated from CodeSign
Secure platform.
Note: The full path is Computer\HKEY_CURRENT_USER\Software\Encryption Consulting\SigningKSP. The settings you entered in the installer (Username, Code, Identity Type, and API Base URL) are stored in the same key, so you can change them there without reinstalling. Because the key is under HKEY_CURRENT_USER, it applies only to the Windows account that ran the installer. If a build agent runs as another account, configure the same values for that account.
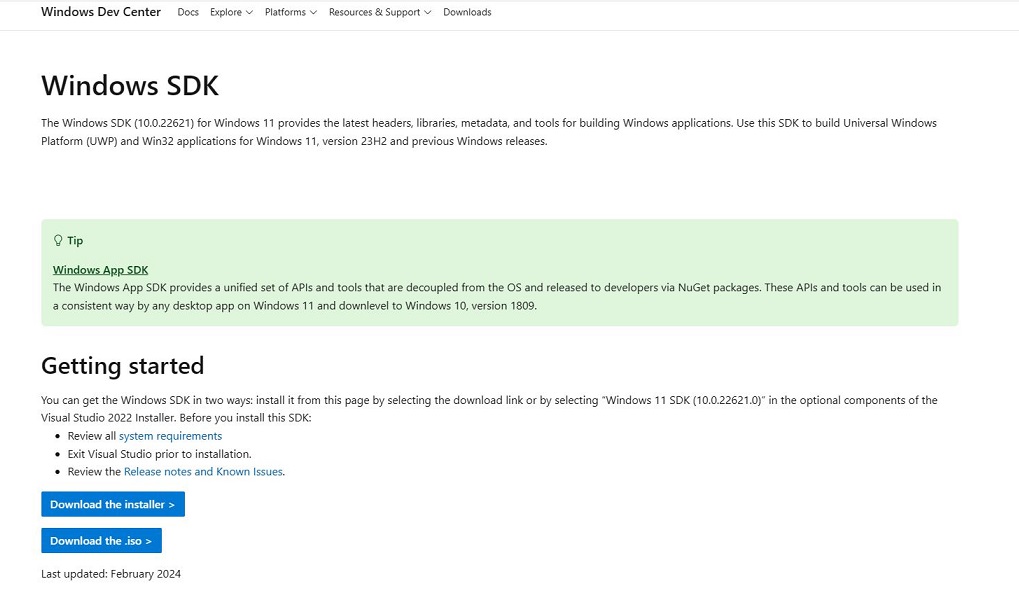
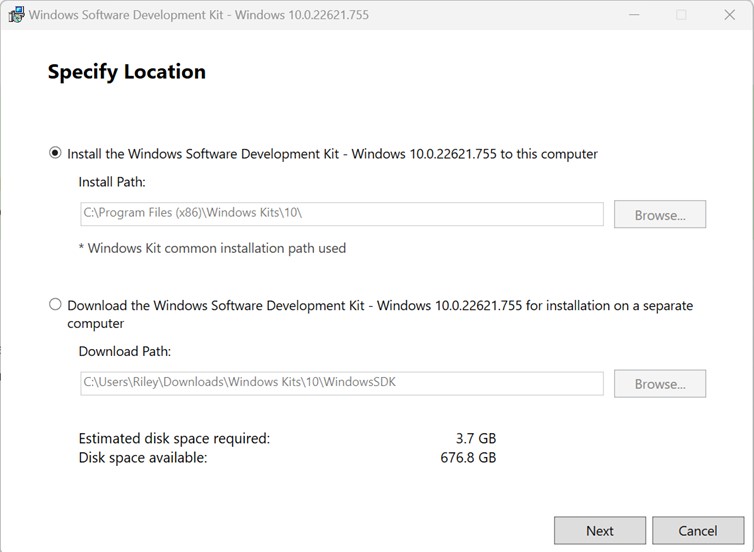
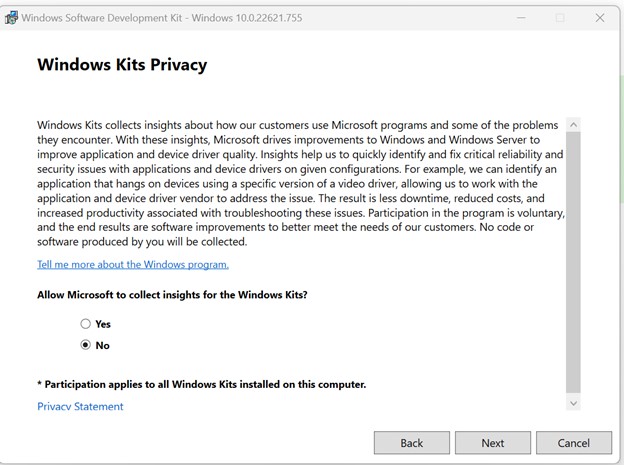
Open the installer once downloaded and select next on the
first screen.
Select next
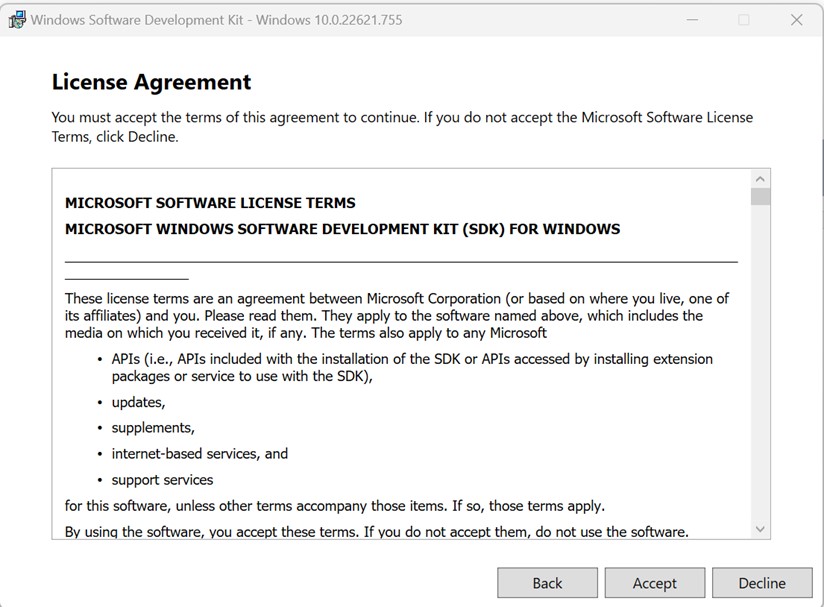
Select Accept
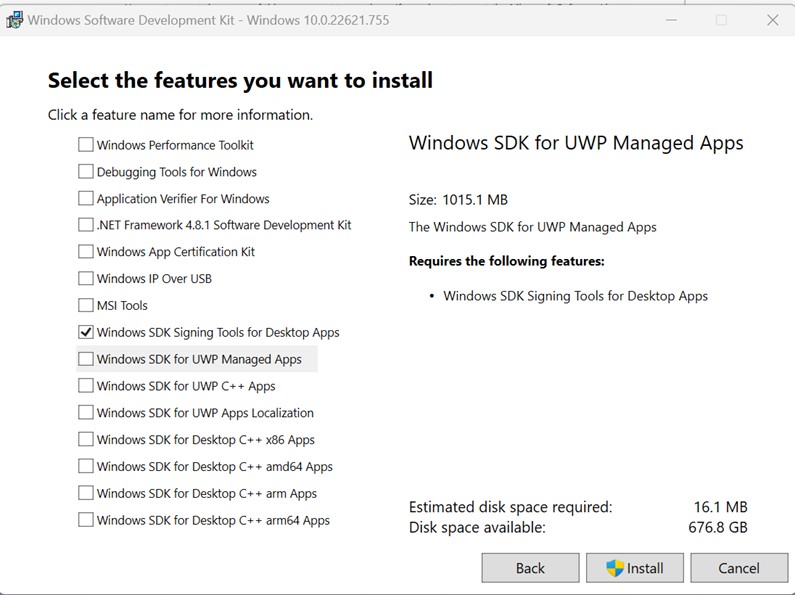
Deselect everything except "Windows SDK Signing Tools for
Desktop Apps" and select install
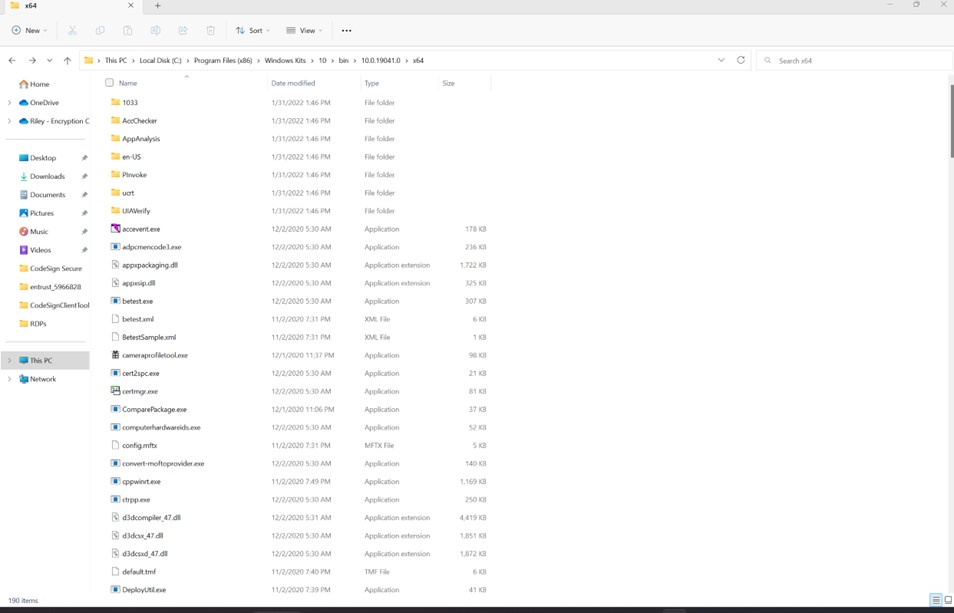
Go to the following path where the tools should have downloaded
to: C:\Program Files (x86)\Windows Kits\10\bin\10.0.19041.0\x64.
Ensure you are in the x64 directory, copy the directory path,
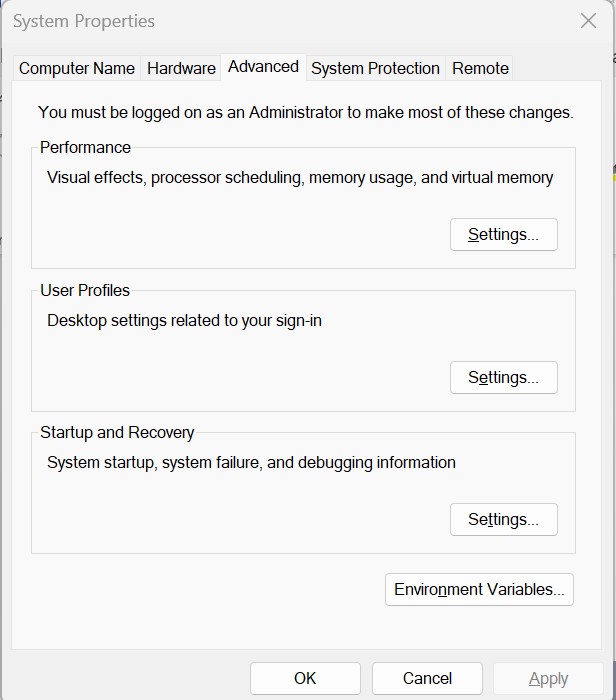
and search environment variables in the bottom searchbar of your
taskbar. The following window should appear when selecting
environment variables:
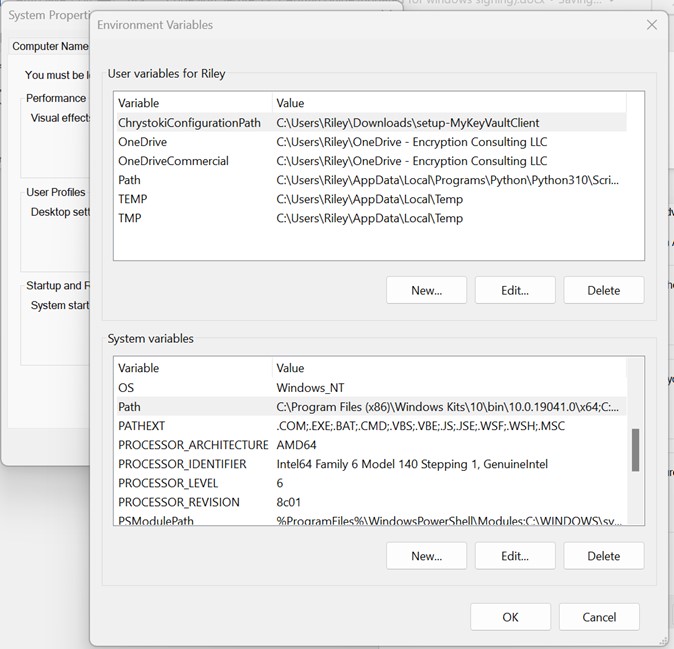
Select Environment Variables at the bottom right. Scroll down
through the system variables on the bottom table until you find
PATH in the variable names.
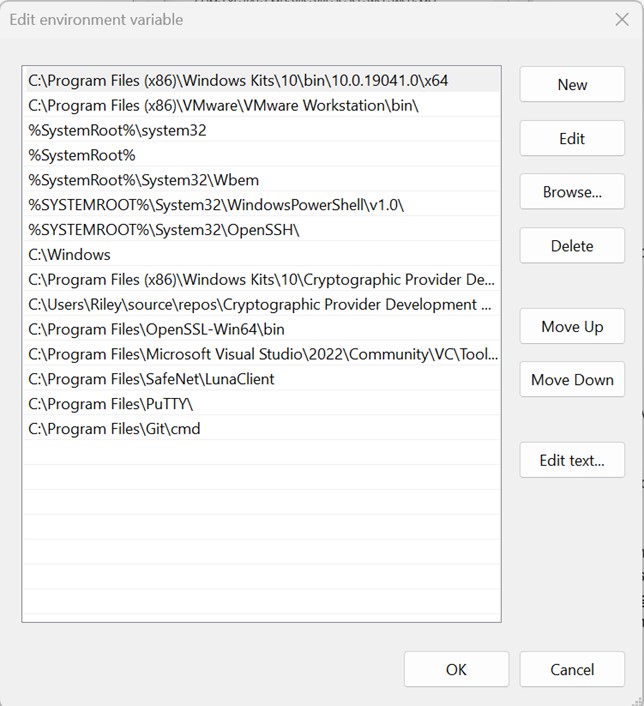
Double click on PATH in system variables and select new on the
left of the screen. Paste your copied directory path into the
new selection.
Select OK at the bottom right of each page.
Note: For how the authentication certificate and API user credentials work together, see Client Authentication. For SignTool and KSP errors, see Troubleshooting.