
- Overview
- Reference Guide
- Setup & Architecture
- Release Notes
- Workflow
- API Reference
- Integration Guide
- Discovery Agent Setup Guide
CertSecure section displays all the certificates that were enrolled through CertSecure Manager. Along with all the functions included in the Overall section, the CertSecure section of your inventory has the following additional functions:
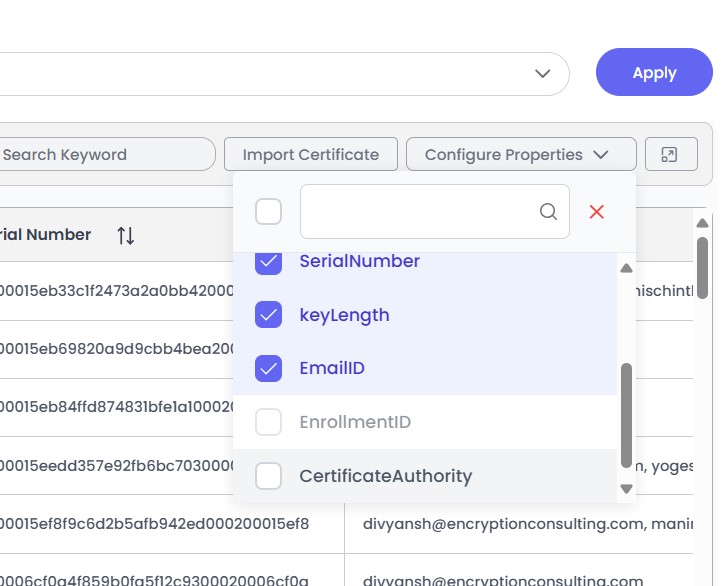
You have the flexibility to choose from various properties according to your preferences for a particular CA. To customize the displayed properties, select any or all properties under “Configure Properties”. This action allows you to remove or apply the selected property within the display.
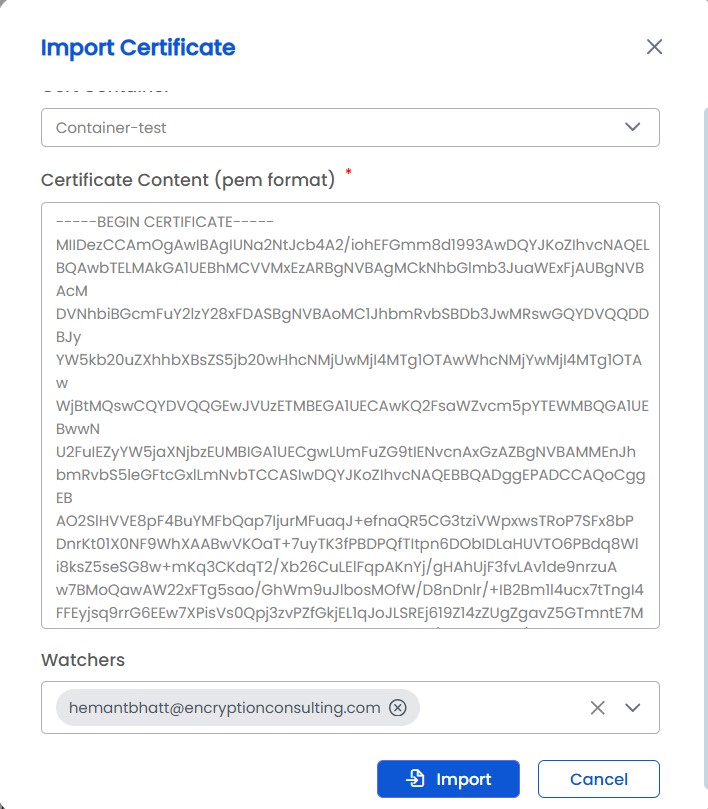
The Import Certificate Option lets you import self-signed certificates or certificates issued by CAs not registered on CertSecure Manager into your inventory for management. To import a certificate, select a Certificate Container and paste the certificate in PEM format. Add watcher/s to monitor the certificate and click Import.
The download option allows users to retrieve certificates for backup, distribution, or deployment purposes.
Steps to Download a Certificate:
Step 01: Navigate to the certificate inventory.
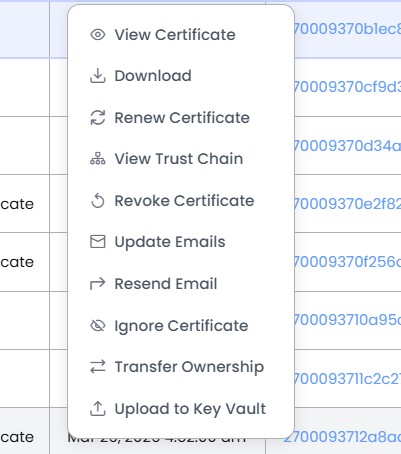
Step 02: Right-click on the certificate and select Download
Step 03: Select the preferred format (e.g., .cer, .pfx, .pem) and save the file. The Generate button lets you generate a password based on the rules defined in the Password Restrictions section of Manage Policies (under Enrollment).
Checking the Use Legacy Encryption Algorithm before downloading the pfx file enables legacy encryption (e.g., 3DES-SHA1) for the PFX file to ensure compatibility with older systems (Windows Server 2016 R2 or older) that don't support AES-based encryption.
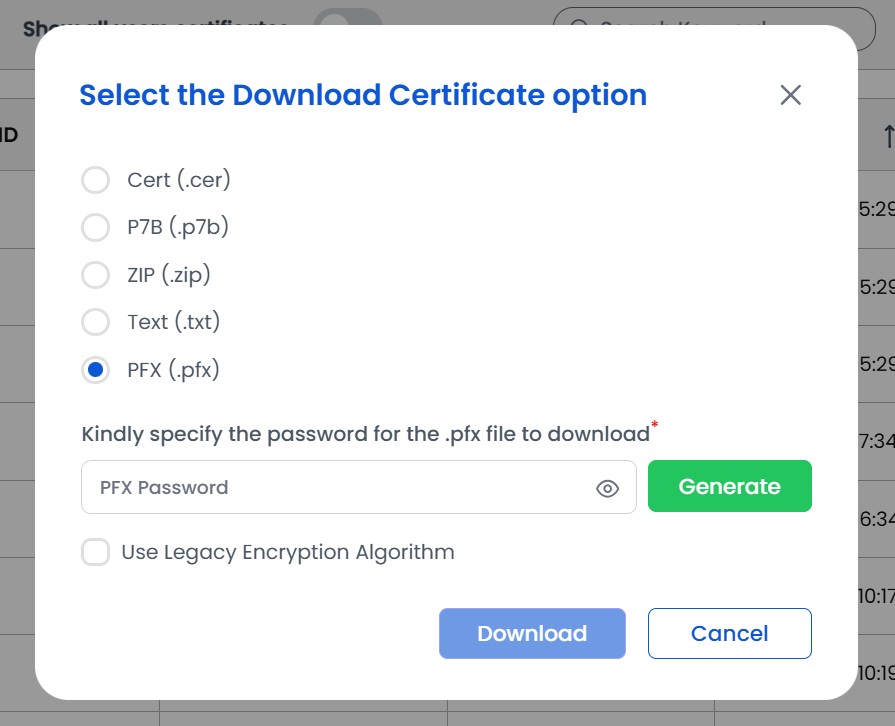
Note: Certificates can be downloaded in various formats depending on the intended use, such as importing into different systems or applications.
Displays the full certification hierarchy of a selected certificate: Root CA → Intermediate CA → Leaf Certificate, in a single modal view.
For each certificate in the chain, it shows the name, role, serial number, type, validity period, and trust status, along with a View Details link for full properties.
Purpose: Helps administrators verify the chain of trust and quickly identify broken or untrusted links without leaving the certificate inventory.
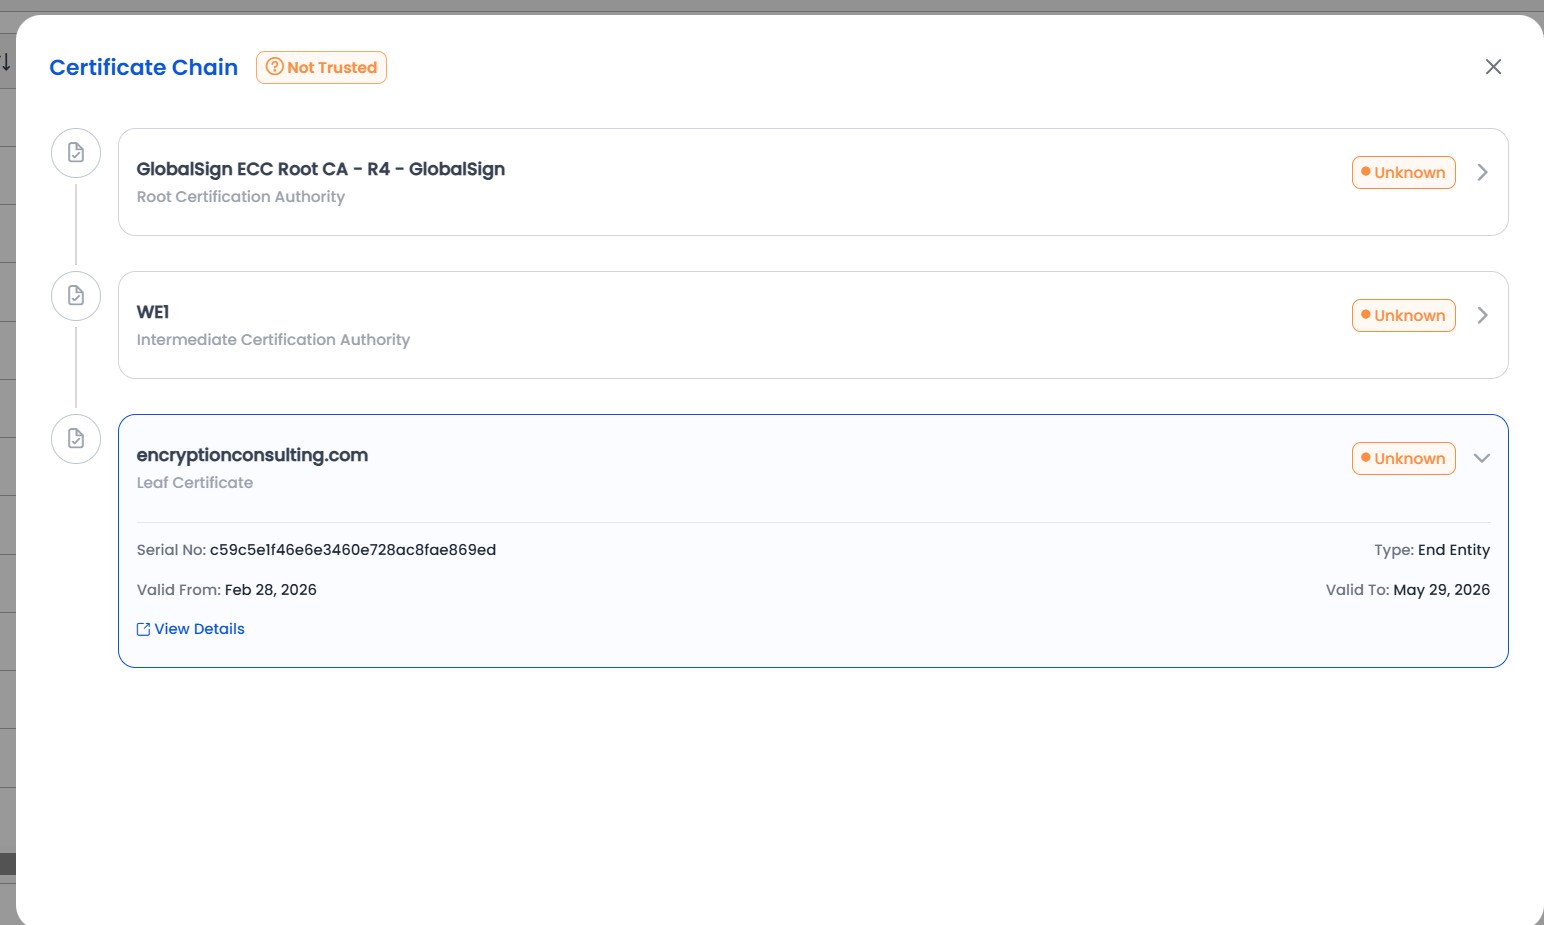
Note: A newly imported chain for a third-party certificate can be trusted by importing the root certificate in the platforms root store (see section 9.3 Certificate Authorities - Root Store)
This feature allows users to update email addresses associated with a certificate to ensure timely notifications for renewals, expirations, or alerts.
Steps To Update Email Addresses:
Step 01: Right-Click a certificate from the inventory.
Step 02: Then select Update Emails
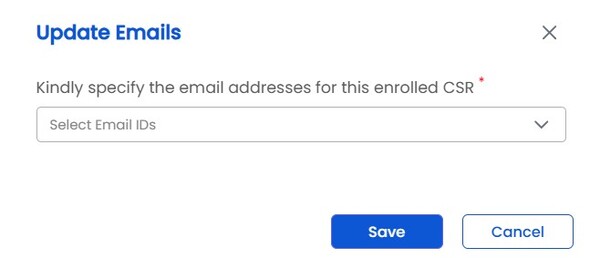
Step 03: Click Save to apply the changes.
Note: Users can add multiple email recipients for better visibility within an organization.
When certificates are enrolled in CertSecure Manager, the owner is automatically assigned to the account that enrolled the certificate.
Because of this, in the CertSecure section of our inventory, you have the option to then transfer ownership of that certificate at any time.
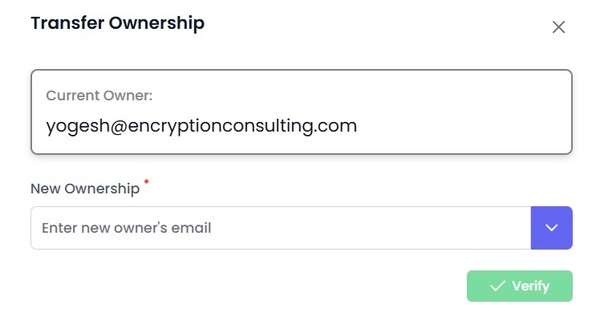
Transferring ownership allows reassignment of certificate management responsibilities to another user within the organization.
Steps To Transfer Ownership of a Certificate:
Step 01: Right-click on a certificate and select Transfer Ownership.
Step 02: Enter the details of the new owner (username, email, or role).
Step 03: Confirm the transfer.
Step 04: The new owner receives a notification and gains management rights over the certificate.
This feature is particularly useful in cases of role changes, personnel transitions, or team restructuring.
Hold suspends a certificate for a while without revoking it for good. A certificate that is on hold is treated as revoked until the hold is removed, and then it is valid again. A permanent revocation cannot be undone, so Hold is the action to use when a certificate must be taken out of use temporarily.
Hold and Unhold are available only for certificates issued by a Microsoft Certificate Authority (Microsoft CA).
To place a certificate on hold:
Step 01: Right-click a certificate whose status is Active and select Hold Certificate.
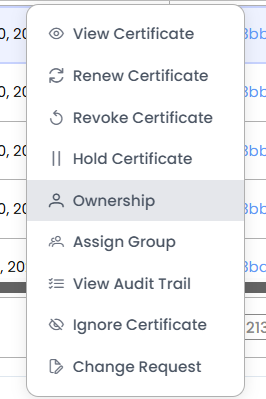
Step 02: Confirm with Yes when asked Are you sure that you want to place this certificate on hold?
Step 03: A task is created. Follow it under Utilities > Tasks. When the Microsoft CA connector completes it, the certificate status changes to On Hold.
To remove the hold:
Step 01: Right-click a certificate whose status is On Hold and select Unhold Certificate.
Step 02: Confirm with Yes when asked Are you sure that you want to remove the hold on this certificate?
Step 03: When the task is completed, the status of the certificate returns to Active.
Selecting Upload to Key Vault opens a dialog to configure the vault upload. Fill in the following fields:
| Field | Required | Description |
|---|---|---|
| Select Azure Key Vault | Yes | Choose the target Azure Key Vault from the dropdown list |
| Name | Yes | The name under which the certificate will be stored in the vault |
| Format | Yes | Select the certificate format. Options are PEM or PFX |
Click Proceed to continue or Cancel to close the dialog.
If the certificate does not have a private key on record, an additional dialog will appear with the following fields:
| Field | Required | Description |
|---|---|---|
| Private Key | Yes | Paste the private key associated with the certificate |
| Private Key Password | Yes | The password protecting the private key |
Click Proceed to complete the upload or Cancel to discard.
Notes