
- Overview
- Reference Guide
- Setup & Architecture
- Release Notes
- Workflow
- API Reference
- Integration Guide
- Discovery Agent Setup Guide
Overall displays all existing certificates across your environment, including those that were enrolled into outside the CertSecure Manager. This allows for a comprehensive inventory of all certificates, giving visibility into their status, issuer, expiration dates, and more. The inventory can also be filtered based on certificate tags. The “overall” section has following functions:
Users can perform CA Switch, Bulk Renewal, Bulk Revocation and Bulk Ownership transfer from the Inventory. CA Switch lets you get your certificates reissued from a different CA, and Bulk Renewal lets you get multiple certificates renewed at once. Similarly, Bulk Revocation allows you to revoke multiple certificates at once. The Bulk Ownership Transfer feature lets you transfer the ownership of multiple certificates to a particular user.
To perform a CA Switch operation:
Step 01: Select the certificates and click on the Bulk Operations drop-down.
Step 02: Choose CA Switch
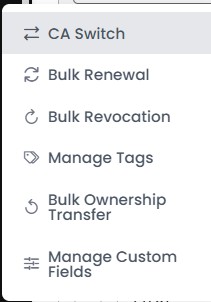
Step 03: The operation can be performed for only one CA at a time. So, choose one source CA if certificates from multiple were selected.
Step 04: Select the Target CA and the corresponding templates.
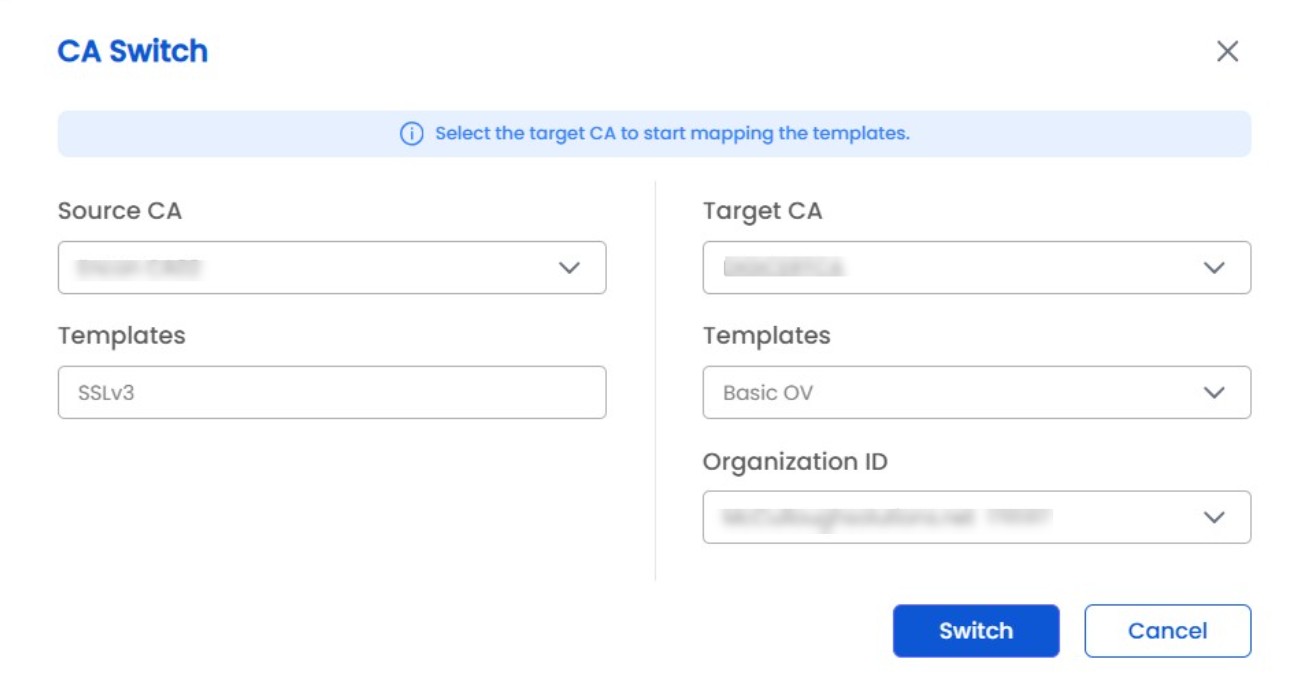
Step 05: Click on Switch, and the process starts.
Note: A similar process can be followed for Bulk Renewal.
To perform Bulk Revocation:
Step 01: Select the certificates and click on the Bulk Operations drop-down.
Step 02: Choose Bulk Revocation.
Step 03: Enter the Revocation Reason.
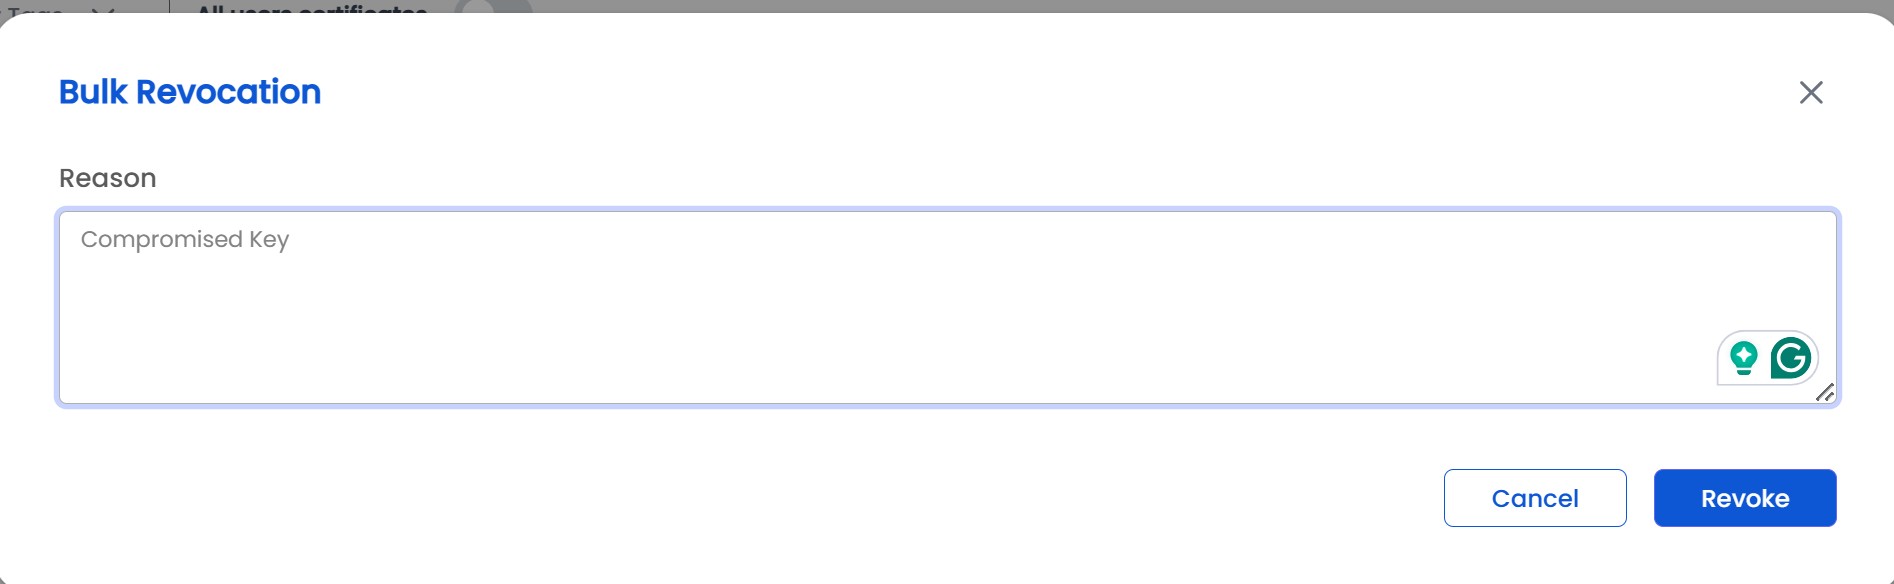
Step 04: Click on Revoke and the process starts.
To add tags to certificates:
Step 01: Select the certificates and click on the Bulk Operations drop-down.
Step 02: Choose Manage Tags.
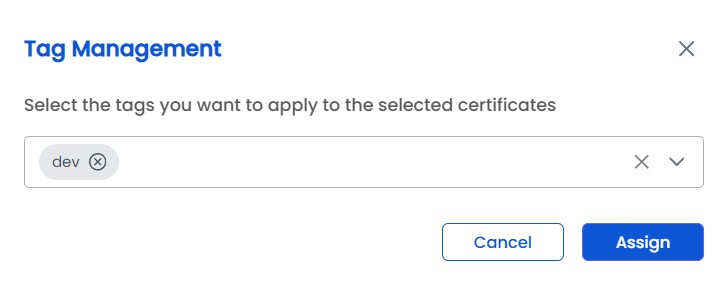
Step 03: Choose the tags you wish to assign to the selected certificates.
Step 04: Click Assign.
For the Bulk Ownership Transfer feature (Only for CertSecure-managed certificates):
Step 01: Select the certificates and click on the Bulk Operations drop-down.
Step 02: Choose Bulk Ownership Transfer.
Step 03: Enter the email address of the user you want the certificates to be owned by.
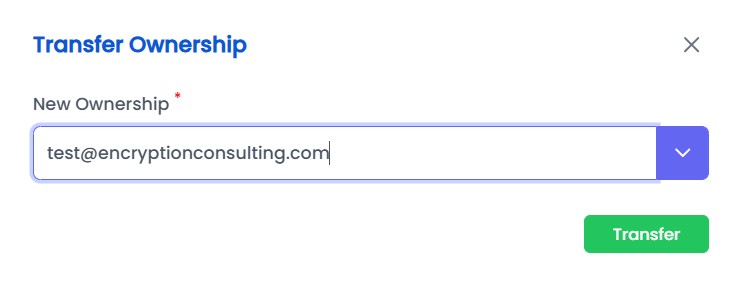
Step 04: Click on Transfer.
To assign custom field values to the certificates:
Step 01: Select the certificates and click on the Manage Custom Fields option.
Step 02: Add the custom fields.
Step 03: Assign the values.
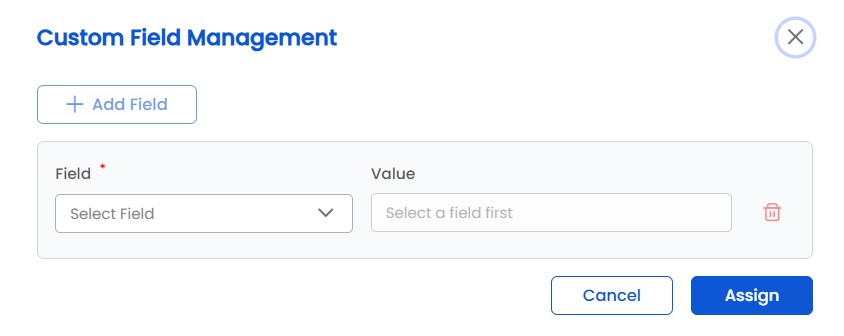
Step 04: The Required custom fields cannot be left blank if they were already assigned.
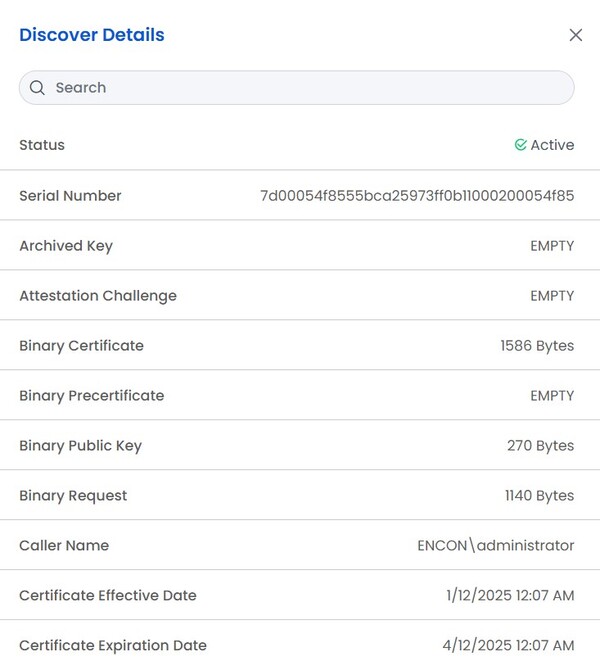
To access the certificate details, simply right-click on a certificate, and choose the 'View Certificate' option. Once selected, all the information about the certificate will be presented on the right side of the screen.
Steps To Renew a Certificate
Step 01: Click on Renew Certificate
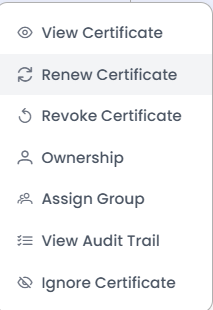
Step 02: Review the details, change any detail and click on renew
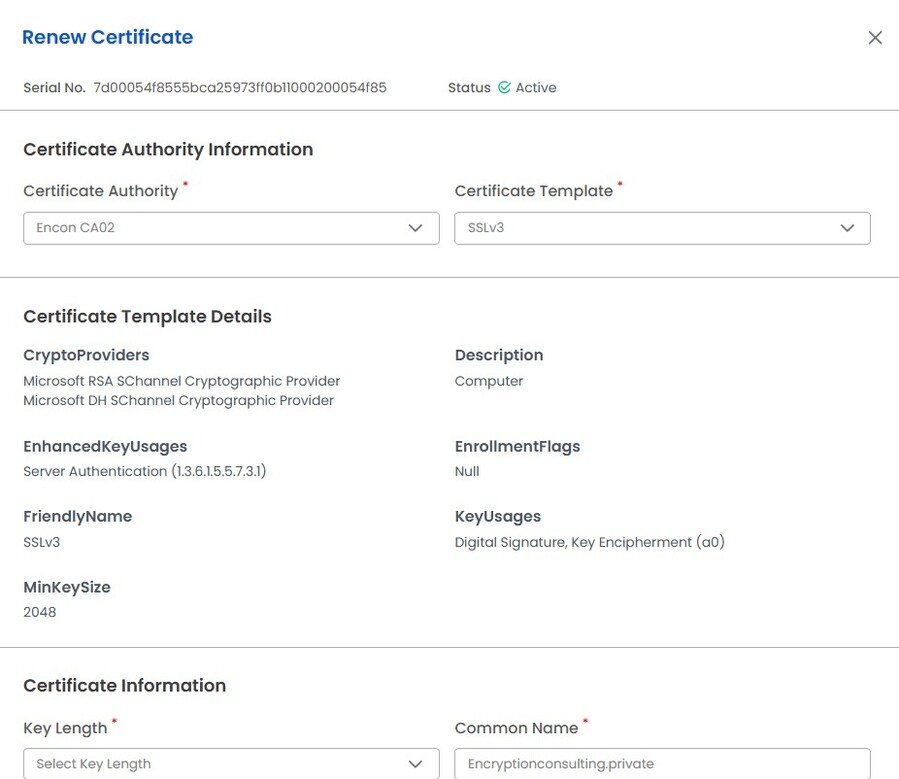
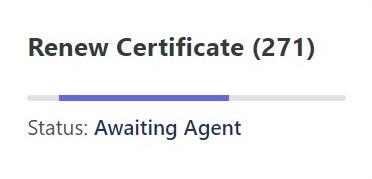
Step 03: Upon renewal, you get a task ID and a popup window opens.
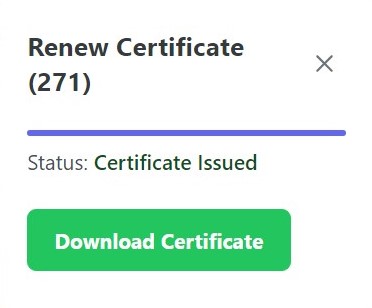
Step 04: Upon completion, you can download the certificate directly.
Note: To track the progress of the task, on the left side, click on the Utilities menu, then click on Tasks. Tasks show you if a renewal of a certificate was successful or failed, and the enrollment ID assigned to it.

Revocation is similar where after selecting a certificate, and clicking on actions pane, you can revoke any certificate. This action is possible by Admin or PKI Admin.
Ownership allows the assignment of an owner and/or the ability to include additional emails as owners of the certificate.
Steps To Assign or Add Emails to a Certificate:
Step 01: Right-click on a certificate and select 'Ownership.'
Step 02: Enter the details of a new email to be associated with the certificate or add additional emails to that certificate.
Step 03: Click save.
Step 04: The new owner or additional emails added will receive a notification and gain management rights over the certificate.
This feature is particularly useful in cases of role changes, personnel transitions, or team restructuring.
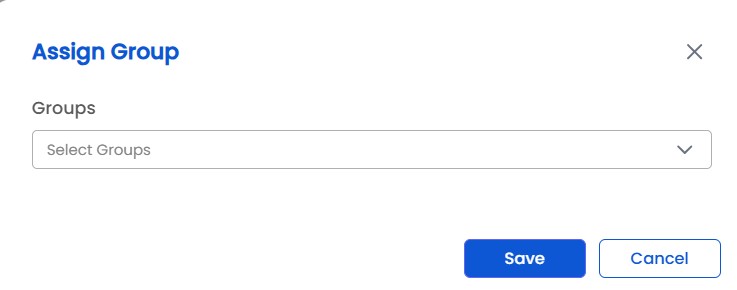
The Assign group allows the user to assign the certificate ownership to a group rather than an individual. Right click on the certificate, select Assign Group option and choose the desired group/s.
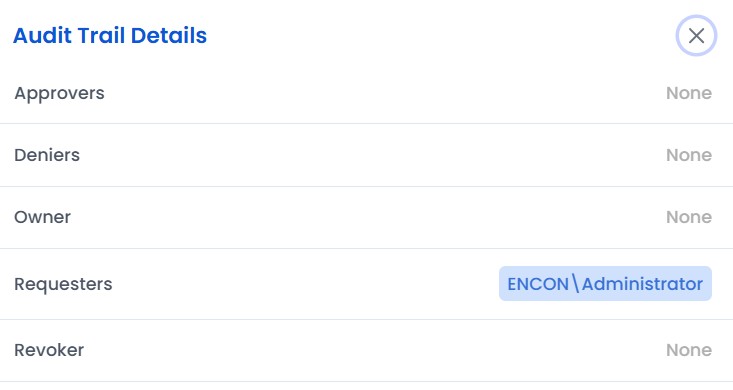
Right-click on the row and click on View Audit Trail. It opens the certificate lifecycle history.
Ignoring certificates is useful for filtering out unwanted or redundant certificates from the inventory without deleting them.
Steps To Ignore a Certificate:
Step 01: Right-click on a certificate and select Ignore Certificate.
Step 02: The certificate is removed from active monitoring but remains in the database.