
Build the Issuing CA
EC builds the Issuing CA as an Enterprise Subordinate CA in the EC-managed environment. It is online and issues all end-entity certificates under the approved templates. The procedure has three parts: preparing the CAPolicy.inf file, installing the Issuing CA, and the post-installation configuration. The names in the screenshots come from the EC lab and are examples only.
CAPolicy.inf
Before the CA role is installed, a CAPolicy.inf file is placed in C:\Windows. AD CS reads this file during installation and applies the certificate policy and renewal settings it contains.
- Prepare and harden the Issuing CA server, join it to the designated EC domain, install the approved HSM client and confirm connectivity to Active Directory, DNS, time, the HSM, backup and monitoring.
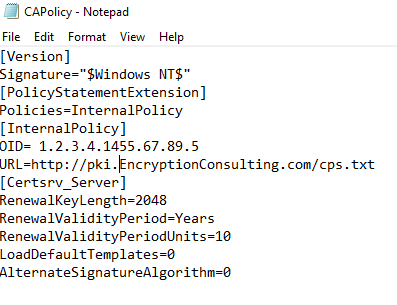
- Open Notepad as an administrator and enter the following content.
LoadDefaultTemplates=0stops the CA from publishing the default templates, so only agreed templates are issued.
[Version]
Signature="$Windows NT$"

[PolicyStatementExtension]
Policies=InternalPolicy

[InternalPolicy]
OID=<policy OID>
URL=http://pki.example.com/pki/cps.txt

[Certsrv_Server]
RenewalKeyLength=2048
RenewalValidityPeriod=Years
RenewalValidityPeriodUnits=10
LoadDefaultTemplates=0
AlternateSignatureAlgorithm=0
- Save the file as
C:\Windows\CAPolicy.inf, making sure the extension is.infand not.txt.
Publish the Root CA certificate and CRL
The Issuing CA must trust the Root CA before it can be installed as a subordinate CA.
-
On the Root CA, open
C:\Windows\System32\CertSrv\CertEnrolland copy the Root CA certificate (.crt) and CRL (.crl).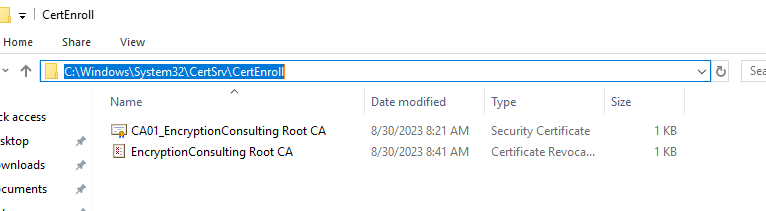
Root CA certificate and CRL in the CertEnroll folder -
Paste the files into
C:\on the Issuing CA server.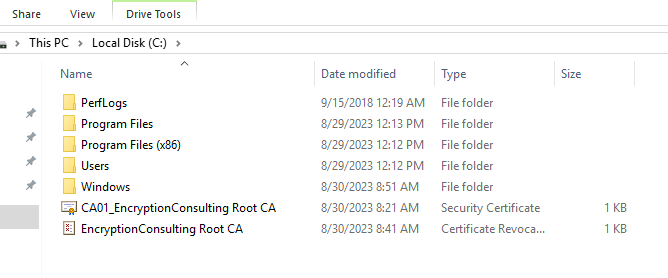
Root CA files copied to the Issuing CA -
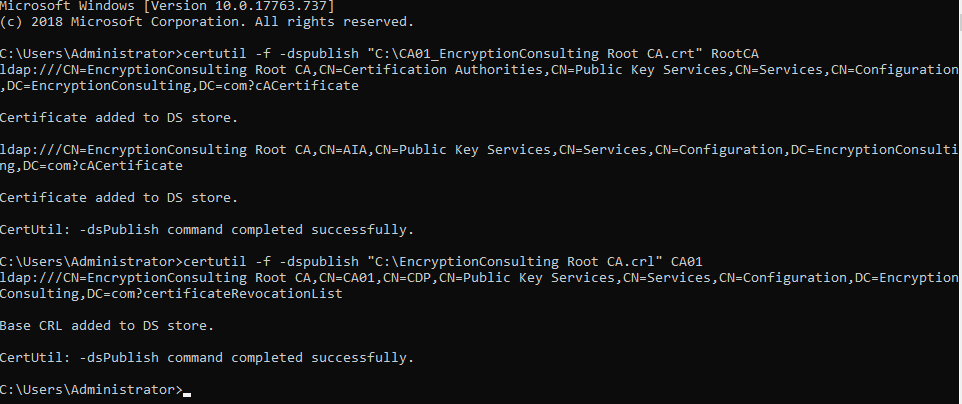
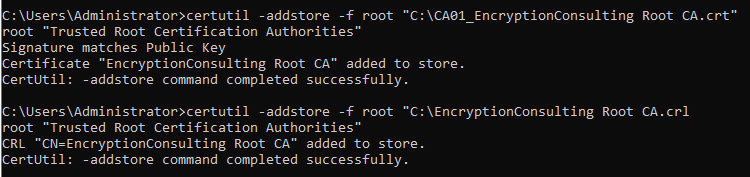
Open an elevated Command Prompt on the Issuing CA and run the following commands to publish the Root CA certificate to the directory and add the certificate and CRL to the local stores:
certutil -f -dspublish "C:\RootCA.crt" RootCA
certutil -addstore -f root "C:\RootCA.crt"
certutil -addstore -f root "C:\RootCA.crl"
Installing the Issuing CA
-
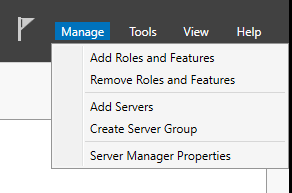
Open Server Manager and select Manage > Add Roles and Features.
Add Roles and Features -
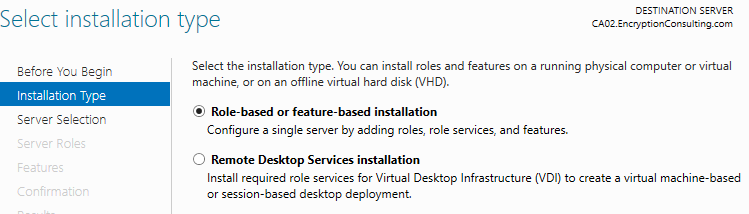
On Installation Type, select Role-based or feature-based installation and select Next.
Installation type -
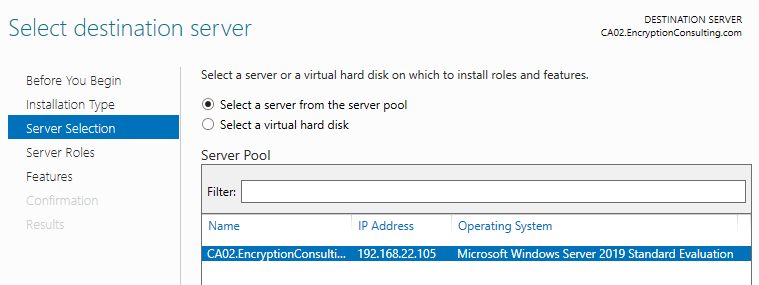
On Server Selection, select the Issuing CA server and select Next.
Destination server -
On Server Roles, select Active Directory Certificate Services and select Add Features when prompted.
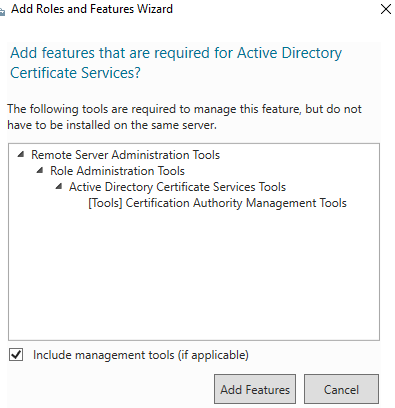
Add features for AD CS -
On Features, leave the defaults and select Next.
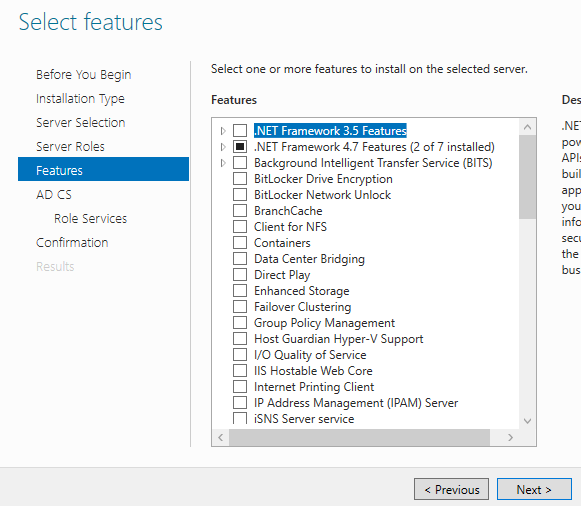
Features -
On AD CS, select Next.
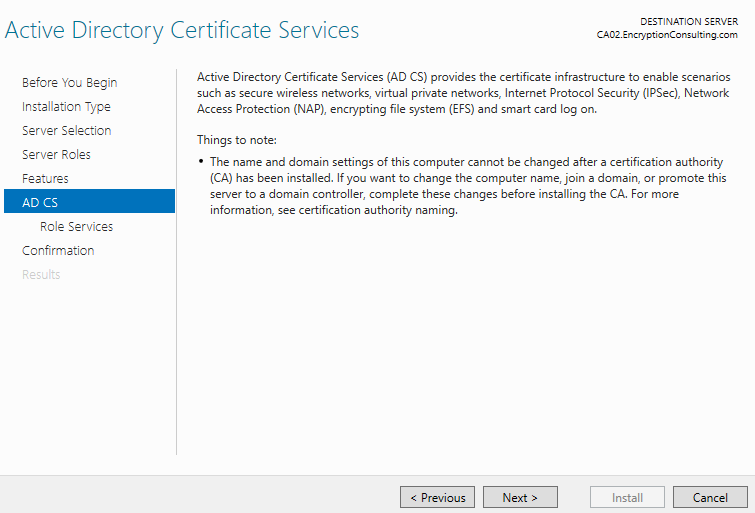
Active Directory Certificate Services -
On Role Services, select Certification Authority and select Next.
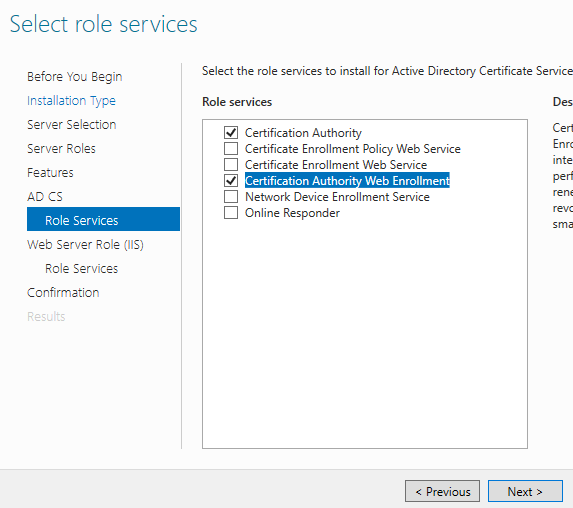
Role services -
Review the confirmation page and select Install. When the installation finishes, select Configure Active Directory Certificate Services on the destination server.
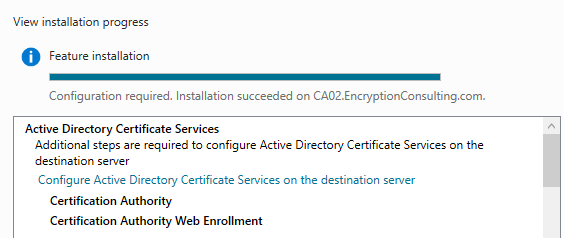
Configure Active Directory Certificate Services -
On Credentials, confirm an account that is a member of Enterprise Admins and select Next.
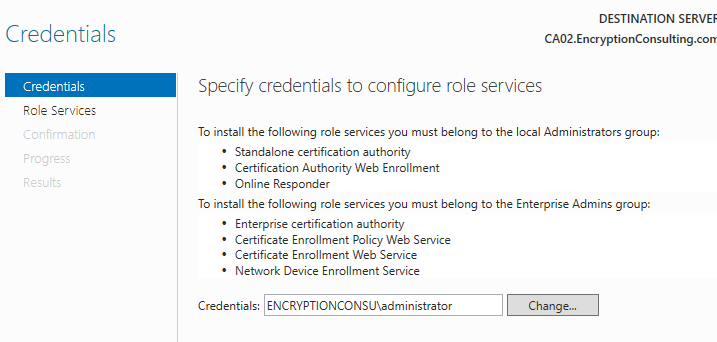
Credentials -
On Role Services, select Certification Authority and select Next.
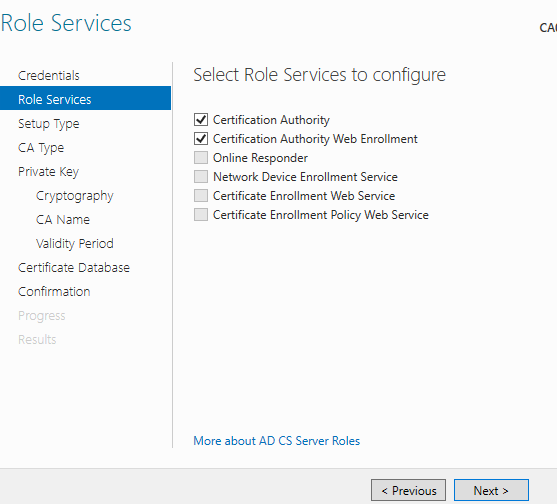
Role services to configure -
On Setup Type, select Enterprise CA and select Next.
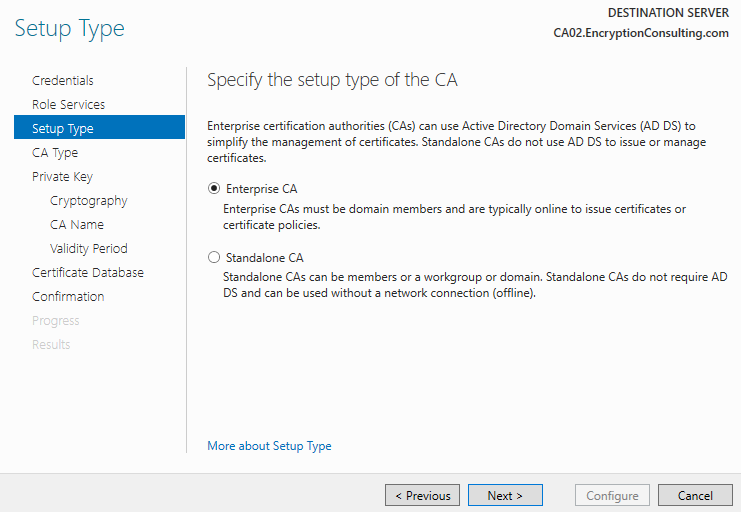
Setup type: Enterprise CA -
On CA Type, select Subordinate CA and select Next.
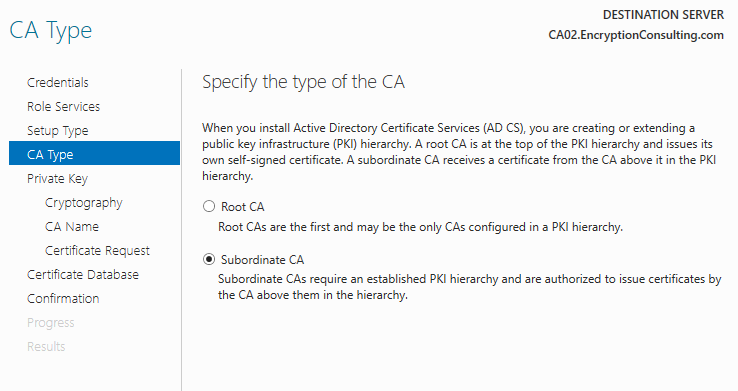
CA type: Subordinate CA -
On Private Key, select Create a new private key and select Next.
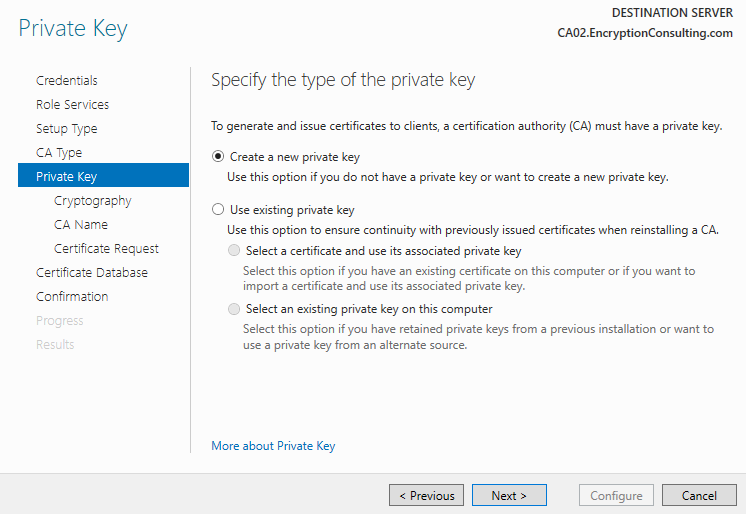
Create a new private key -
On Cryptography, select the approved HSM Key Storage Provider, the key length and the hash algorithm (for example SHA-256), then select Next. The private key is generated inside the EC datacenter HSM.
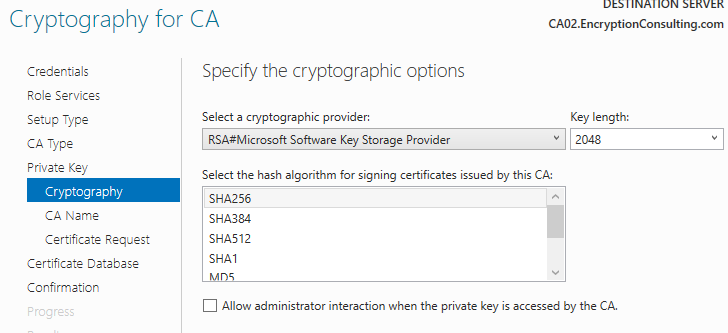
Cryptography options -
On CA Name, enter the Issuing CA common name from the Client Intake Form and select Next.
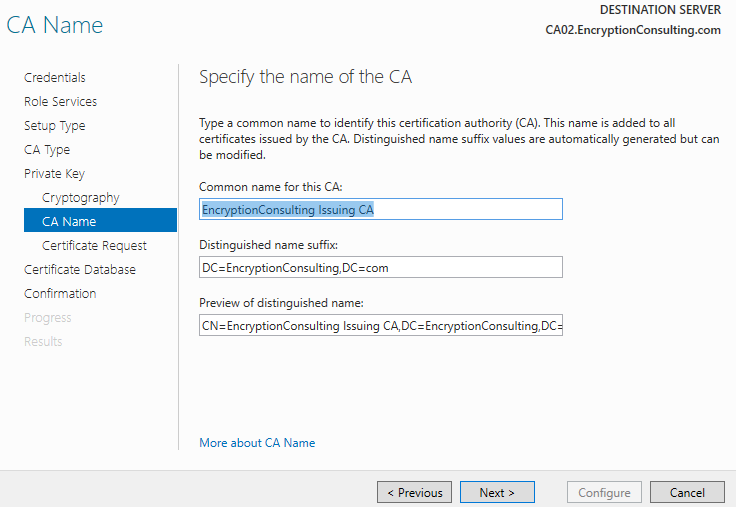
CA name -
On Certificate Request, select Save a certificate request to file on the target machine and note the path of the .req file.
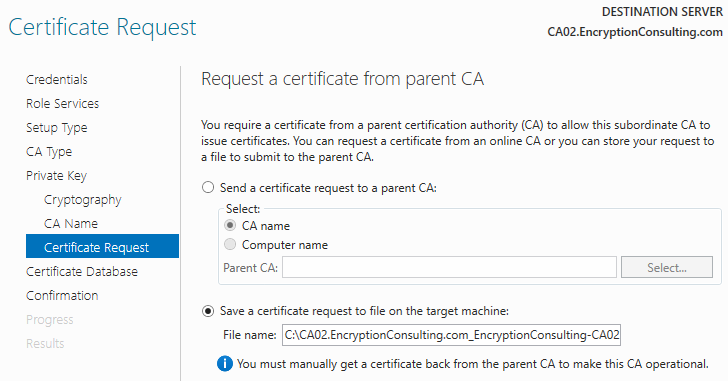
Save the certificate request to a file -
On Certificate Database, keep the default locations unless the design specifies otherwise, and select Next.
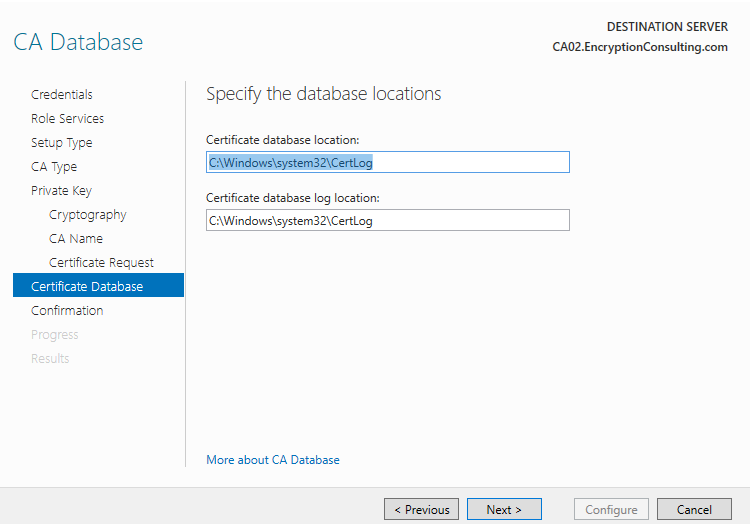
Certificate database -
Review the settings and select Configure. The wizard reports that the configuration is incomplete because the CA certificate has not been issued yet.
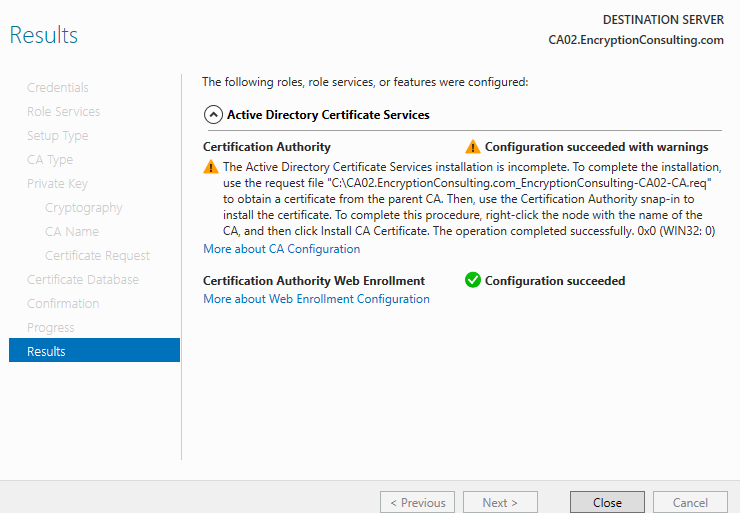
Configuration results
Sign and install the Issuing CA certificate
-
Copy the .req file from the Issuing CA to
C:\on the Root CA through the approved transfer process, and bring the Root CA online under dual control.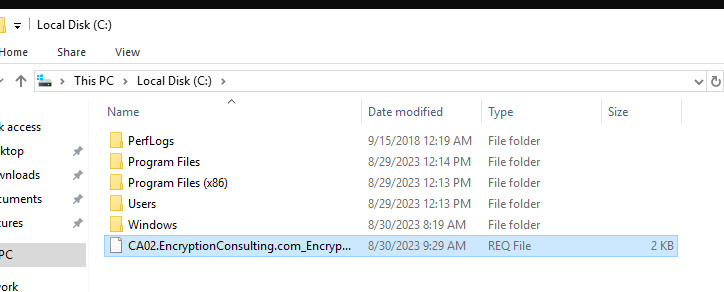
Request file on the Root CA -
On the Root CA, submit the request and note the RequestId that is returned:
certreq -submit "C:\IssuingCA.req"

-
Open the Certification Authority console on the Root CA and select Pending Requests.
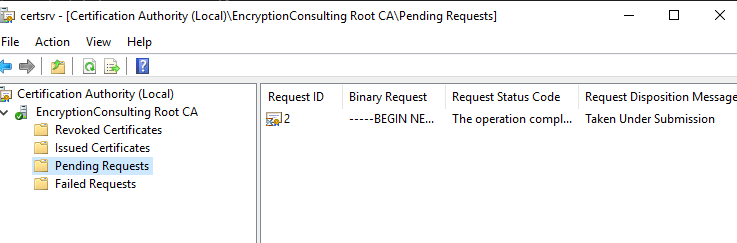
Pending request on the Root CA -
Right-click the request and select All Tasks > Issue.
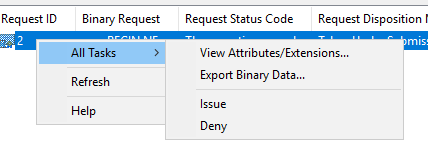
Issue the request -
Retrieve the signed certificate:
certreq -retrieve <RequestId> "C:\IssuingCA.crt"

-
Copy the signed certificate back to the Issuing CA and return the Root CA to its offline state.
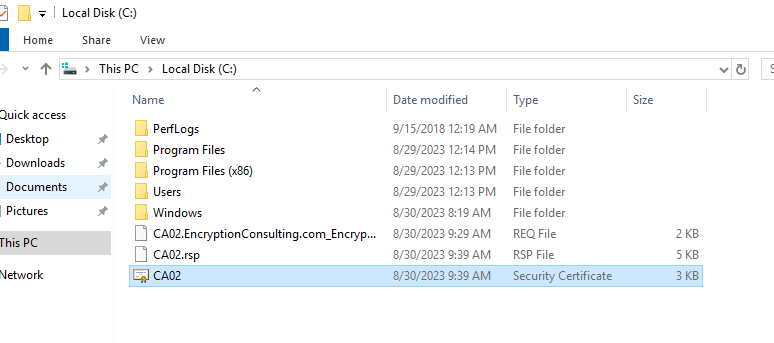
Signed certificate copied to the Issuing CA -
On the Issuing CA, open the Certification Authority console, right-click the CA and select All Tasks > Install CA Certificate. Select the signed certificate.
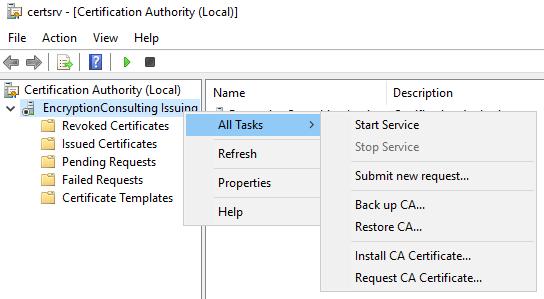
Install CA Certificate -
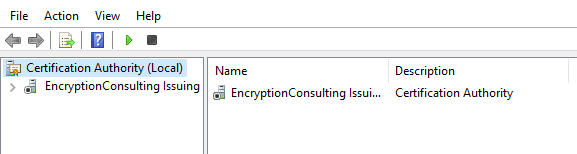
Right-click the CA again and select All Tasks > Start Service. Confirm that the Issuing CA certificate chains correctly to the Root CA.
Start the CA service
Post-installation configuration
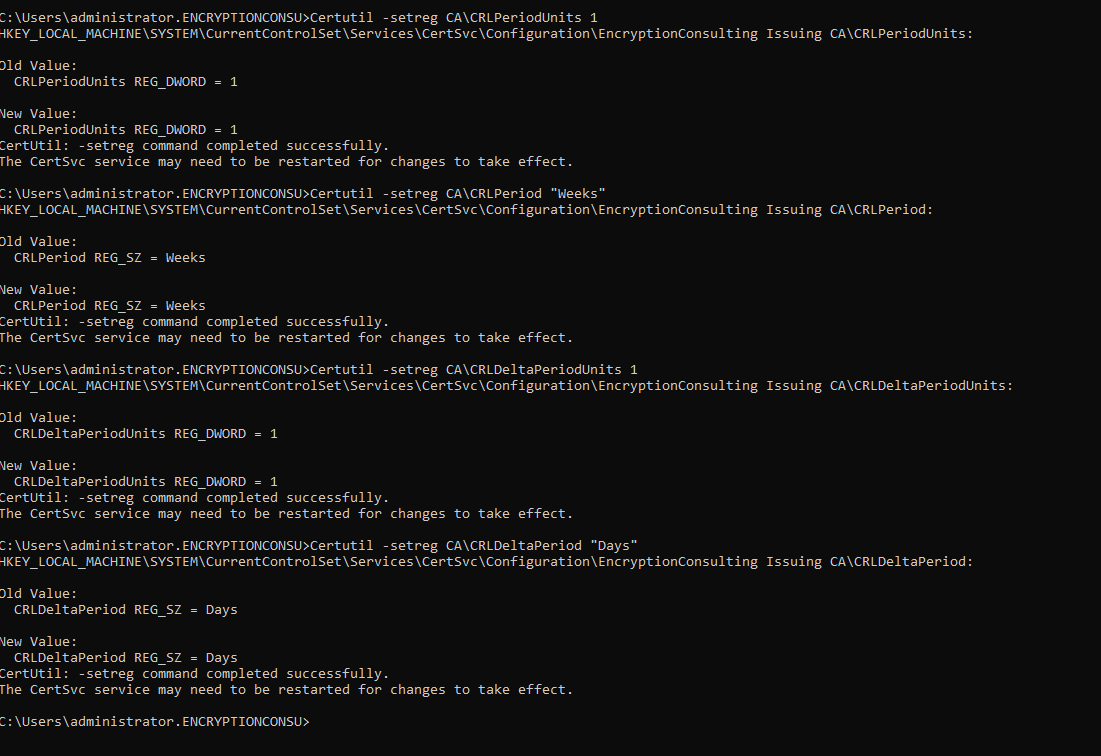
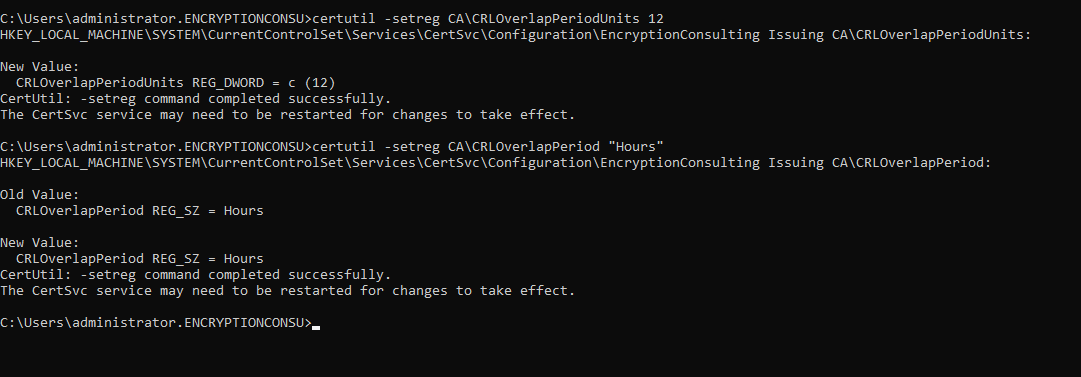
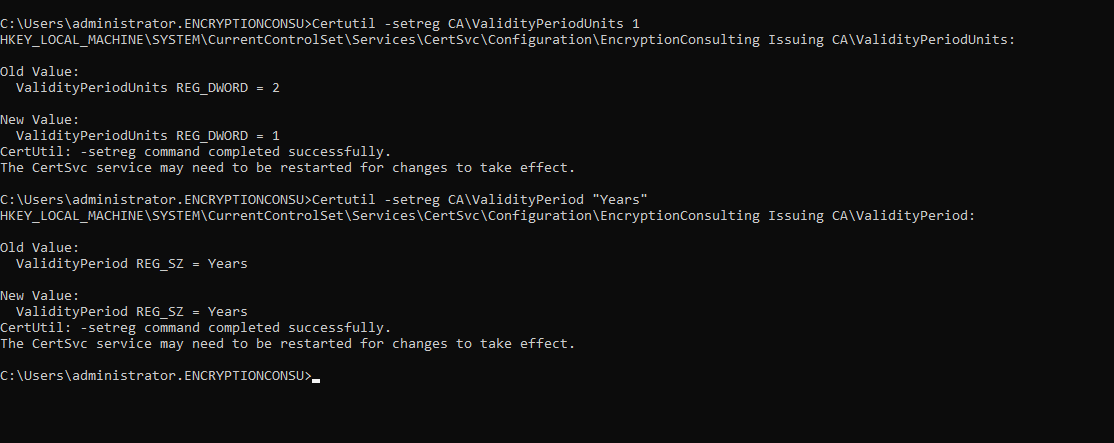
- Set the CRL, Delta CRL and maximum end-entity validity periods. The values are examples; the approved design sets the final values.
certutil -setreg CA\CRLPeriodUnits 1
certutil -setreg CA\CRLPeriod "Weeks"
certutil -setreg CA\CRLDeltaPeriodUnits 1
certutil -setreg CA\CRLDeltaPeriod "Days"
certutil -setreg CA\CRLOverlapPeriodUnits 12
certutil -setreg CA\CRLOverlapPeriod "Hours"
certutil -setreg CA\ValidityPeriodUnits 2
certutil -setreg CA\ValidityPeriod "Years"
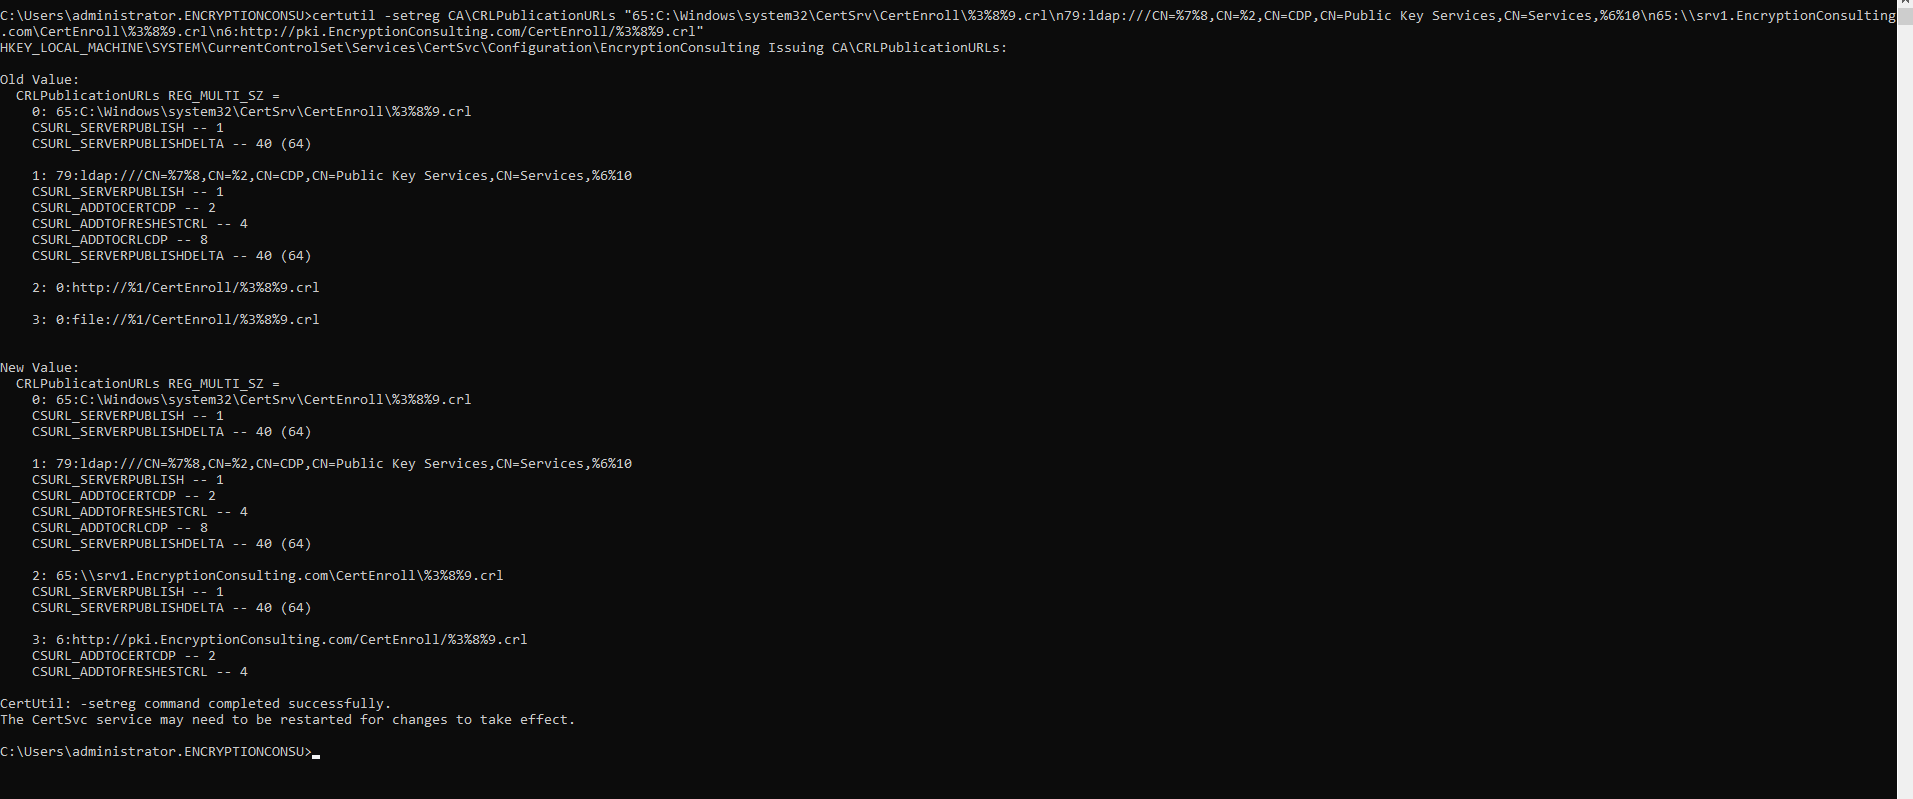
- Configure the CDP and AIA locations with HTTP only. The value 65 publishes CRLs and Delta CRLs to the local folder; the value 6 writes the HTTP URL into the CDP extension of issued certificates and Delta CRLs.
certutil -setreg CA\CRLPublicationURLs "65:C:\Windows\system32\CertSrv\CertEnroll\%3%8%9.crl\n6:http://pki.example.com/pki/%3%8%9.crl"
certutil -setreg CA\CACertPublicationURLs "1:C:\Windows\system32\CertSrv\CertEnroll\%1_%3%4.crt\n2:http://pki.example.com/pki/%1_%3%4.crt"
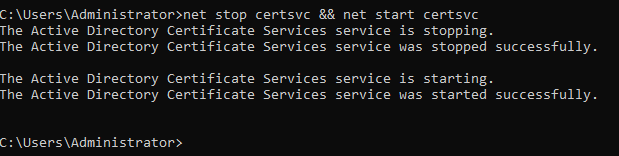
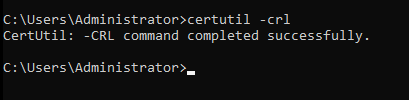
- Enable auditing, restart the service and publish the first CRLs:
certutil -setreg CA\AuditFilter 127
net stop certsvc && net start certsvc
certutil -crl
-
Upload the Issuing CA certificate, the base CRL and the Delta CRL to the Azure Blob Storage container, then confirm that every file opens through the HTTP URL. See CDP and AIA in Azure Blob Storage for the storage setup and the automated upload.
-
Publish only the certificate templates approved in the Client Intake Form (Certificate Templates > New > Certificate Template to Issue), each configured for its agreed use case, validity, EKU, key settings and enrollment permissions.
-
Open
pkiview.msc(Enterprise PKI). The Root CA and the Issuing CA must show no errors for the CA certificate, AIA and CDP locations.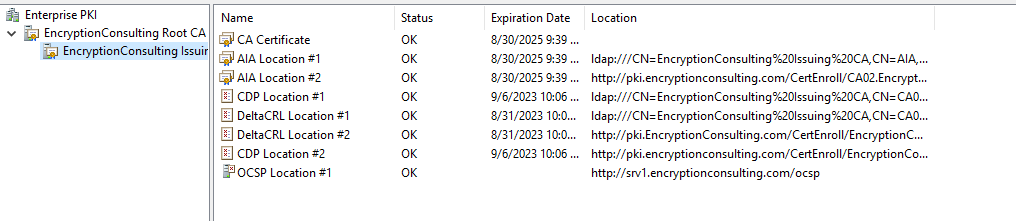
Enterprise PKI view -
Provide the Root and Issuing CA certificates to the customer for trust-store distribution, and test certificate request, issuance, renewal, revocation, CRL retrieval, chain validation and automated enrollment end to end before production go-live.
Typical CA settings
- Type: the Root CA is a standalone, offline CA; the Issuing CA is an enterprise subordinate, online CA.
- Key storage: both CA keys are held in the EC datacenter HSM.
- Validity: typically 20 years for the Root CA and 10 years for the Issuing CA.
- CRL period: 52 weeks for the Root CA and 1 week for the Issuing CA, each with a 12-hour overlap.
- Delta CRL: none for the Root CA; daily for the Issuing CA.
- CDP and AIA: HTTP only, through the customer host name mapped to Azure Blob Storage.