Microsoft AD CS
CertSecure Manager connects to a Microsoft Active Directory Certificate Services (AD CS) CA through the MSCA connector. The connector is agent-based: it is installed as a Windows service on a domain-joined machine, registers with CertSecure Manager, and talks to the CA on its behalf. After the connector is running, the CA is added under Administration > Certificate Authorities with the CA type MSCA.
Prerequisites
- CertSecure Manager is running, and you use an administrator account for the setup.
- The connector machine is joined to the domain of the CA.
- Hardware: 16 CPU cores, 32 GB RAM and 200 GB of storage.
- Operating system: Windows 11, or Windows Server 2019 or later.
- The connector machine can resolve the FQDN of the Domain Controller.
-
A dedicated Active Directory service account for the connector. Manage it through your privileged account management process, and give it a non-expiring or long-lived password in line with your policy for service accounts. The account needs the following privileges.
-
Active Directory:
- A standard domain user account in the same forest as the Issuing CA.
- A member of the local Administrators group on the connector machine.
- Access to the required network services and RPC services.
-
Certificate Authority:
- On each Issuing CA that CertSecure Manager manages: Read, Issue and Manage Certificates, and Request Certificates permissions, assigned in the CA properties.
- On each certificate template that CertSecure Manager issues from: Read and Enroll permissions. The template must not require CA certificate manager approval on enrollment.
-
Connector machine:
- Log on as a Service
- Log on as a Batch Job
- Allow Log on through Remote Desktop Services (if remote administration is required)
- Read and write permissions on the Program Files (x86) folder where the connector is installed
Installing the Connector
- Go to Administration > Certificate Authorities and select Download on the MSCA tile under CA Connectors.
- Right-click the ISO and select Mount. Open the mounted drive and run the installer as Administrator.
- Select Next, accept the license, keep the default installation path, and select Next.
- On the installation page, select Start and wait for the installation to finish. Optionally view the logs, then select OK and Next.
-
On the Configure Connector Settings page:
- Open an administrator command prompt and run
certutil. Note the Name (the CA name) and the Server (the FQDN of the CA server) in the output.
- Enter a Connector Name and select Next.
- On the Install Service page, select Install. When the service is installed, the installer asks for a registration key.
- In CertSecure Manager, select View Status on the Certificate Authorities page to open the Connectors page, then select Registration Token. Copy the token.
- Paste the token into the installer, select Submit, close the prompt, select OK and then Next.
Note: If a connector of version 1.98 or older is running on the machine, stop it before you run the installer.
Starting the Connector Service
- Open
services.msc.
- Right-click EC_MSCA_Connector and select Properties > Log On.
- Select This Account, enter the credentials of the service account, and select OK.
- Right-click EC_MSCA_Connector and select Start. Wait until the status shows Running.
- In CertSecure Manager, select Refresh on the Connectors page. The connector appears in the list.
- Back in the installer, select Finish, then Yes to exit.
Adding the CA
- Go to Administration > Certificate Authorities and select Manage CAs.
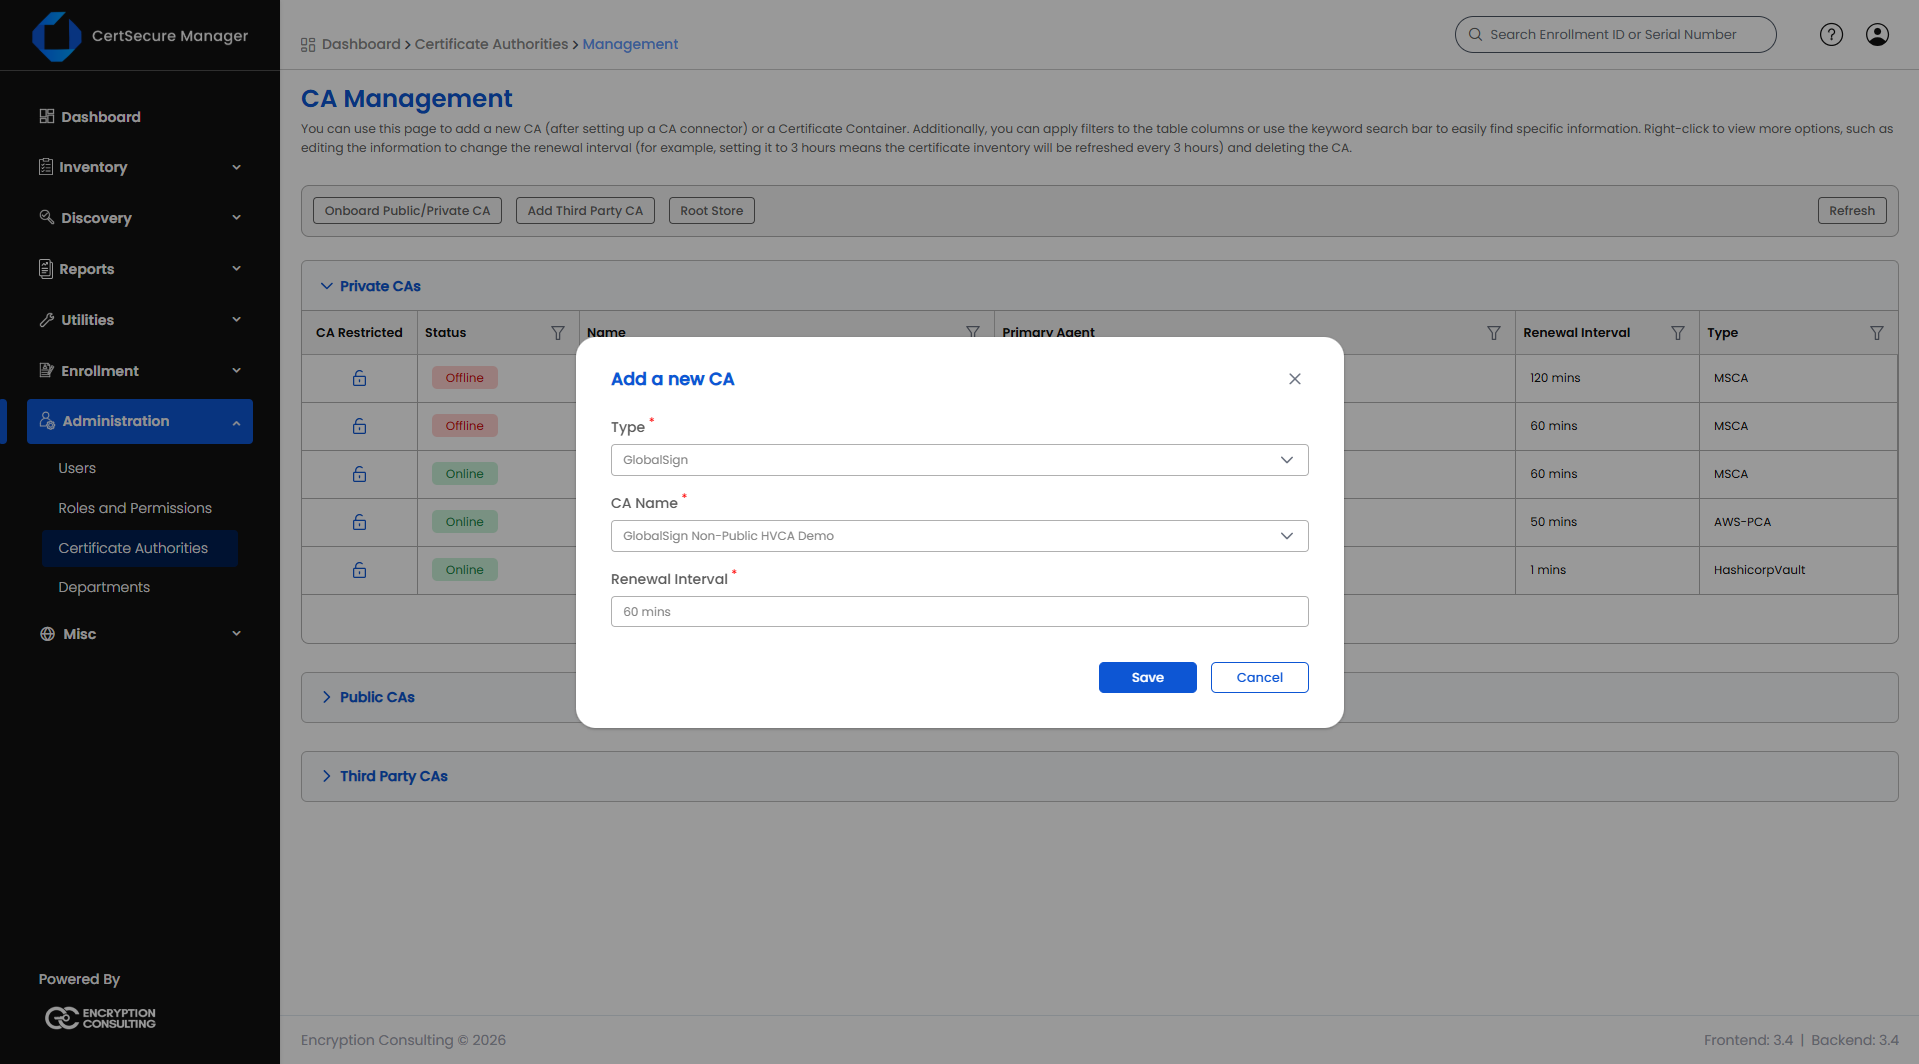
- Select Add CA. The Add a new CA dialog opens.
- Set the Type to MSCA and select the CA Name, as shown by
certutil. The list offers the CAs that registered connectors report and that are not yet onboarded.
- Set the Renewal Interval: the number of minutes after which the inventory of the CA is refreshed. The minimum is 60 minutes.
- Select Save. The CA appears in the CA Management table.
The templates of the CA that the service account can enroll on become available for enrollment. To change the renewal interval later, right-click the CA in the CA Management table and select Edit Information. The interval can be entered in minutes or hours, from 60 minutes up to 5 days. See CA Management for the actions available on a CA once it is added.