
- Overview
- Reference Guide
- Setup & Architecture
- Release Notes
- Workflow
- API Reference
- Integration Guide
- Discovery Agent Setup Guide
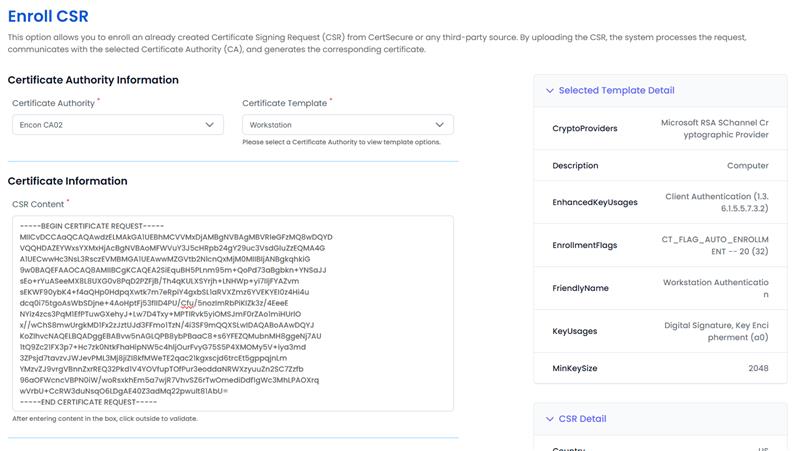
To initiate the enrollment process for a new Certificate Signing Request (CSR), you have to follow these steps:
Certificate Authority Selection
Begin by choosing the appropriate Certificate Authority (CA) from the available options. This selection will determine the issuing authority for your certificate.
Certificate Template
Next, select the Certificate Template that aligns with your specific certificate requirements. This template defines the attributes and usage of the certificate you are requesting.
Certificate Information
Provide CSR content in PEM format.
Subject Alternative Names
If any additional SANs are needed, they can be added here.
By default, any values entered in the fields below are appended to the existing SAN attributes embedded in the CSR. Checking the Override CSR SAN Attributes box replaces the original CSR SANs entirely with the values entered below.
Watchers List
Include a valid email address that will be used for communication and notification purposes.
Tags
Include tags to be saved with other certificate details
Custom Fields
Custom fields marked required already appear. Use Add Custom Fields to bring in optional ones. Each field renders as its correct input type: text box, number box, calendar, or dropdown.
Enrollment
Once all the required information is accurately entered, initiate the enrollment process by clicking the "Enroll CSR" button. This action will trigger the generation of a Certificate Signing Request (CSR) and initiate a request to the PKI Admin for further processing, if any approval is required for that template.
Note: Upon completion of these steps, the PKI Admins will be notified, and they will review and process your CSR request. You will receive further instructions and updates via your provided email address as your CSR request progresses through the certificate issuance workflow.
Note: If you are a PKIAdmin, your certificate will be issued directly, and your request would not require any approval.
Note: You will also see all the CSR details on the right side when you fill the CSR content text box.
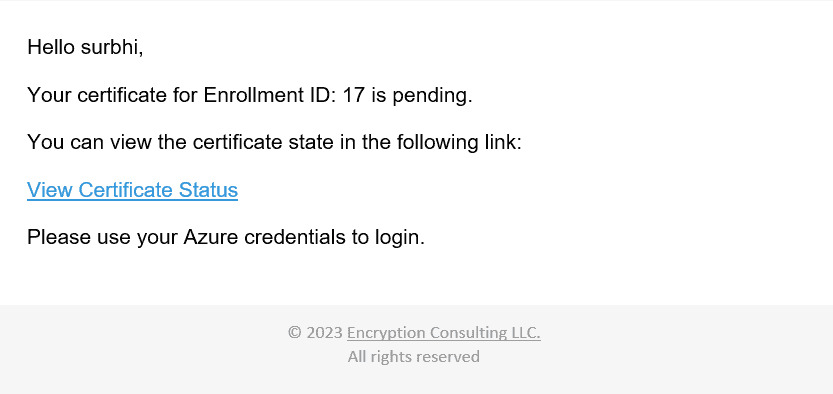
Additionally, you will receive an email notification containing a link that will allow you to conveniently monitor the status of your request using the email address you provided during the submission.
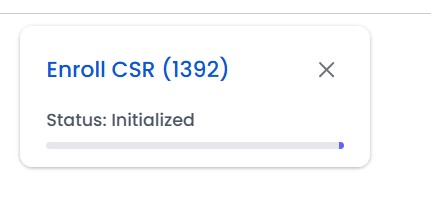
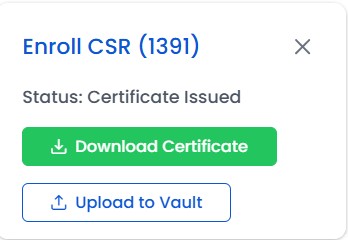
The enrollment progress and result are shown in a status dialog. Once issued, the certificate can be downloaded in multiple formats or uploaded directly to Azure Key Vault.
Downloading the Certificate
Once the status shows Certificate Issued, click Download Certificate and select one of the following formats: Cert (.cer), P7B (.p7b), ZIP (.zip), ZIP with Password (.zip), Text (.txt), PFX (.pfx).
Uploading to Azure Key Vault
Click Upload to Vault from the issuance dialog to store the certificate directly in an Azure Key Vault. A confirmation dialog will appear with the following fields:
| Field | Required | Description |
|---|---|---|
| Select Azure Key Vault | Yes | Choose the target Azure Key Vault from the dropdown list |
| Name | Yes | The name under which the certificate will be stored in the vault |
| Format | Yes | Select the certificate format for vault storage. Options are PEM or PFX |
| Private Key | Yes | Paste the private key associated with the certificate |
| Private Key Password | Yes | The password protecting the private key |
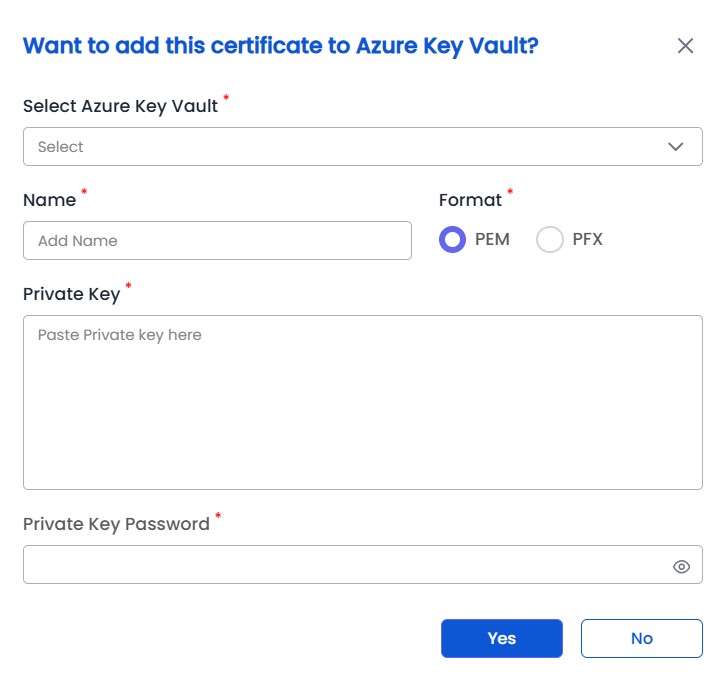
Click Yes to confirm and upload the certificate to the selected vault, or No to cancel.
Note: Ensure the Azure Key Vault is configured and accessible before attempting to upload.
Note: The private key used for vault upload must correspond to the certificate being uploaded.